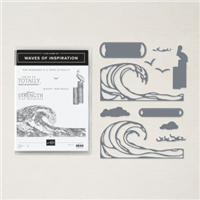
If you need a special handmade greeting card for a friend in need, the Waves of Inspiration Bundle by Stampin’ Up! is your perfect choice. The sentiments in this stamp set are perfect for so many occasions.
View more stamped samples & inspiration here
The Waves of Inspiration Bundle is perfect for so many handmade cards. Whether you need to send a card to cheer up a friend, or just invoke a day at the beach, this Bundle covers it all!
To maximize this stamp set & dies Bundle, it helps to have a Cut & Emboss Machine. Not only does it make quick work of cutting (no need for fussy cutting!), it also provides you with some spectacular die cuts! With images of clouds, waves, and birds, you can create beautiful oceanside scenes. Add dimension by layering images. You’ll also get labels versatile enough for any project or occasion!
Don’t forget to download your free Written Tutorial below – it has all the measurements you’ll need to recreate this project!
Project Measurements
- Gray Granite: 5 ½” x 8 ½” scored at 4 ¼”, 3-1/2” x 3-1/2”
- Basic White: 4” x 5-1/4” (2) and 3” x 3”
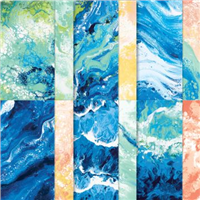
- Waves of the Ocean Paper: 3” x 6”
Project Instructions
1. Fold the 5-1/2” x 8-1/2” Gray Granite cardstock in half to create the base card.
2. Adhere one of the 4” x 5-1/4” pieces of Basic White cardstock inside the base card.
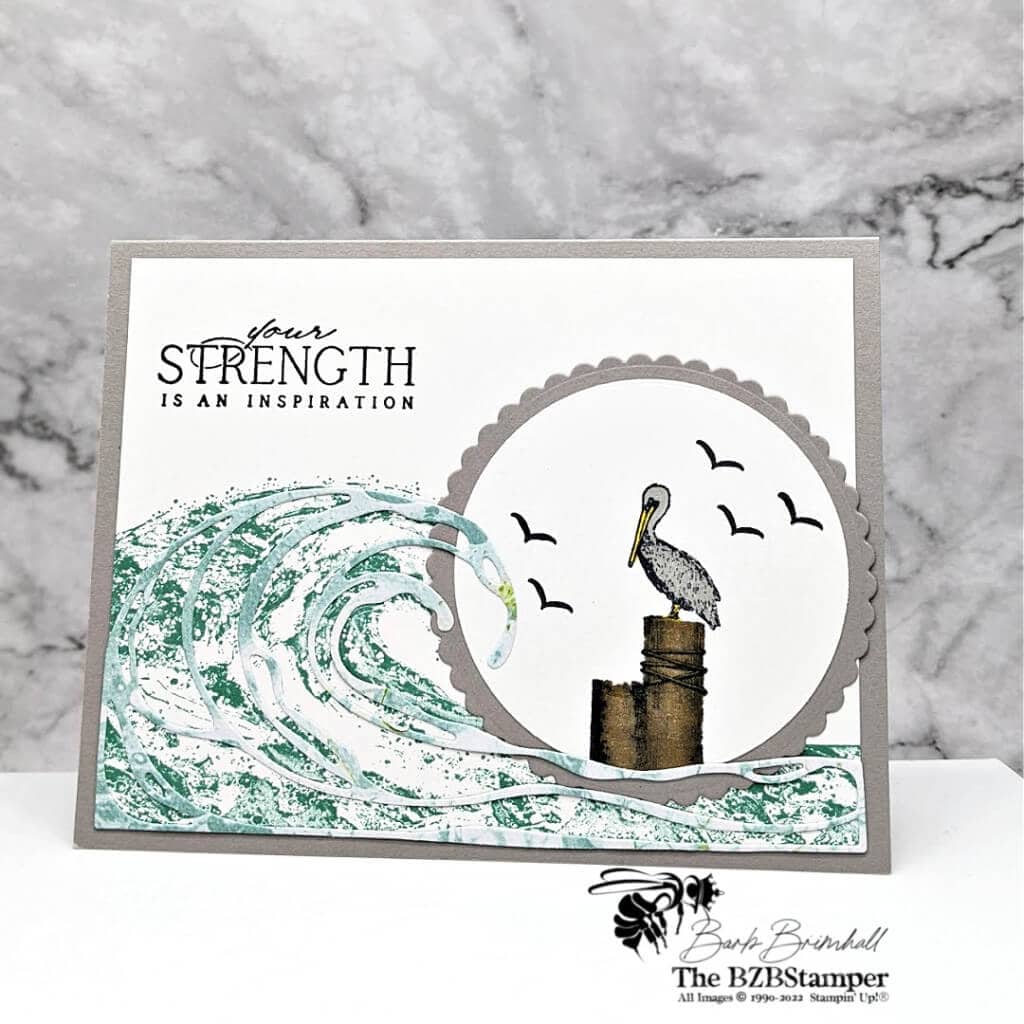
3. Using the other piece of 4” x 5-1/4” Basic White cardstock, stamp the sentiment in the upper left corner using the Black Memento ink pad.
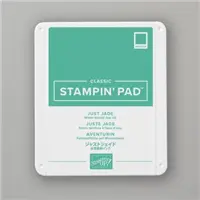
4. Using the Just Jade ink pad, stamp the wave in the bottom left corner.
5. Using the Cut & Emboss Machine, use the larger Wave Die (from the Waves of Inspiration Bundle) to cut the die from the Waves of Ocean Designer Paper. Using the Layering Circles Dies, cut out the 3” scallop circle die from the Gray Granite scrap and the 2-3/4” circle from the Basic White scrap of cardstock.
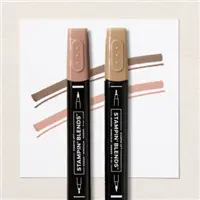
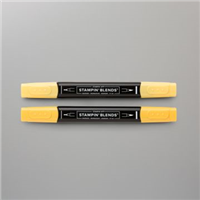
6. Stamp the seagull and birds onto the White circle using the Black Memento ink. Color in the Seagull using the Dark Gray Granite Blend and his beak using the Dark Daffodil Delight Blend. Color in the pillar using the Medium Deep #300 Blend.
7. Adhere the White circle onto the Gray Granite scallop circle and adhere to the card base.
8. Using little dots of liquid glue, adhere the die-cut wave onto the stamped wave so that it slightly overlaps the stamped circle. Trim any edges if necessary.
9. Adhere the White mat to the Gray Granite base card to finish.

Supplies Used on this Project
Pin It For Later
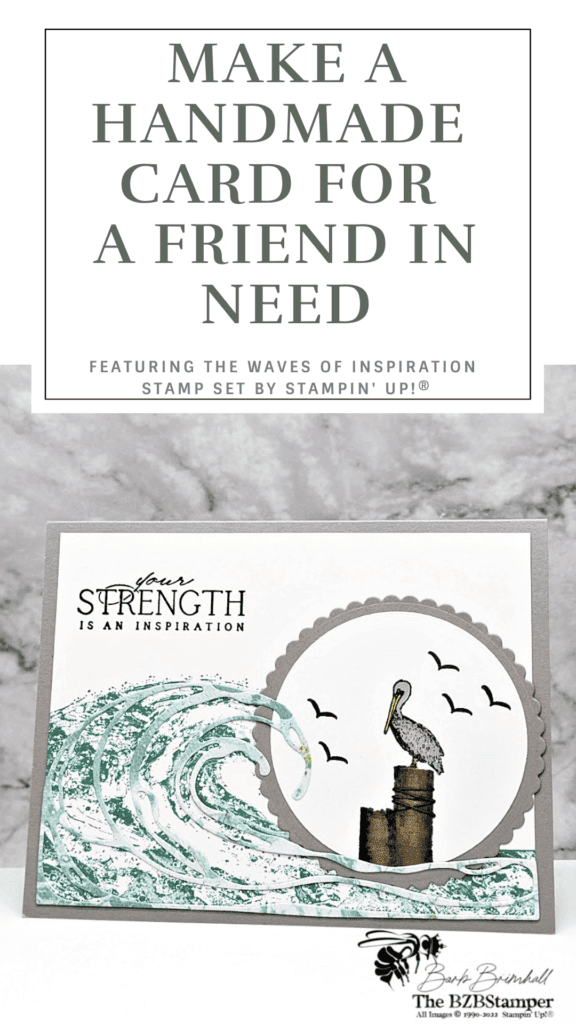
Now it’s your turn to make this project! Get your supplies and think of who you can make and send this card to. Showing that you noticed something someone else did or achieved is priceless! Pin this image below to easily find it again
- Get a Free Tutorial Every Week!
- Shop 24/7 in your PJ’s
- Queen Bee Rewards – Earn FREE Stamps!
- View the 2024-2025 Annual Catalog
- View NEW Online Products
- Monthly Crafting Kit
Thank you so much for stopping by today. I hope you are inspired to create today, whether it is this simple and cute handmade card or another cardmaking project. My goal is to help you enjoy some creative joy! Keep checking back for more projects.


