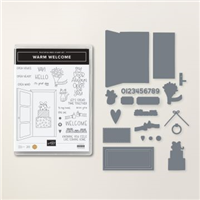
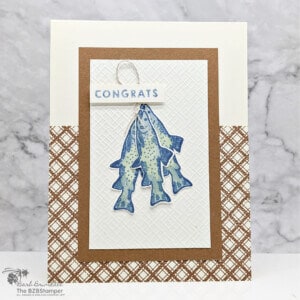
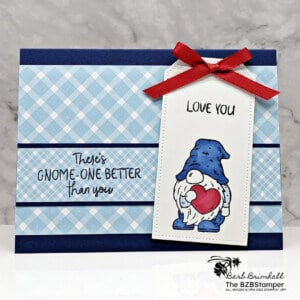
Send friendly and welcoming messages with the Warm Welcome Bundle by Stampin’ Up! Create layered looks using the dies, add details with the coordinating stamps, then color those cute line-art images with the colors of your choice! Celebrate special occasions or simply send a warm heartfelt note to a special someone.

View more stamped samples & inspiration here
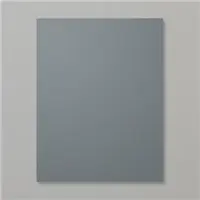
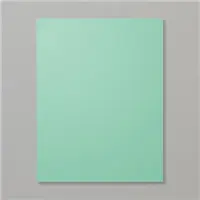
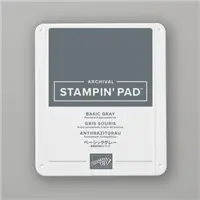
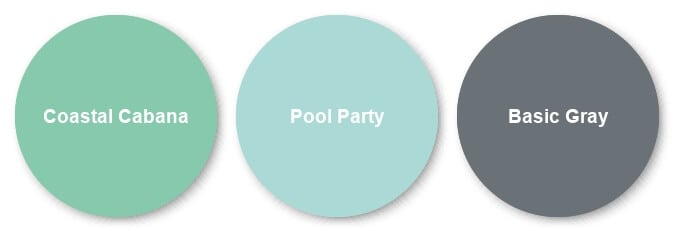
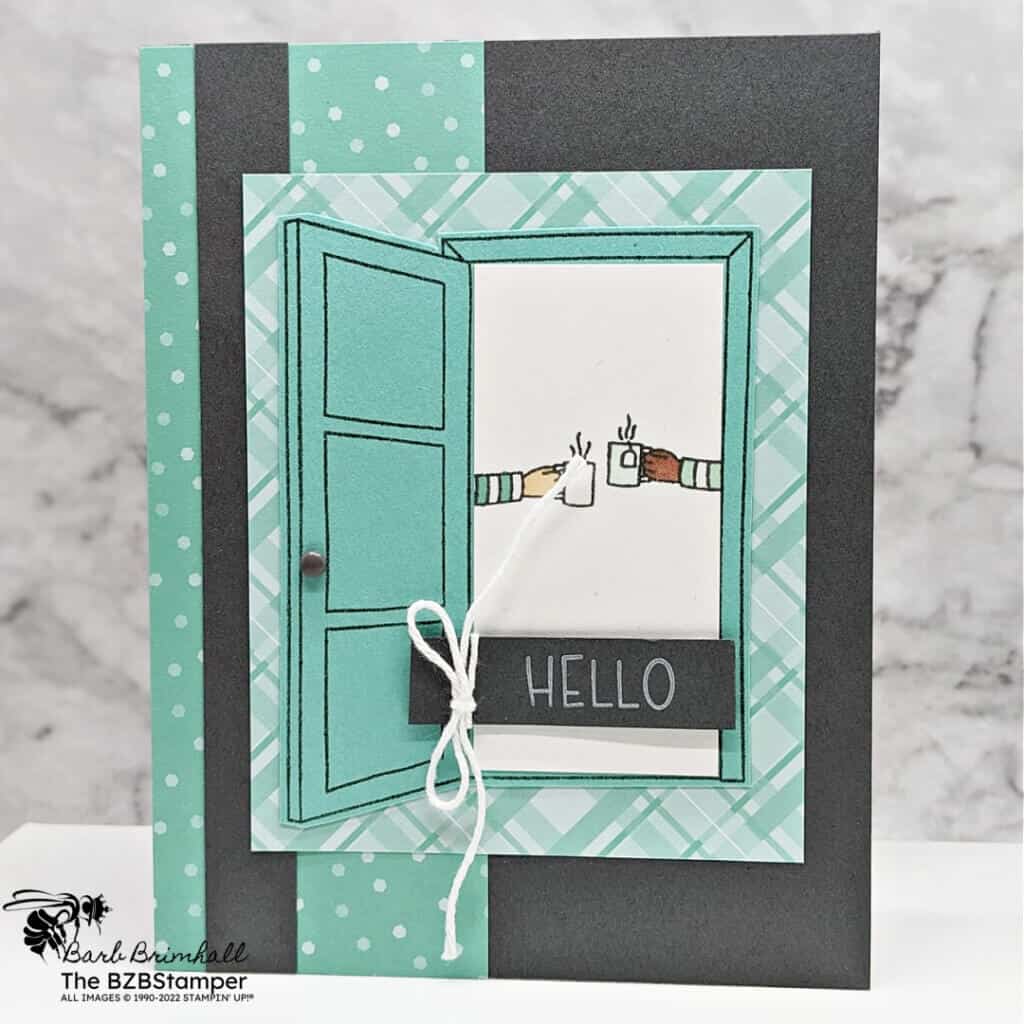
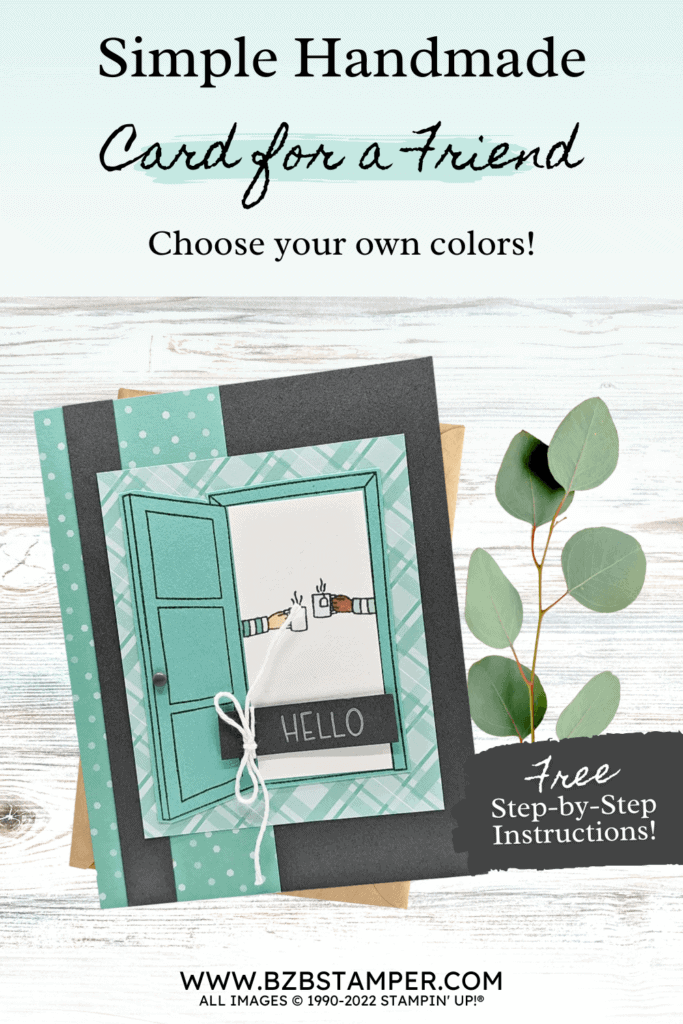
I don’t know about you, but I love getting together with friends for a cup of coffee. In this case, I needed a card for a friend who only drinks tea, so I immediately pulled out my Warm Welcome bundle, as it has a tea image that worked perfectly! I wanted some soft colors for this card, so I went with Coastal Cabana, Pool Party, and Basic Gray, but if you’d prefer something brighter, make sure you check out my Color Combination Library for the perfect combination!
Project Measurements
- Basic Gray: 5-1/2″ x 8-1/2″, scored at 4-1/4″
- Basic Gray: 1/2″ x 2″
- Basic Gray: 1/2″ x 5-1/2″
- Basic White: 4″ x 5-1/4″
- Basic White: 1-3/8″ x 3″
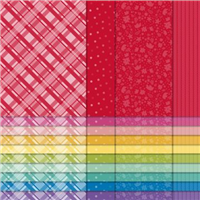
- Coastal Cabana Brights Paper: 2″ x 5-1/2″ (polka dots)
- Coastal Cabana Brights Paper: 3-1/4″ x 4″ (striped)
- Coastal Cabana: 4″ x 4″ for die-cutting
Instructions
- Fold the Basic Gray cardstock in half at the scoreline to create your card base. Adhere the 4” x 5-1/4” piece of Basic White cardstock inside base card.
- Adhere the 2” x 5-1/2” piece of Polka Dot paper onto the left side of the card front. Layer the ½” x 5-1/2” strip of Basic Gray Cardstock on the left side of the card, ¼” over from the left fold.
- Layer the striped Coastal Cabana paper onto the center of the card base.
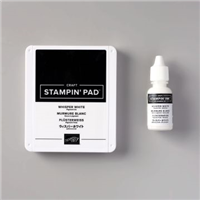
- Using the ½” x 2” strip of Basic Gray cardstock and a well-inked White Craft pad, stamp the Hello onto the cardstock, slightly to the right. Set aside to dry.
- Stamp the door image onto the Coastal Cabana cardstock using Basic Gray ink. Cut out using the Cut & Emboss Machine with the Warm Welcome Dies that come in the Bundle.
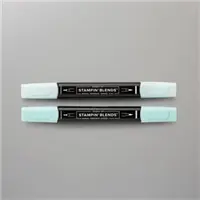
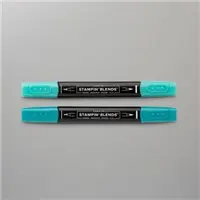
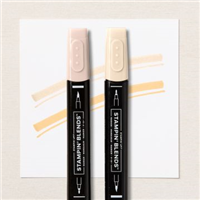
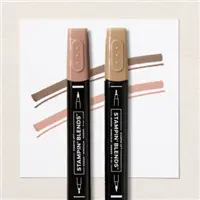
- Using the 1-3/8” x 3” piece of Basic White cardstock, stamp the “mug” image using Basic Gray ink. Color in the hands using the SU 400 Blend and the SU 800 Blend. Color in the teacup using the Pool Party Light Blend. Color in the Sleeves using the Pool Party Dark and Bermuda Bay Light Blends. Adhere so that the White Cardstock fits inside the “doorframe” and adhere to the front of the card.
- Wrap the White Baker’s Twine around the left side of the sentiment strip from Step #4 and tie into a bow. Adhere to the card front using Stampin’ Dimensionals.
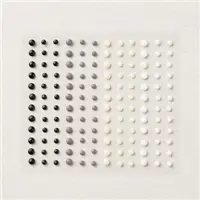
- To finish, add one of the Classic Matte Dots onto the door to look like a doorknob.
Supplies Used in this Project
Like It? Pin It!
Be sure to pin this project to your card-making boards on Pinterest if you like this project
Thank you so much for stopping by! I hope you are inspired to make simple handmade cards for friends this week! If you’d like more detailed directions on how to make this card, feel free to email me. Give this papercrafting tutorial a try 🙂 Check back soon for more card making ideas!


