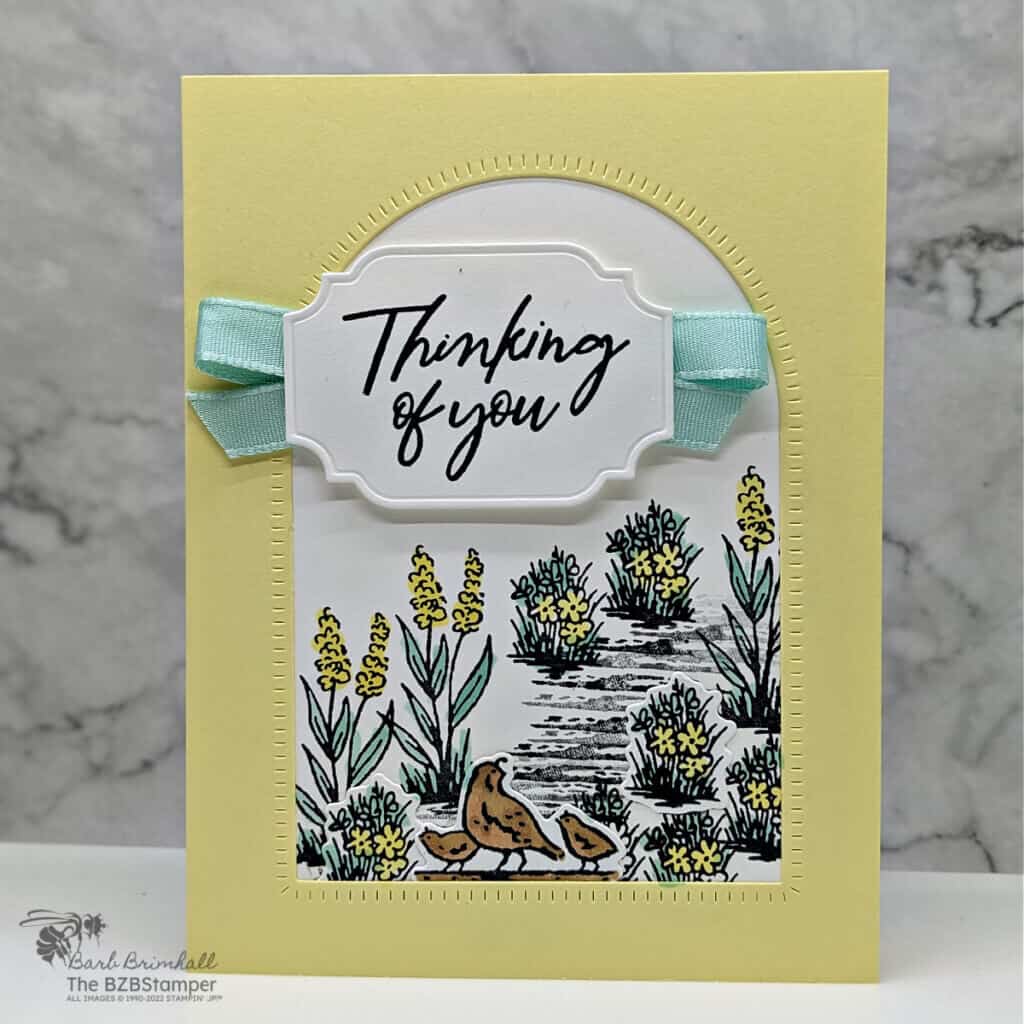
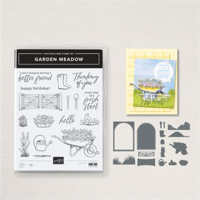
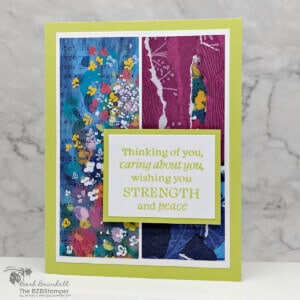
Spread warmth and kindness with a Thinking of You Card with the Garden Meadow Bundle by Stampin’ Up! It’s amazing how three simple things – stamps, ink and paper – can combine to deliver a hug in an envelope. When words alone aren’t enough, a handcrafted card fills in the blanks with color and care.
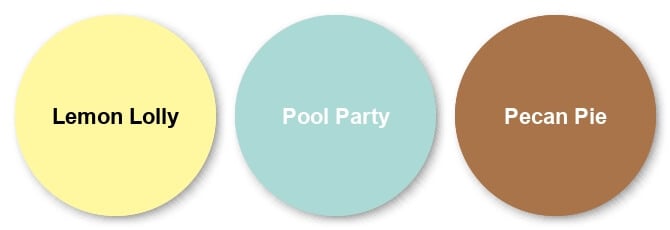
For this card, I went with soothing colors that are appropriate all year round. If you’d like brighter colors, make sure you check out my Color Combination Library for some inspiration!
With the Magical Meadow Stamp Set, you’re equipped to create not just a message, but an experience. So, let’s put our hearts into our hands and craft a handmade card today!
How To Make This Card
Project Skill Level: Worker Bee
Worker Bee projects are designed for the crafter who has a bit more time and enjoys creating a handmade card that features a technique or tool. In many cases, a Stampin’ Cut & Emboss Machine is required for die-cutting and/or embossing.
Cardstock Measurements:
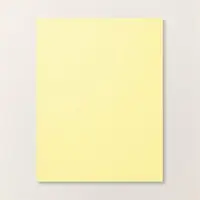
- Lemon Lolly Cardstock: 5-1/2” x 8-1/2”, scored at 4-1/4”
- Lemon Lolly Cardstock: 4” x 5-1/4” (2 pieces)
- Basic White: 4” x 5-1/4”
- Basic White: 3-3/4” x 5”


Grab your Free copy
Get 5 Bee-utiful Exclusive
Card Sketches in Your Inbox
Join our newsletter and receive a honey of a package of five quick & simple cards guaranteed to make your creativity buzz! Sign up now and let the goodness flow straight to your inbox!
Step-by-Step Instructions:
- Fold the 5-1/2” x 8-1/2” piece of Basic White cardstock in half at the 4-1/4” score line.
- Adhere one of the 4” x 5-1/4” piece of Basic White cardstock inside the card.
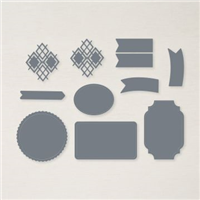
- Run the 4” x 5-1/4” piece of Lemon Lolly cardstock through the Cut & Emboss Machine, using the “arch” die from the Garden Meadow Bundle.
- Using the 3-3/4” x 5” piece of Basic White cardstock, stamp the “path” first using the Black Memento ink pad. Stamp the remaining flower images around the path using the same ink.
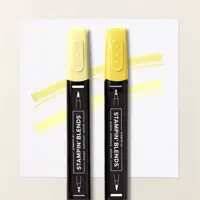
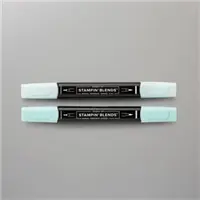
- Color in the flowers using the Dark Lemon Lolly Blend and the leaves using the Dark Pool Party Blend.
- Layer the White cardstock onto the back of the Lemon Lolly cardstock so that the scene shows through the die-cut arch. Tip: I found it easier to put small dots of adhesive around the frame and then adhere White cardstock.
- Adhere the Lemon Lolly cardstock to the front of the card using Adhesive.
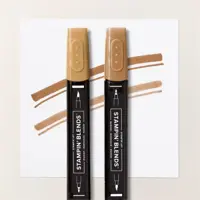
- Using the other 4” x 5-1/4” piece of Basic White cardstock, stamp 2 of the small flower images and the Quail image using Black Memento Ink. Color in the 3 images as desired. (I used the Light Pecan Pie for the Quail.) Run through the Cut & Emboss Machine and cut out the 3 images using the Garden Meadow Dies from the Bundle. Adhere to the card using adhesive.
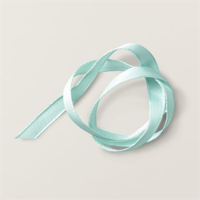
- Using the remaining piece of White cardstock, cut out the the label die from the All That Dies. Stamp the sentiment onto the label using Black Memento ink. Fold the ribbon into thirds; glue to back of tag.
- Adhere tag to card front as shown in the sample using Stampin’ Dimensionals to finish.
Thank you so much for stopping by and checking out this papercrafting tutorial. I hope you are inspired to create and send cards. If you’d like more detailed directions on how to make this card, feel free to email me. I love sharing how to make cards here on the BZBStamper blog, and I can’t thank you enough for all of your support!

Don’t forget to pin this project for later!






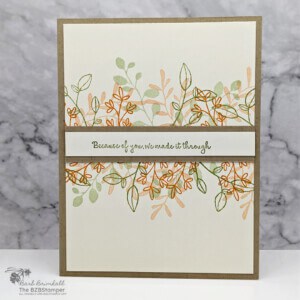
The lemon lolly/pool party Garden Meadow card is most lovely. Actually the loveliest using just the stamps. I have cased. Thank you for sharing all the details.
I just found your site. I was searching ideas to use the Garden Meadows stamp set and dies. Thank you for sharing your ideas. I have one question: What stamp did you use to stamp the “path” along the flowers???
Karen
Hi Karen! So happy you enjoyed the card! Thanks for asking about the “path” – I really should have expanded on that in the directions above! If you look at the stamp set case, right below the watering can, there is a lined image. (It just looks like a series of random lines.) I just stamped that over and over again using Black ink to create the “path”. I believe I stamped it about 8 times. The key is to not stamp it right below the first one, but instead move your stamp each time so that it creates a meandering path!
I hope that answers your question, if not, email me at Ba**@********er.com and I’ll send you a picture. It was super easy – especially since you don’t want it “perfect” (something I never am in my stamping!)🤣