Thinking of You Card using the Everyday Details Bundle
When words fall short, create a beautiful Thinking of You Card using the Everyday Details Bundle by Stampin’ Up! A handmade card made with this Bundle can bridge the gap, bringing warmth and comfort to someone special.
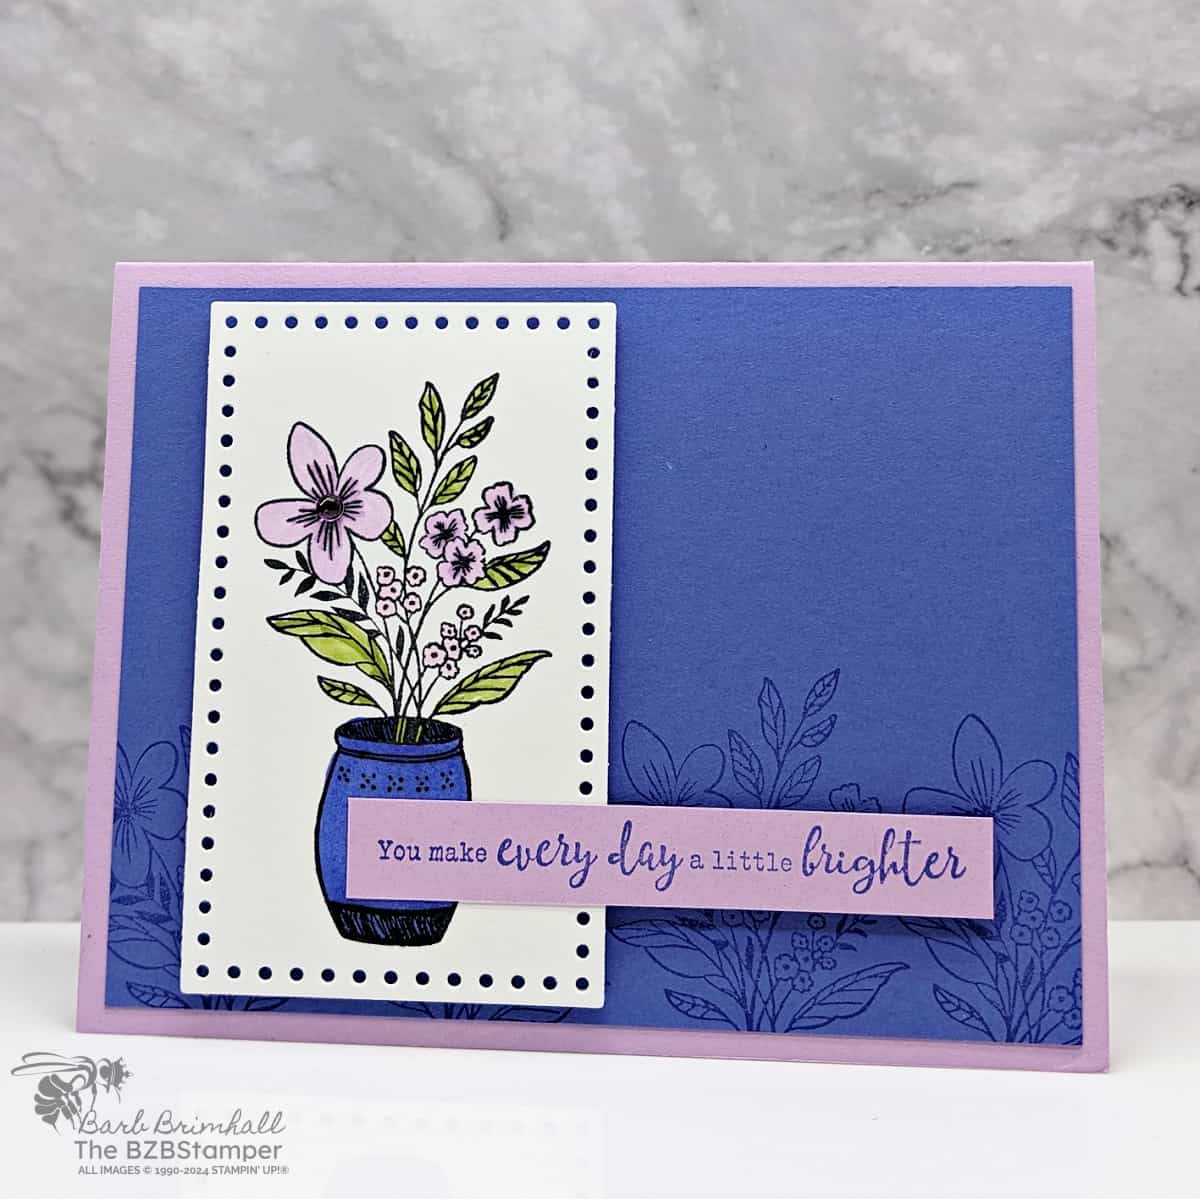
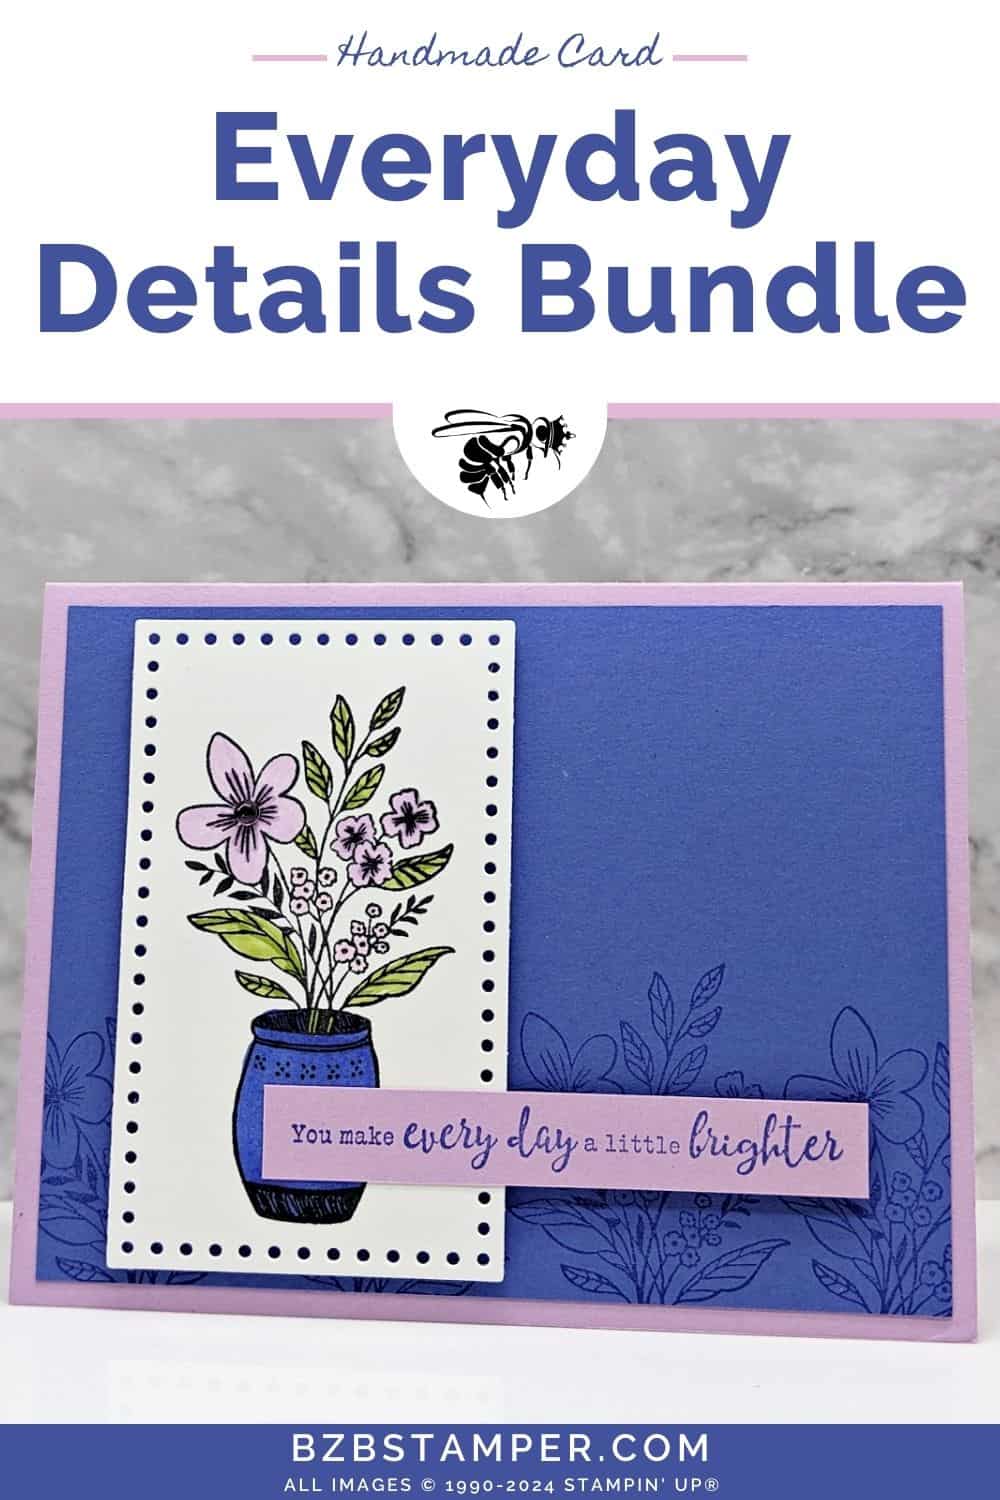
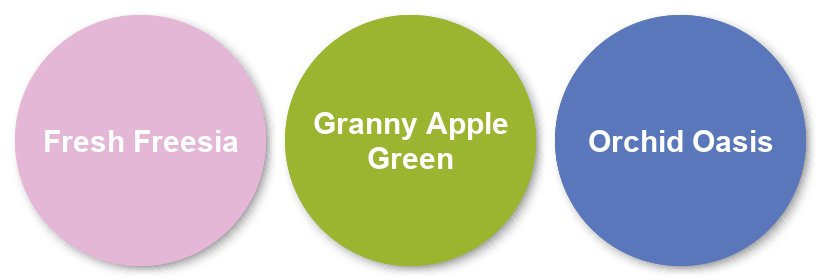
For this card, I wanted calm but happy colors, so I went with the beautiful color combination of Fresh Freesia, Granny Apple Green, and Orchid Oasis. If you prefer a different combination, make sure you check out my Color Combination Library, where you’re sure to find something you like.
This Bundle’s hand-illustrated line art and versatile dies offer a canvas for your creativity, allowing you to tailor your message of care and concern in a uniquely personal way. Whether it’s a friend going through a tough time, a family member you haven’t seen in a while, or simply someone on your mind, this blog post will guide you through creating a card that says “I’m here for you” in the most beautiful way.
How To Make This Card
Project Skill Level: Worker Bee
Worker Bee projects are designed for the crafter who has a bit more time and enjoys creating a handmade card that features a technique or tool. In many cases, a Stampin’ Cut & Emboss Machine is required for die-cutting and/or embossing.
Cardstock Measurements:
- Fresh Freesia Cardstock: 5-1/2″ x 8-1/2″, scored at 4-1/4″
- Basic White Cardstock: 4″ x 5-1/4″
- Orchid Oasis Cardstock: 4″ x 5-1/4″
- Basic White Cardstock: 2-3/4″ x 4″ (for die-cutting)
- Fresh Freesia: 1/2″ x 3-1/2″
Grab your Free copy
Get 5 Bee-utiful Exclusive
Card Sketches in Your Inbox
Join our newsletter and receive a honey of a package of five quick & simple cards guaranteed to make your creativity buzz! Sign up now and let the goodness flow straight to your inbox!
Step-by-Step Instructions:
- Fold the 5-1/2” x 8-1/2” piece of Fresh Freesia cardstock in half at the 4-1/4” score line.
- Adhere the 4” x 5-1/4” piece of Basic White cardstock inside the card.
- Using the 4” x 5-1/4” piece of Orchid Oasis cardstock, stamp the top of the vase (leaves/flowers only) across the bottom of the cardstock using Orchid Oasis ink. Adhere to the front of the card.
- Using a 2-3/4” x 4” piece of Basic White cardstock, use the Cut & Emboss Machine to cut out the 2-1/4” x 3-3/4” rectangle die. Stamp the flower vase onto the die-cut using Black Memento ink.
- Color the image using the Fresh Freesia, Light Bubble Bath, Granny Apple Green, and Dark Orchid Oasis Blends. Adhere to the left side of the card using Stampin’ Dimensionals.
- Using the 1/2” x 3-1/2” strip of Fresh Freesia cardstock, stamp the sentiment using Orchid Oasis ink. Adhere to the card as shown in the sample, using adhesive on the left side & Stampin’ Dimensionals on the right.
A Tip from Barb
If you don’t have a Cut & Emboss Machine or the Everyday Details Dies, you can simply cut out a 2-1/4″ x 3-3/4″ piece of Basic White Cardstock for the vase focal image mat.
Thanks so much for stopping by today! If you’d like more detailed directions on how to make this card, feel free to email me. Be sure to give this card sketch idea a try and mail it to a friend who is celebrating something! It’s so fun to make a card, but it’s even more fun to send! #makeacardsendacard

Don’t forget to pin this for later!
