View more stamped samples & inspiration here
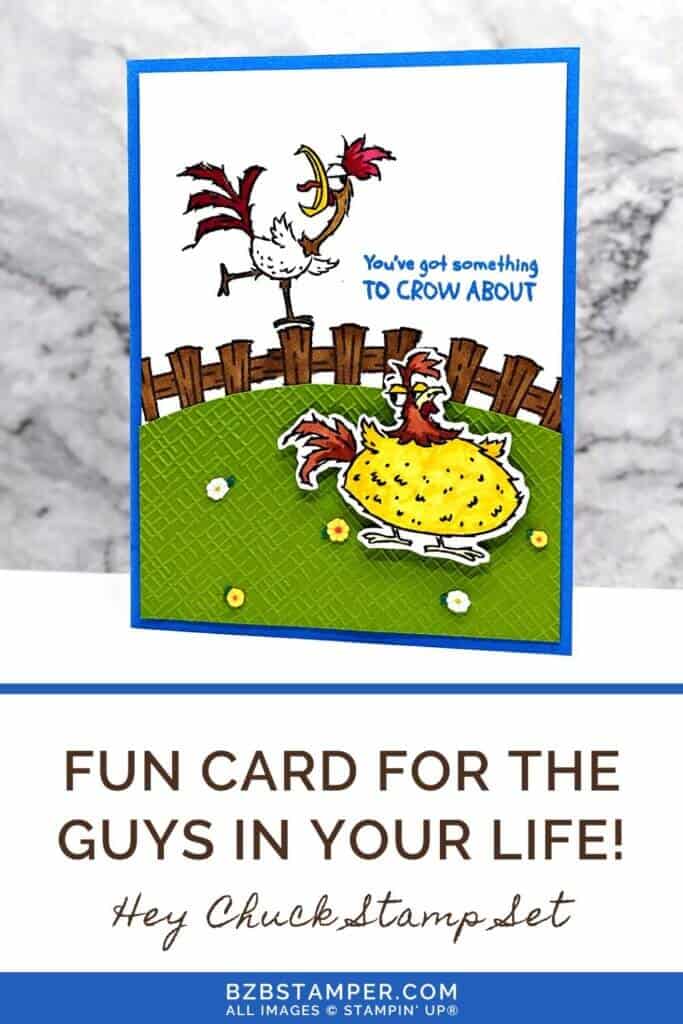
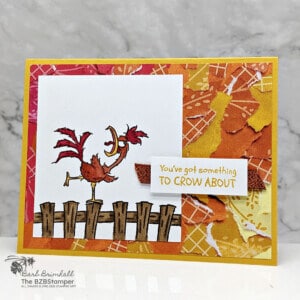
Ready to create something truly special? The Hey Chuck Bundle is something to crow about! This Bundle by Stampin’ Up! brings a sentiment that’s more than just words – it’s a celebration of achievement, creativity, and individuality! With the quirky chickens, funky dies, and unbeatable sentiments, this bundle is perfect for crafting cards that cheer on success in the most charming way. Whether it’s for a promotion, graduation, or just a shout-out to someone awesome, this bundle helps you convey your feelings in a fun and unique way. So come along as we explore how to make a card that’s not just a message but a jubilant declaration, and let’s give those around us something to truly crow about!
Find this post helpful?
Share it on Pinterest
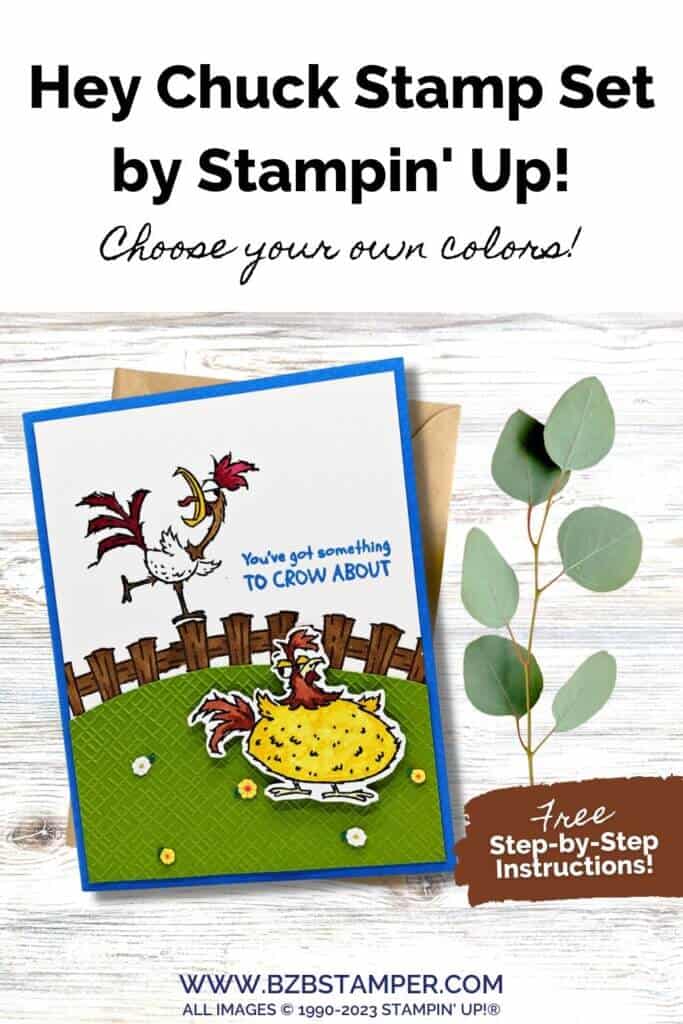
Pin this to your favorite cardmaking Pinterest Board so you can find it quickly!
How To Make This Card
Cardstock Measurements:
- Azure Afternoon cardstock: 5-1/2” x 8-1/2”, scored at 4-1/4”
- Basic White cardstock: 4” x 5-1/4” (2 pieces)
- Basic White cardstock: 2-3/4” x 2-3/4”
- Granny Apple Green cardstock: 2-1/2” x 4”
Step-by-Step Instructions:
- Fold the Azure Afternoon Cardstock in half to create your base card.
- Adhere one of the 4” x 5-1/4” pieces of Basic White cardstock inside your card.
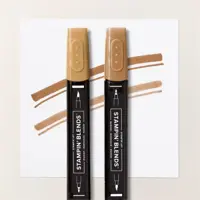
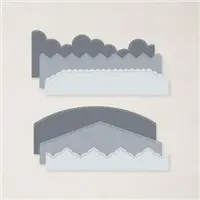
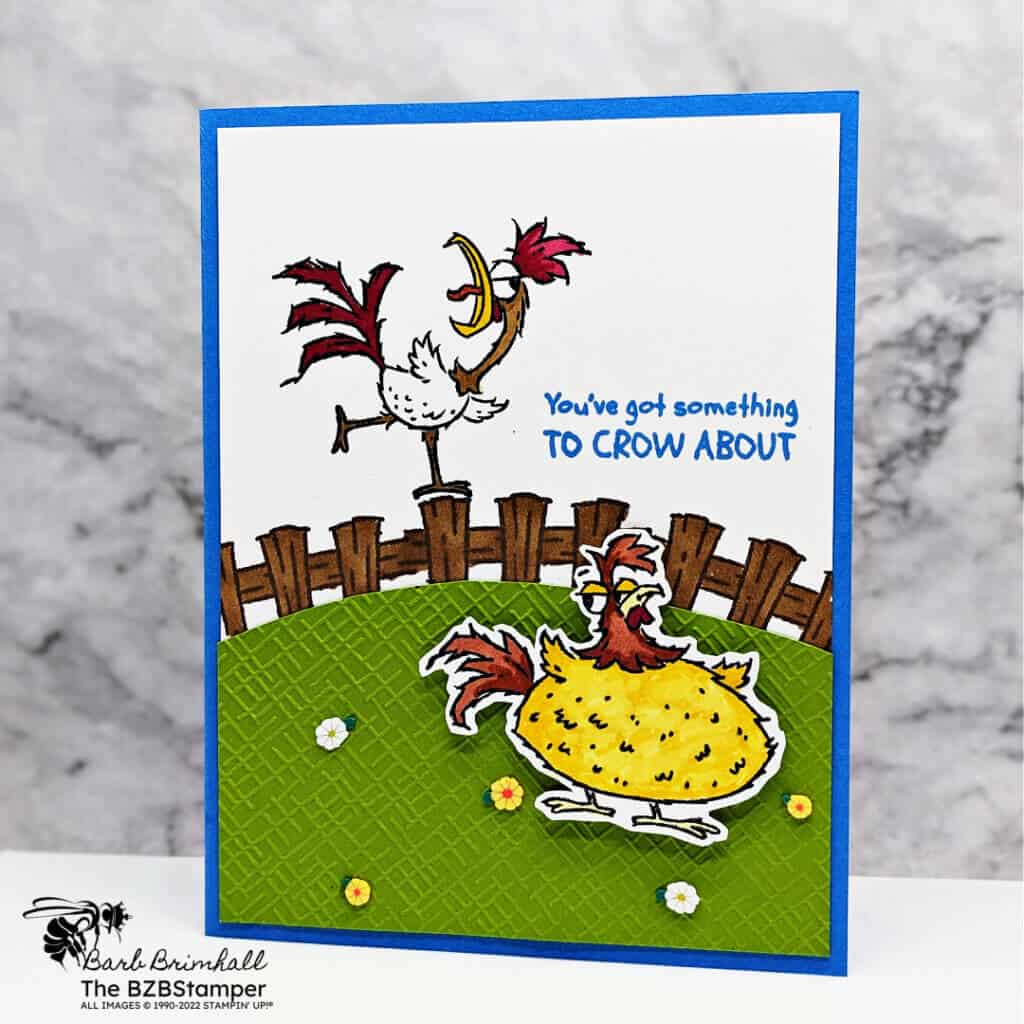
- Run the Granny Apple Green cardstock through the Cut & Emboss Machine and die-cut the top using the rounded die from the Basic Borders die. Using this as a guide, stamp the fence image in Early Espresso ink so that it will go around the die-cut. Color in the fence using the Light Pecan Pie Blend.
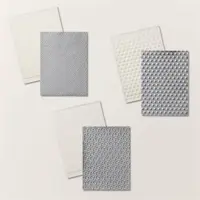
- Run the Granny Apple Green die-cut through the Cut & Emboss Machine using the “cross-hatch” Basics Folder. Adhere to the Basic White cardstock mat so that it’s just at the bottom of the fence. Tip: trim any excess Granny Apple Green from the bottom of the card so that it matches up with the bottom of the Basic White mat. Adhere the White mat to the front of the card.
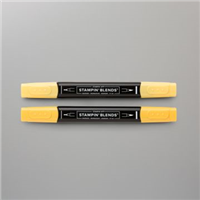
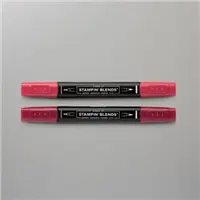
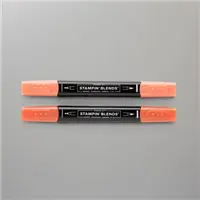
- Stamp the other rooster so that it’s standing on the fence using Black ink. Color in his feathers using the Cherry Cobbler, Daffodil Delight and Pecan Pie Light Blends.
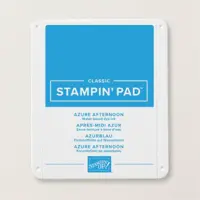
- Stamp the sentiment to the right of the rooster using Azure Afternoon ink.
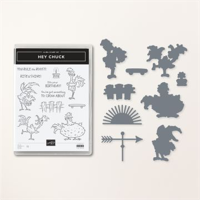
- Using the 2-3/4” scrap of Basic White cardstock, stamp the large rooster using Black ink. Color in using the Blends. Die-cut this image using the die from the Hey Chuck Bundle dies. Adhere to the card using Stampin’ Dimensionals.
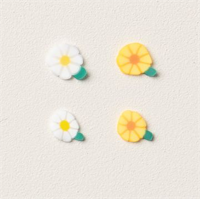
- Add 5 of the Daisy Embellishments to the “grass” using Glue Dots to finish.
Easy Peasy! This card comes together quickly thanks to the fun Hey Chuck Dies and Stampin’ Blends – you can find more information about them below. So, who do you know who would love to receive this card?😊
Thank you so much for stopping by today. I hope you are inspired to create today, whether it is this simple and cute handmade card or another cardmaking project. My goal is to help you carve out some creative joy! If you’d like more detailed directions on how to make this card, feel free to email me. Keep checking back for more projects.

- Get a Free Tutorial Every Week!
- Shop 24/7 in your PJ’s
- Queen Bee Rewards – Earn FREE Stamps!
- View the 2024-2025 Annual Catalog
- View NEW Online Products
- Monthly Crafting Kit
Don’t forget to pin this for later!
