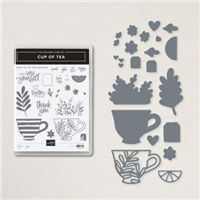
The Stampin’ Up! Cup of Tea stamp set is perfect for making a paper cup of tea with a sentiment that says what you want to say. With its coordinating Teacup Dies, you can create fun cards for your tea-loving friends. Let me show you how!
View more stamped samples & inspiration here
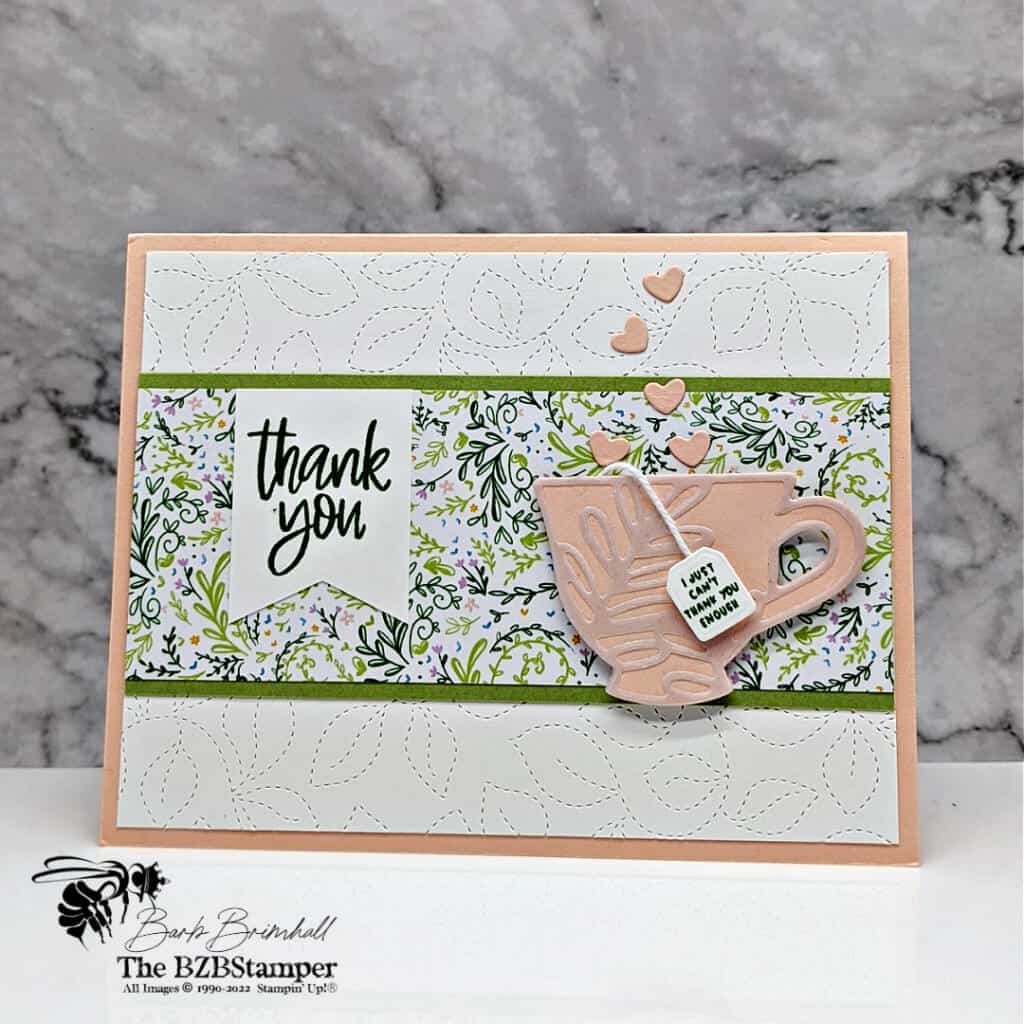
This card was so much fun to make using the Cup of Tea stamp set! From the adorable stitched background to the use of a vellum overlay on the teacup, it just had small touches that took it from “I like it” to “I friggin’ love it!” That doesn’t happen to me very often! 😃 I think the hardest part for me about this card will be deciding who to send it to!
Project Measurements
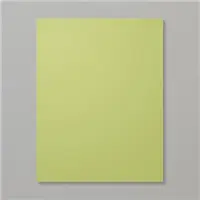
- Petal Pink: 5-1/2” x 8-1/2”, scored at 4-1/4” and 2” x 4” scrap for die-cutting
- Basic White: 4” x 5-1/4” (2) and 1-1/4” x 1-3/4” and 1” scrap for die-cutting
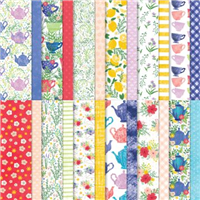
- Tea Boutique Paper: 2” x 5-1/4”
- Pear Pizzazz: 2-1/4” x 5-1/4”
- Cardstock Vellum: 2” x 2-1/2” scrap for die-cutting
Project Instructions
1. Fold the Petal Pink cardstock in half at the score line and burnish well with Bone Folder.
2. Adhere one of the 4” x 5-1/4” pieces of Basic White cardstock inside the card.
3. Run the other 4” x 5-1/4” piece of Basic White cardstock through the Cut & Emboss Machine, using the Stitched Greenery Die. Adhere to card front.
4. Adhere the Tea Boutique paper to the Pear Pizzazz cardstock and adhere to front of card.
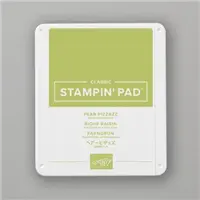
5. Stamp the sentiment onto the 1-1/4” x 1-3/4” piece of Basic White cardstock using Pear Pizzazz ink and use the Paper Snips to “flag notch” the bottom of the cardstock. Adhere to the card front as shown in the sample.
6. Using the Cut & Emboss Machine and theTeacup Dies from the Bundle, and cut out the teacup and 5 of the hearts from the scrap of Petal Pink cardstock. Use the outline teacup die to die-cut the scrap of cardstock vellum. Use the scrap of White cardstock to cut out the small tag.
7. Adhere the vellum die-cut to the Petal Pink cup using small dots of Liquid Adhesive.
8. Using the Pear Pizzazz ink pad, stamp the sentiment onto the small tag. Cut 1-1/2” of White Baker’s Twine and adhere one end to the back of the Petal Pink teacup and the other to the back of the stamped tag. Adhere the tag to the front of the teacup using a Stampin’ Dimensional.
9. Adhere the teacup to the front of the card using Stampin’ Dimensionals. Add the 5 die-cut hearts onto the card using small dots of Liquid Adhesive to finish.

Supplies Used on this Project
Pin It
Go ahead and pin this image in your “favorites” board so you can find this when you need it!
- Get a Free Tutorial Every Week!
- Shop 24/7 in your PJ’s
- Queen Bee Rewards – Earn FREE Stamps!
- View the 2024-2025 Annual Catalog
- View NEW Online Products
- Monthly Crafting Kit
Thank you so much for stopping by and checking out this papercrafting tutorial. I hope you are inspired to create and send cards. I love sharing how to make cards here on the BZBStamper blog and I can’t thank you enough for all of your support!


