Stamp your way to beautiful handmade cards using the Thoughtful Wishes Stamp Set by Stampin’ Up! If you’re as passionate about stamping and heartfelt sentiments as I am, you’re going to love exploring the possibilities with this stamp set. It makes it easy to create elegant, personalized cards that convey warmth and thoughtfulness, perfect for any occasion.
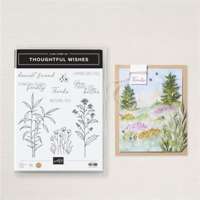
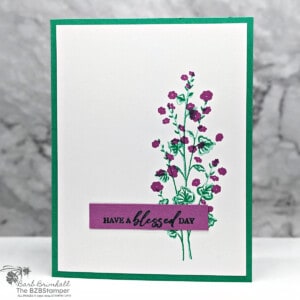
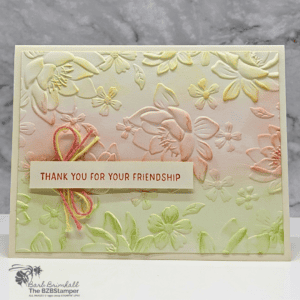
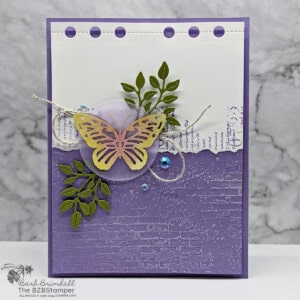
The Thoughtful Wishes Stamp Set is truly a gem in any crafter’s collection. With its delicate line-drawn greenery, spindly thistle, and blossoming flowers, it offers a natural elegance that can elevate any card or paper project. What makes this stamp set stand out is the versatility it brings — whether you’re aiming for a subtle background or a striking focal point, these stamps provide the flexibility to achieve your creative vision.
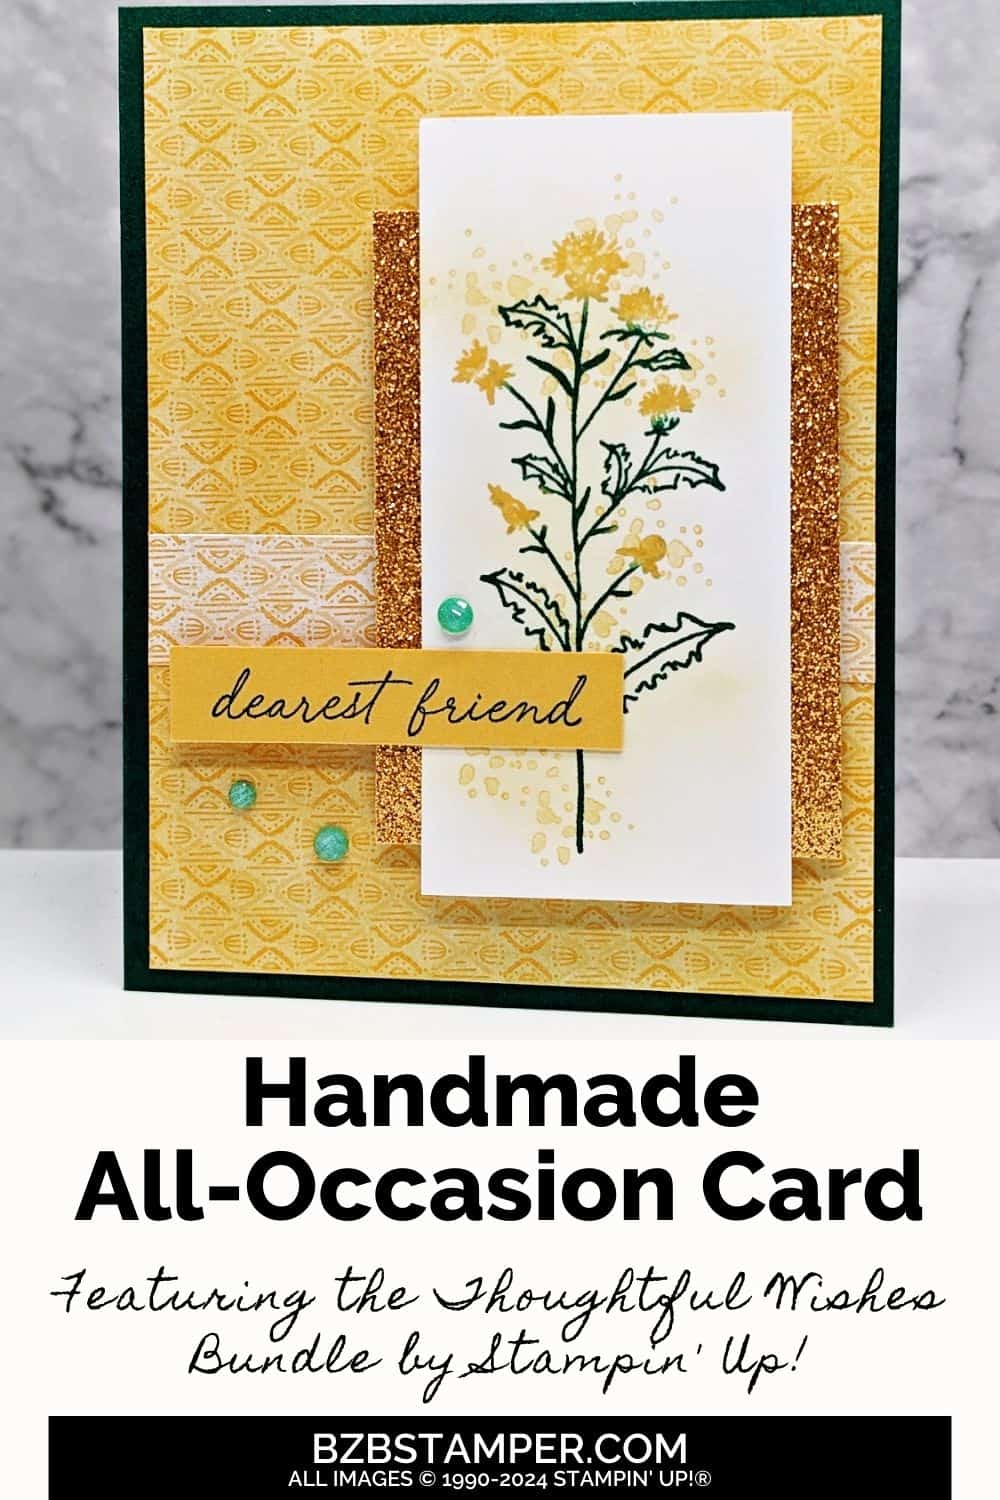
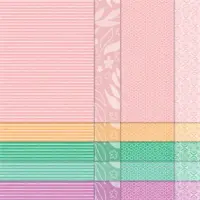
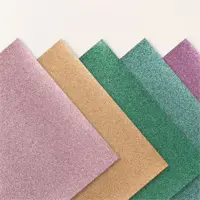
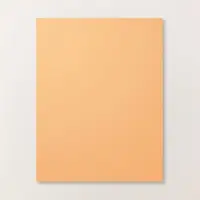
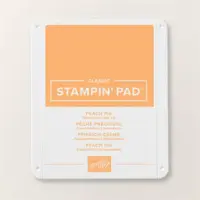
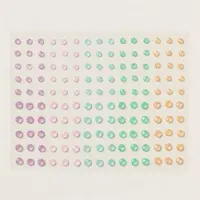
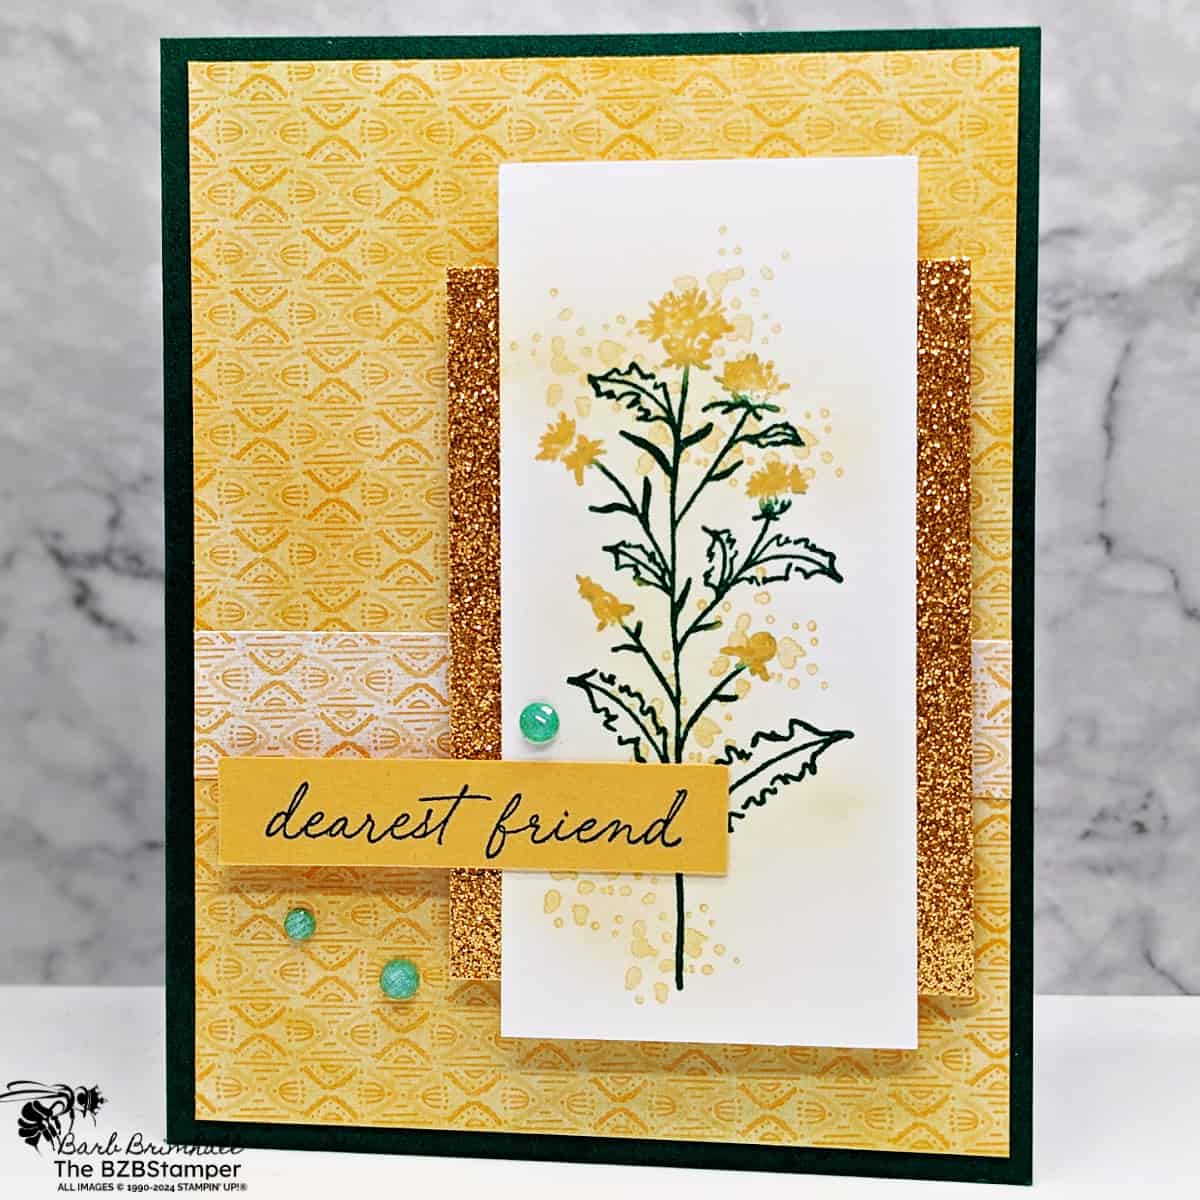
For this card, I used the new In Color, Peach Pie. Color Coordination is a snap as I combined Shaded Spruce with our vibrant Peach Pie In Color products, including the shimmering Glimmer Paper, the chic Designer Series Paper, and the Peach Pie Shimmer Gems for that final touch of sparkle and shimmer! All together, they create a cohesive and stunning look.
Get ready to stamp, color, and layer as we craft a handmade card that is not only visually appealing but also deeply meaningful. And best of all? You can recreate it in any color! Let’s get our stamps ready and begin this creative journey!
How To Make This Card
Project Skill Level: Busy Bee
Busy Bee projects are designed for the beginner or busy papercrafter. This is a basic cardmaking project that can be achieved by someone who has never made a handmade card before. You can view more Busy Bee cards here.
Cardstock Measurements:
- Shaded Spruce Cardstock: 5-1/2″ x 8-1/2″, scored at 4-1/4″
- Basic White Cardstock: 4″ x 5-1/4″
- Peach Pie In Color Designer Paper: 4″ x 5-1/4″ and 3/4″ x 4″
- Peach Pie In Color Glimmer Paper: 2-1/2″ x 3-1/2″
- Basic White Cardstock: 2″ x 4-1/4″
- Peach Pie Cardstock: 1/2″ x 2-1/2″


Grab your Free copy
Get 5 Bee-utiful Exclusive
Card Sketches in Your Inbox
Join our newsletter and receive a honey of a package of five quick & simple cards guaranteed to make your creativity buzz! Sign up now and let the goodness flow straight to your inbox!
Step-by-Step Instructions:
- Fold the Shaded Spruce cardstock in half at the score line to create the card base.
- Adhere the 4″ x 5-1/4″ piece of Basic White cardstock inside the card.
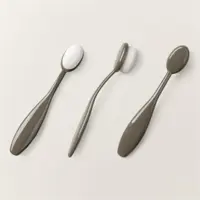
- Using the 4″ x 5-1/4″ piece of Peach Pie Designer Paper, sponge over the entire paper using the Small Blending Brush and the Peach Pie ink pad. Adhere to the front of the card.
- Adhere the 3/4″ x 4″ piece of Peach Pie Designer Paper to the front of the card as shown in the sample.
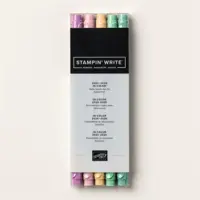
- Using the floral stem image, use the Shy Shamrock marker to color in only the stems and leaves. Use the Peach Pie marker to color in only the flowers. “Huff” on your stamp to remoisten the ink and stamp onto the 2″ x 4-1/4″ piece of Basic White cardstock.
- Using the speckled stamp, ink with Peach Pie ink, stamp off twice on your scratch paper and stamp onto the top of the floral stem image. Repeat as desired so that it’s up and down the image, remember to stamp off your ink at least twice.
- Using your small Blending Brush. lightly sponge Peach Pie ink over the speckled images, remember to keep your touch light.
- Adhere the White cardstock to the center of the Peach Pie Glimmer Paper.
- Stamp the sentiment on the 1/2″ strip of Peach Pie cardstock using Shaded Spruce ink. Adhere only the right side to the piece from step #8.
- Adhere the 3 pieces to the front of the card using Stampin’ Dimensionals.
- To finish, add 3 of the 2024-2026 Shimmer Dots as desired.
A Tip from Barb
This is the perfect card sketch for whenever you have some pretty paper you’d like to use! Just grab 2-3 colors from the paper you want to use and pull your coordinating cardstock, inks and any embellishments you’d like! An easy peasy card without any stress – I love when my pretty paper can do the heavy lifting on my cards!😊
Thanks for stopping by for today’s card tutorial! My goal is to help you make quick & easy greeting cards for all occasions. If you’d like more detailed directions on how to make this card, feel free to email me. I hope you’ll join me again for more card-making ideas!

Don’t forget to pin this for later!
