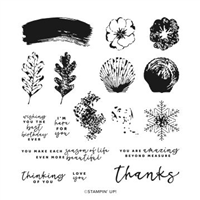
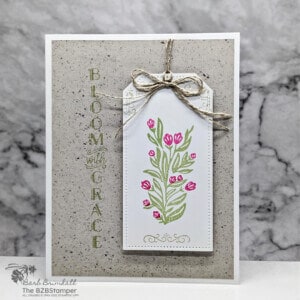
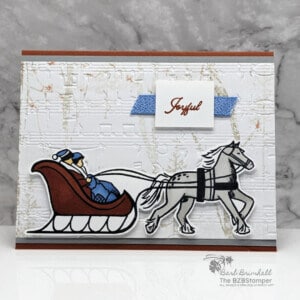
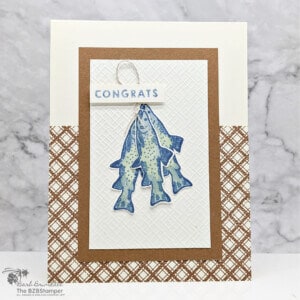
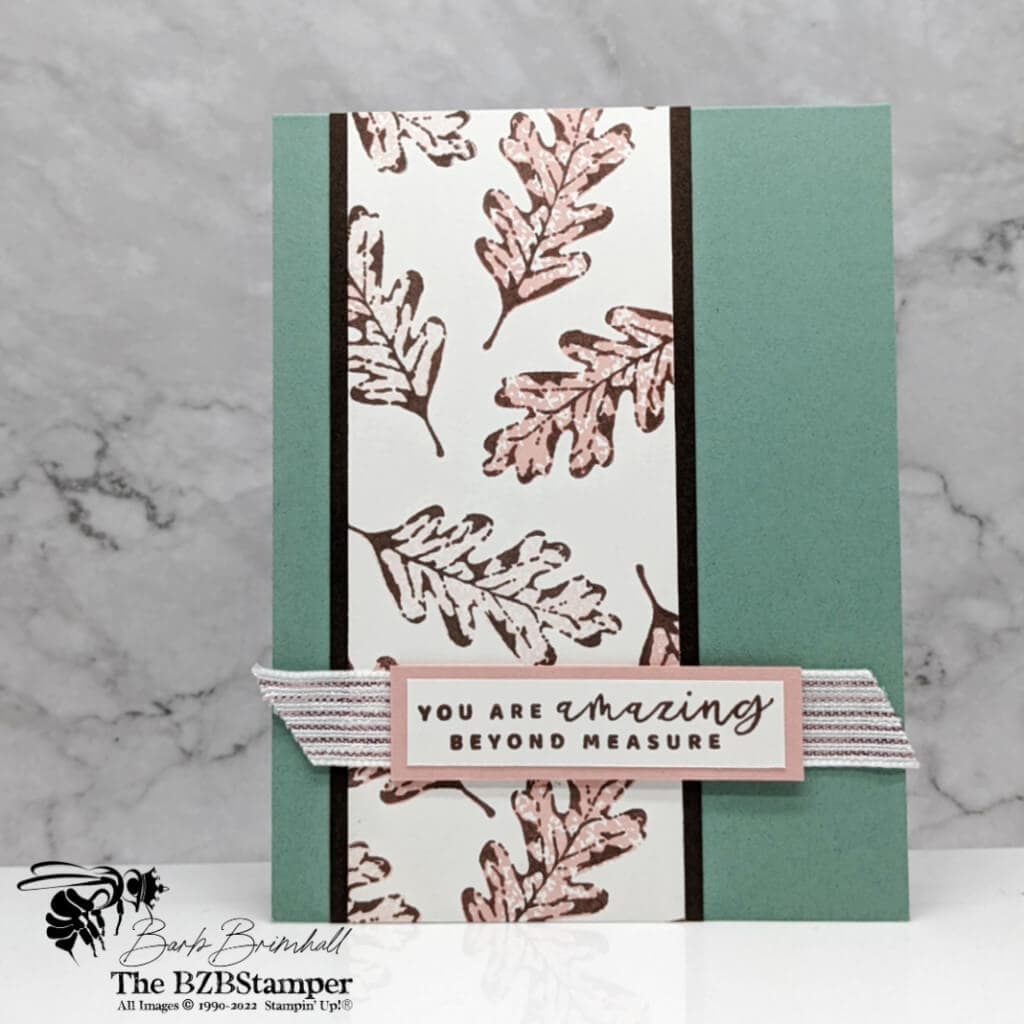
The Season of Chic stamp set by Stampin’ Up! is so versatile thanks to its two-step stamp design and the ability to create the look of texture in seconds. You’re going to love how easy it is to use this stamp set!
View more stamped samples & inspiration here
I know it’s hot & sizzling outside right now, but for many crafters, our thoughts are already turning to Fall!
I love the Season of Chic Bundle – it has something for every season! This beautiful Bundle is packed with lovely seasonal images such as flowers, leaves, snowflakes, and shells. Make them the focus or layer them on a card or tag. You’ll also get a crosshatch pattern you can use as a background.
Although I was designing for Fall, I still wanted to add a touch of softness to this card, so I went with the following Color Combination.
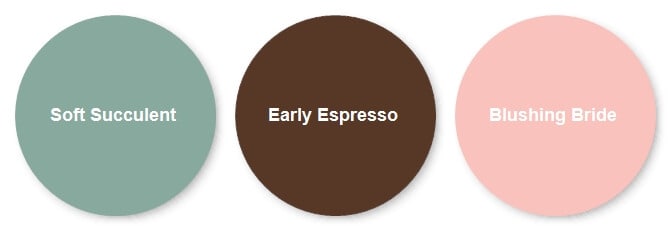
If you’d prefer a more “autumn” color palette, be sure to check out my Color Combination Library, which will provide you with some additional color inspiration! Make sure you download the written Tutorial using the link below – that way you’ll be able to create this card during any season!
Project Measurements
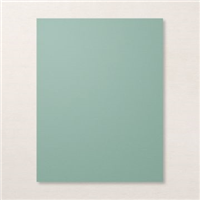
- Soft Succulent: 4-1/4” x 11”, scored at 5-1/2”
- Early Espresso: 2-1/2” x 5-1/2”
- Blushing Bride: 3/4” x 2-3/4”
- Basic White: 4” x 5-1/4” and 2-1/4” x 5-1/2” and 1/2” x 2-1/2”
Project Instructions
1. Fold the Soft Succulent cardstock in half at the score line and burnish well with your Bone Folder to create the base card.
2. Adhere the 4” x 5-1/4” piece of Basic White cardstock inside the base card.
3. Using the 2-1/4” strip of Basic White cardstock, stamp the “open” leaf onto the cardstock using Early Espresso ink. Repeat until the entire cardstock is filled.
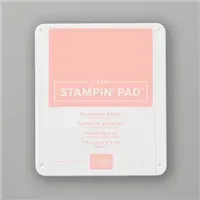
4. Using the “bold” leaf stamp, ink with Blushing Bride Ink, lightly tap off some of the ink on your scratch paper, and stamp inside the Early Espresso leaf. Stamp again without reinking the stamp. Repeat steps until all the leaves are filled.
5. Adhere the stamped White cardstock onto the Early Espresso cardstock and adhere to the card front about 1/2” over from the left side of the card base.
6. Using the 1/2” strip of White cardstock, stamp the sentiment using Early Espresso ink and adhere to the Blushing Bride cardstock.
7. Cut about 4-1/2” of ribbon and adhere to the card using Liquid Adhesive only in the center (where it won’t show when covered by the sentiment strip.)
8. Adhere the sentiment strip over the ribbon using Stampin’ Dimensionals to finish.

Supplies Used on this Project
Pin It
Go ahead and pin this image in your “favorites” board so you can find this when you need it!
- Get a Free Tutorial Every Week!
- Shop 24/7 in your PJ’s
- Queen Bee Rewards – Earn FREE Stamps!
- View the 2024-2025 Annual Catalog
- View NEW Online Products
- Monthly Crafting Kit
Thank you so much for stopping by and checking out this papercrafting tutorial. I hope you are inspired to create and send cards. I love sharing how to make cards here on the BZBStamper blog and I can’t thank you enough for all of your support!


