Today’s post is all about making a handmade Thinking of You card that will brighten someone’s day. This is one of those cards that I like to have on hand because I never know when I’ll need to send one.
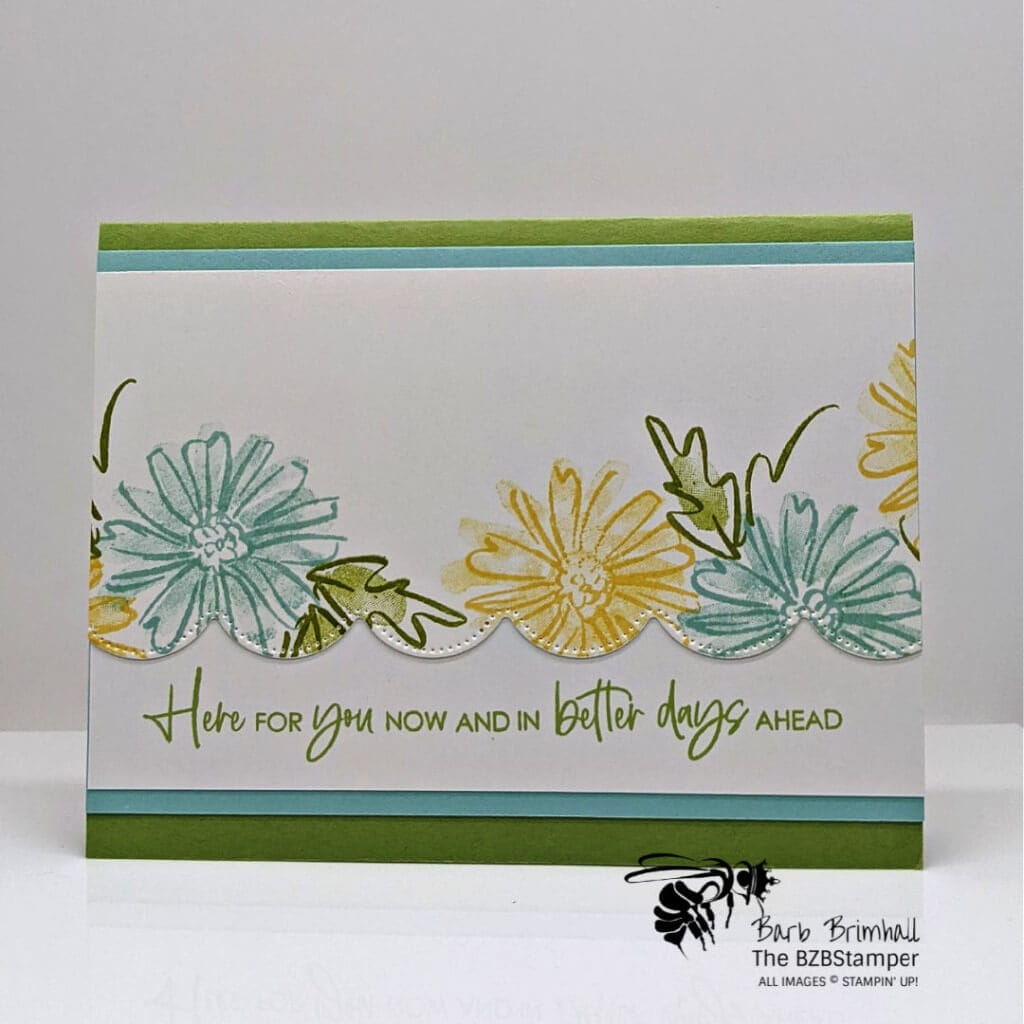
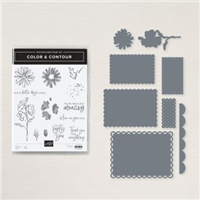
I love the Color & Contour stamp set for it’s versatility and those fabulous fonts! This handmade card could double as a Thinnking of You card or even a sympathy card.
There are 2 focal points on this card and they work well together. The large scallop die from the Scalloped Contour Dies (part of the Color & Contour Bundle) and the gorgeous color combination used on this card:
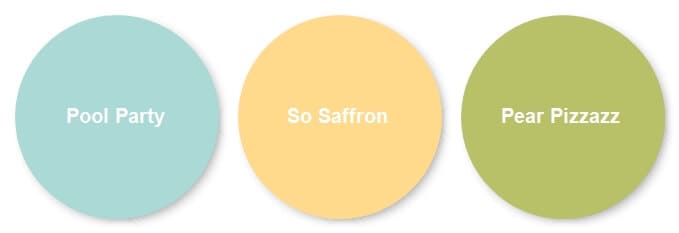
The best part about this card layout is that it can be done in any colors, with any sentiment, and still work. Here are the instructions on how to make this card:
Supplies Used on this Project
Cardstock Measurements
- Pear Pizzazz Cardstock: 5-½” x 8-½”
- Pool Party Cardstock: 3-¾” x 5-½”
- Basic White Cardstock:
- 3-½” x 5-½”
- 3” x 5-½”
- 4” x 5-¼”
Project Instructions
- Cut a piece of Pear Pizzazz Cardstock to 5-1/2” x 8-1/2”, score at 4-1/4” and fold at score line to create your base card.
- Cut a piece of 4” x 5-1/4” Basic White cardstock and adhere to inside of card.
- Cut a 3-3/4” x 5-1/2” piece of Pool Party cardstock and a 3-1/2” x 5-1/2” piece of Basic White cardstock. Stamp the sentiment onto the bottom of the Basic White layer using Old Olive ink and layer the White cardstock onto the Pool Party cardstock. Adhere to base card.
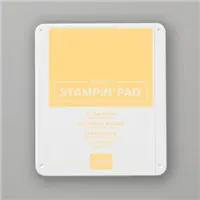
- Cut a 3” x 5-1/2” piece of Basic White cardstock. Lightly ink the “bold” floral image using Pool Party ink and stamp onto the White cardstock about 1/2” up from the bottom. Ink the detailed floral image using the same ink and stamp over the bold image. Clean stamp thoroughly and repeat these steps using the So Saffron ink and Pool Party ink until you’ve filled the entire width of the cardstock. (Tip: leave room between some of the flowers to stamp the leaves.)
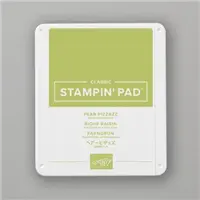
- Using the same cardstock, ink up the bold leaf using Pear Pizzazz ink and stamp in between the flowers where there’s room. Stamp detailed “open” leaf using Old Olive ink over the bold images.
- Using the Cut & Emboss Machine and the Scalloped Contours Dies that come in the Bundle, cut off the bottom of the White cardstock from Steps 4 & 5 using the large scallop border die. You should be cutting about 1/2” off the bottom.
- Adhere the die-cut piece to the base card so that it matched up with the piece from Step #3. Tip: if your stamped piece covers up the stamped sentiment, simply trim the top of the cardstock until it “fits”.

Pin It
Like this project? Be sure to pin it so you can easily find it again. It will take you right back here to all the details of the card.
- Get a Free Tutorial Every Week!
- Shop 24/7 in your PJ’s
- Queen Bee Rewards – Earn FREE Stamps!
- View the 2024-2025 Annual Catalog
- View NEW Online Products
- Monthly Crafting Kit
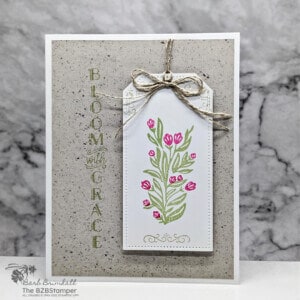
Try this card sketch idea with different sentiments and colors and you’ll have a card in minutes! Leave me a comment and let me know what colors you’d use for this card.







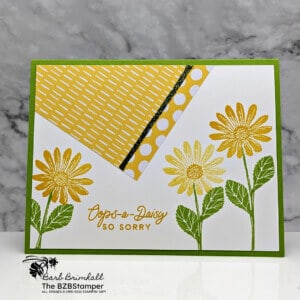
This is such a great sentiment on a really lovely card. The colors are great together!
Thank you so much Stacy – so happy you liked it! This is one of my favorite color combinations! *Ü*