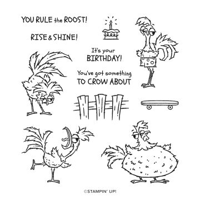
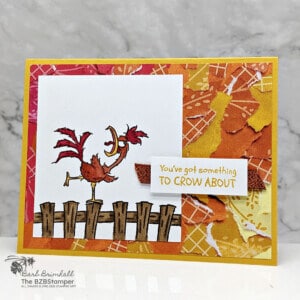
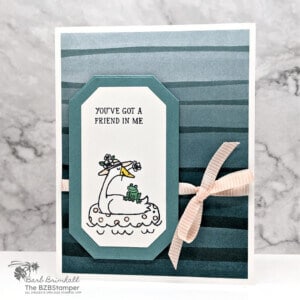
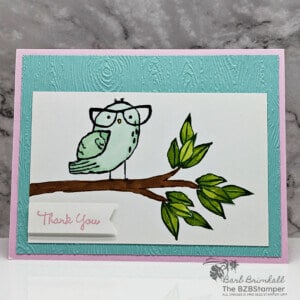
Hey there, creative souls! Are you ready to inject a healthy dose of quirkiness into your paper crafts? The Hey Chuck Stamp Set by Stampin’ Up! is here to help you do just that! With its assortment of sassy chickens and cute accessories, this stamp set is perfect for adding a touch of fun to your birthday cards or any other crafty projects. Build a charming farmyard scene with the wooden fence image or let your imagination take flight with endless possibilities. Whether you’re a seasoned crafter or a newbie, this quirky set is a must-have for those who love to make their creations stand out. So, why wait? Cluck your way to awesomeness and grab the Hey Chuck Stamp Set today!
View more stamped samples & inspiration here
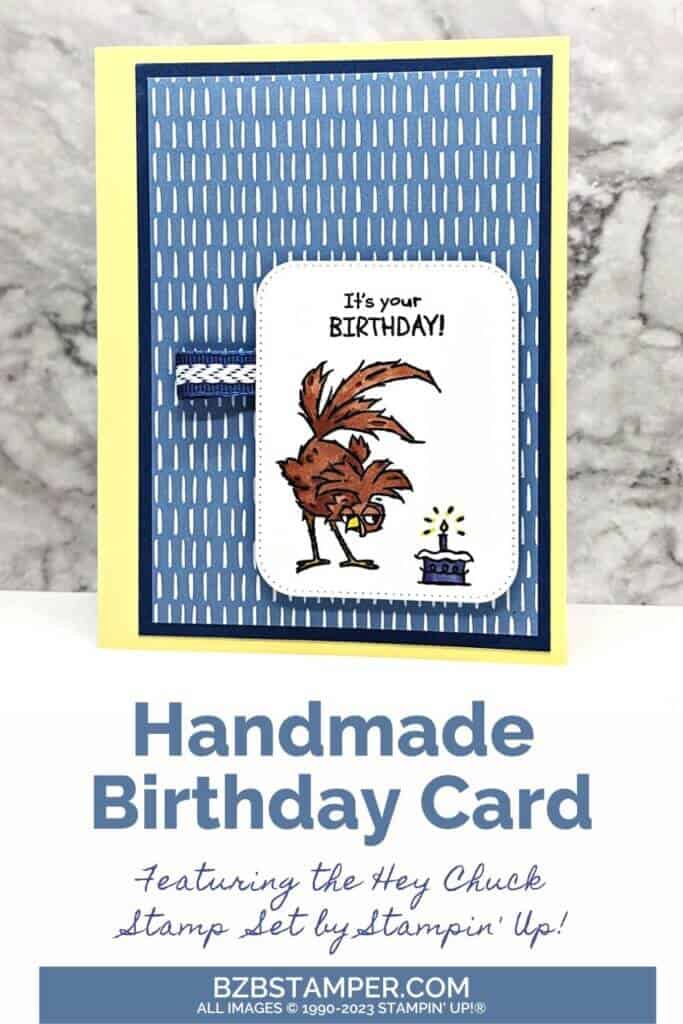
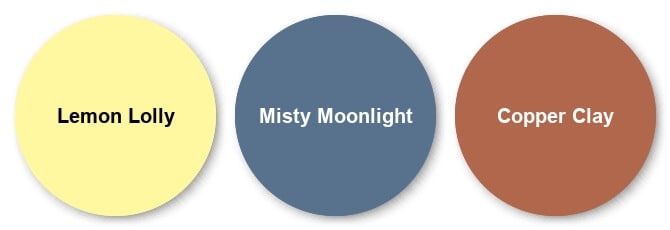
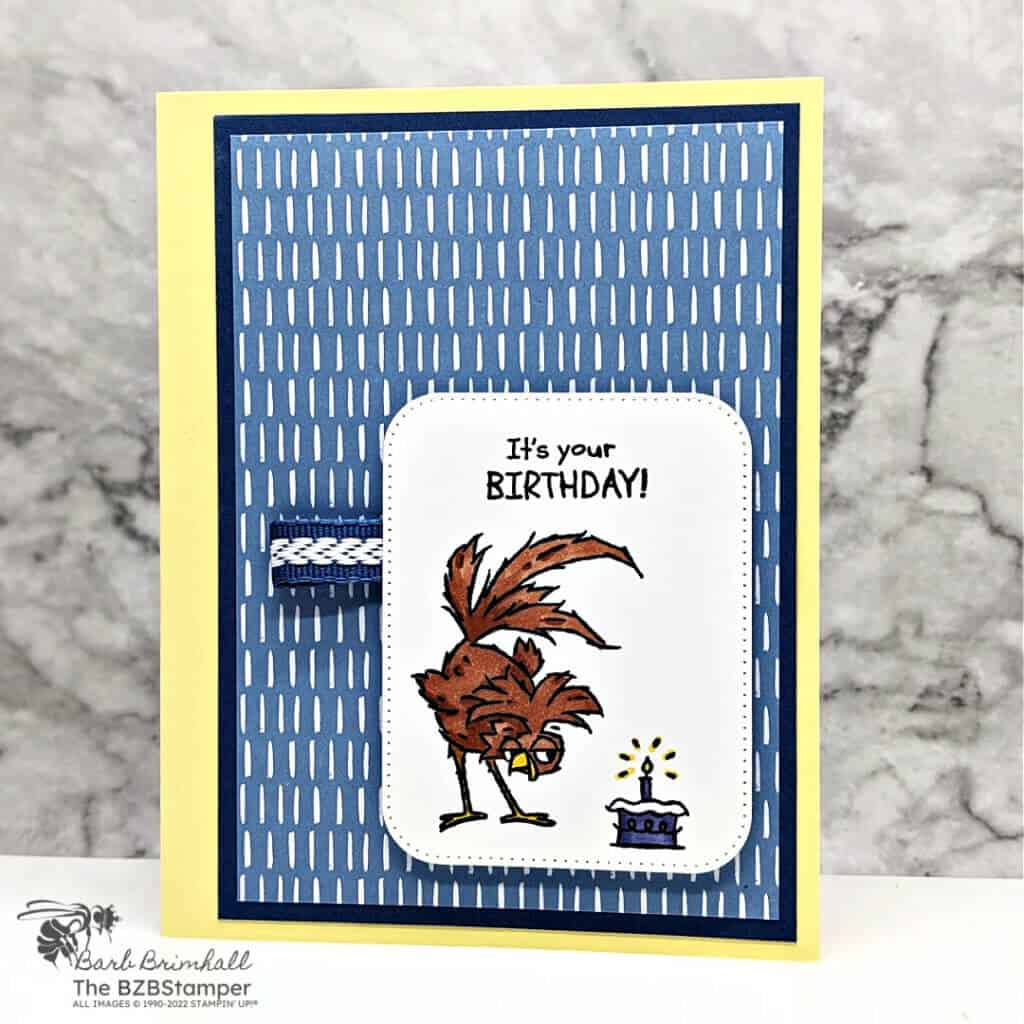
This card was so much fun to make! I think this rooster is just adorable! I knew I wanted to color him in with our Stampin’ Blends so I chose a fun new color combination for me, but if you’d prefer something different, make sure you check out my Color Combination Library which will be sure to provide you inspiration.
Project Measurements
- Lemon Lolly Cardstock: 5-1/2″ x 8-1/2″, scored at 4-1/4″
- Basic White: 4″ x 5-1/4″ and 3″ x 4″ (for die-cutting)
- Misty Moonlight: 3-3/4″ x 5-1/4″
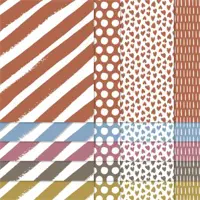
- 2023-2025 In Color Designer Paper (Boho Blue): 3-1/2″ x 5″
Instructions
- Fold the Lemon Lolly cardstock in half at the score line and burnish well with your Bone Folder to create the card base.
- Adhere the 4″ x 5-1/4″ piece of Basic White cardstock inside the card.
- Adhere the Boho Blue Designer Paper to the Misty Moonlight cardstock and adhere slightly off-center to the right on the card front.
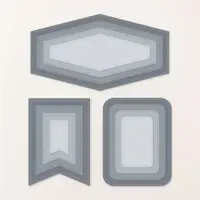
- Using the Cut & Emboss Machine and the 2-3/8″ x 3″ tag from the Nested Essentials Dies, cut out the tag from the 3″ x 4″ Basic White cardstock.
- Using the die-cut tag, stamp the rooster on the bottom left, the cake on the bottom right and the sentiment at the top using Black Memento ink pad.
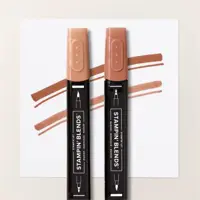
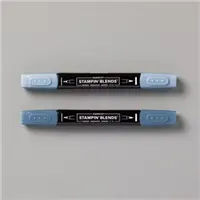
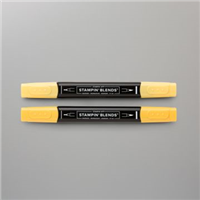
- Color in the cake using the Light Misty Moonlight and Dark Daffodil Delight Blends.
- Color in the Rooster using the Copper Clay Blends and the Dark Daffodil Delight Blend for his beak.
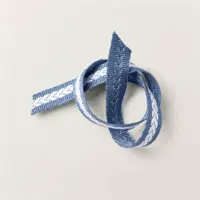
- Cut approximately 3 inches of the Ribbon, fold in half, and adhere to the back of the White tag (I used scotch tape.)
- Adhere the tag to the card base as shown in the sample using Stampin’ Dimensionals to finish.
Supplies Used in this Project
Pin It!
Pin this image below to your board for all those handmade birthday card ideas you have saved, so when you have an opportunity for a fun cardmaking session, you will be able to get right to the creative part!
Thanks for stopping by for today’s card tutorial! My goal is to help you make quick & easy greeting cards for all occasions. If you’d like more detailed directions on how to make this card, feel free to email me. I hope you’ll join me again for more card-making ideas!


