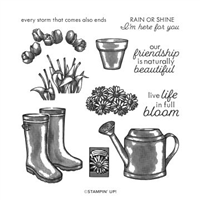
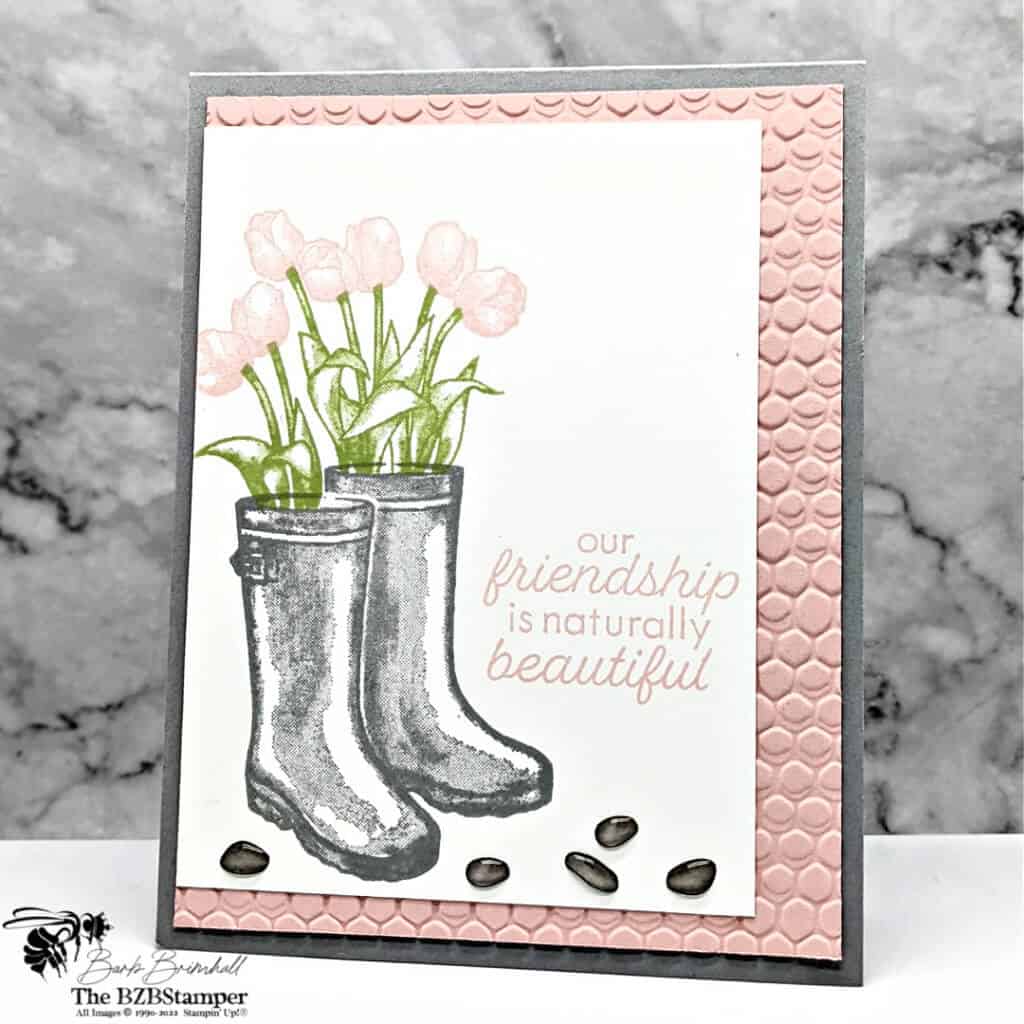
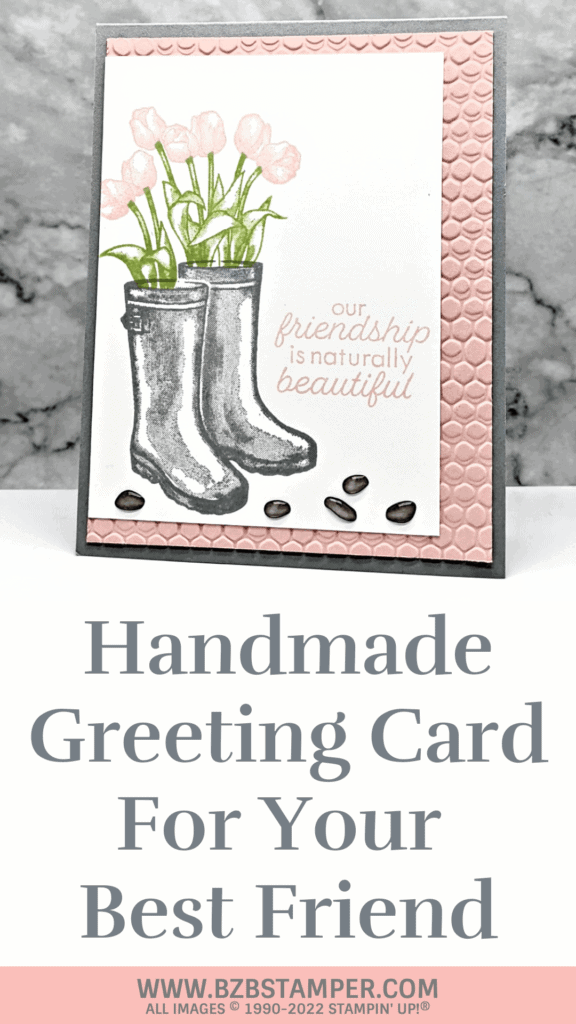
Make this beautiful Handmade Card for your best friend using the Flowering Rain Boots Stamp Set by Stampin’ Up! It’s all the little touches on this card that make it special. Let me show you how easy it is to make this DIY greeting card!
View more stamped samples & inspiration here
I love tulips, I love soft colors, and I love card sketches that are a bit different. All that adds up to this fun card that I can’t wait to send to my bestie! She’s going to love it!
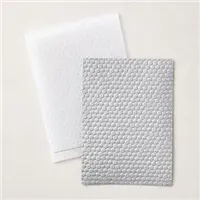
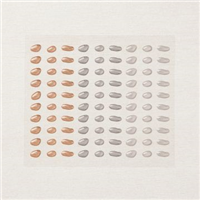
The special touches on this card include the Hive 3D Embossing Folder (if you don’t have a Cut & Emboss Machine, just leave the mat unembossed), the colors, and those very fun Pebble Embellishments!
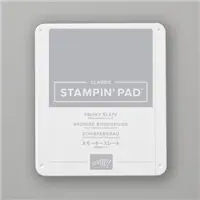
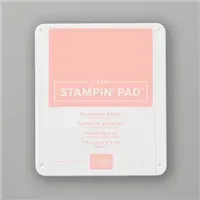
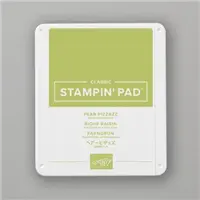
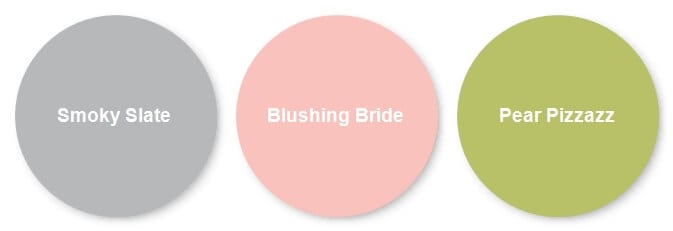
For the Color Combination, I went with Smoky Slate, Blushing Bride, and Pear Pizzazz. Three soft colors that are perfect for a rainy day – without being dreary!
If you want something a bit brighter, then check out my Color Combination Library – there are lots of ideas in there for you!
And finally, this is a two-step stamp set, which makes it super simple to use! Check out other samples I’ve made with this stamp set here.
Project Measurements
- Smoky Slate: 4-1/4” x 11”, scored at 5-1/2”
- Blushing Bride: 4” x 5-1/4”
- Basic White: 4” x 5-1/4” and 3-1/2” x 4-3/4”
Project Instructions
1. Fold the Smoky Slate cardstock in half.
2. Adhere the 4” x 5-1/4” piece of Basic White Cardstock inside the base card.
3. Run the Blushing Bride cardstock through the Cut & Emboss Machine using the Hive 3D Embossing Folder. Adhere to the front of the card base.
4. Using the 3-1/2” x 4-3/4” Basic White Cardstock, stamp the boots using the Smoky Slate ink pad.
5. To the right of the boots, stamp the sentiment using Blushing Bride ink.
6. Using the stems stamp, stamp the stems inside the boots using Pear Pizzazz ink.
7. Stamp the tulips onto the stems using Blushing Bride ink.
8. Adhere the White cardstock to the card base as shown in the sample.
9. To finish, add several of the Pebble Enamel Shapes to finish.

Supplies Used on this Project
Pin This
Pin the image below to your board for all those handmade card ideas you have saved so when you have an opportunity for a fun cardmaking session you will be able to get right to the creative part!
- Get a Free Tutorial Every Week!
- Shop 24/7 in your PJ’s
- Queen Bee Rewards – Earn FREE Stamps!
- View the 2024-2025 Annual Catalog
- View NEW Online Products
- Monthly Crafting Kit
Thanks for stopping by today, I hope you enjoyed this papercrafting tutorial. If you have a question or if I can help you with anything, please leave me a comment. I’d love to hear from you!


