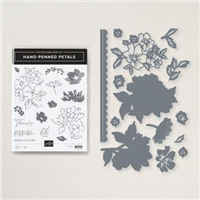
The Hand-Penned Petals Bundle by Stampin’ Up! was my first purchase from the 2021-2022 Annual Stampin’ Up! Catalog and I find myself using it over & over again. I can’t wait to share with you how easily this card came together!
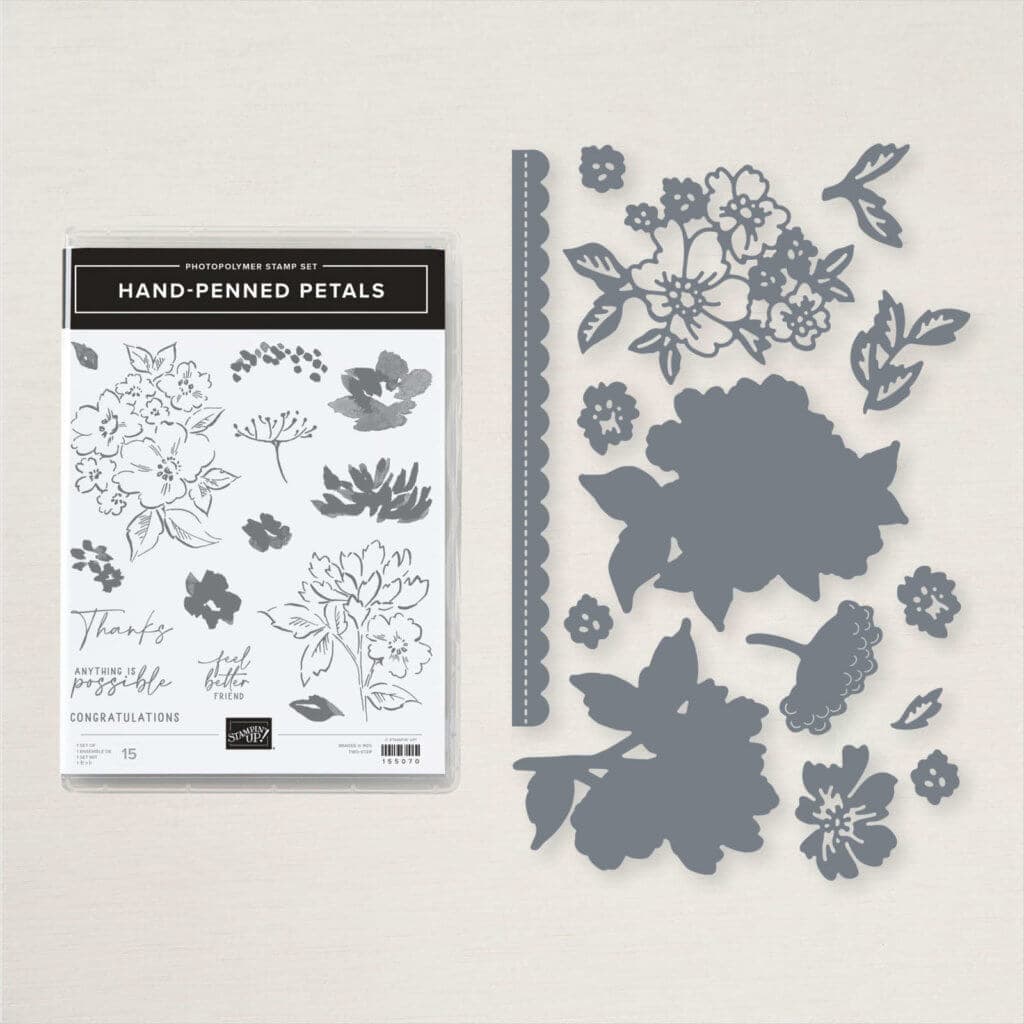
I am in love with the Hand-Penned Petals stamp set – it features beautifully drawn floral images and coordinating fill stamps that give the design an effortless watercolored look. This stamp set is perfectly designed for every occasion! Be watching for more cards using this stamp set!
But for today’s card, I concentrated on the gorgeous Penned Flowers Dies. These delicate florals and botanical accents make them perfect for all your crafting needs.
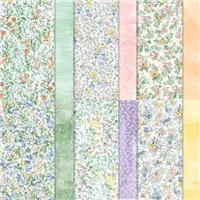
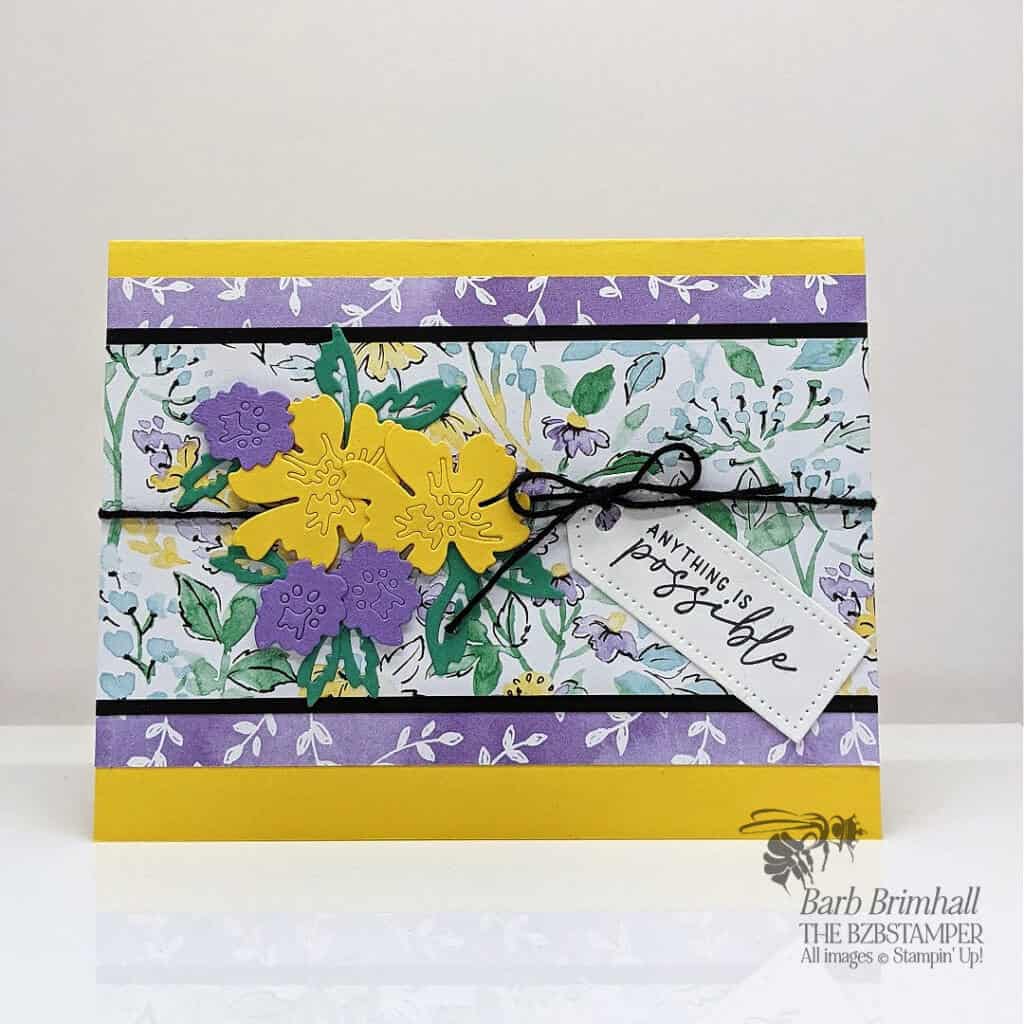
And can we chat about that gorgeous Hand-Penned Designer Paper? For today’s card, I decided to pull the color combination directly from the paper and I’m really happy how it turned out – it’s so bright and cheery! Here’s the color combo I used:
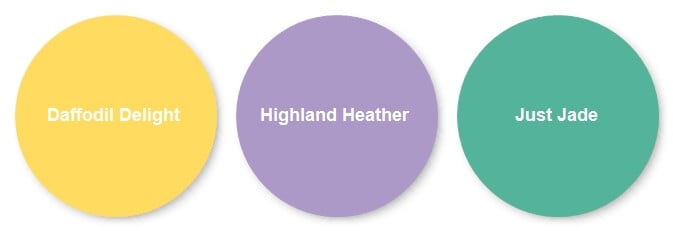
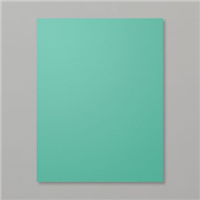
Aren’t those colors yummy? I have to say, Just Jade is rapidly becoming one of my favorite greens! Ok, so to the tutorial – here’s how I made this card:
Supplies Used on this Project
Card Measurements
- Daffodil Delight: 5-1/2” x 8-1/2”, scored & folded at 4-1/4” to create card base; scraps for die-cutting
- Basic White: 4” x 5-1/4” and scrap for tag
- Basic Black: 2-5/8” x 5-1/2”
- Highland Heather: scrap for die-cutting
- Just Jade: scrap for die-cutting
- Hand-Penned Designer Series Paper: 3-1/2” x 5-1/2” (purple pattern) and 2-1/2” x 5-1/2” (floral)
Project Instructions
- Cut a piece of Daffodil Delight Cardstock to 5-1/2” x 8-1/2”, score at 4-1/4” and fold at score line to create your base card.
- Cut a piece of 4” x 5-1/4” Basic White Cardstock and adhere inside your base card.
- Using scraps of Daffodil Delight, Highland Heather and Just Jade cardstock, use the Cut & Emboss Machine with the Penned Flowers Dies that come in the Bundle to cut out the floral and leaf images. (See sample picture.)
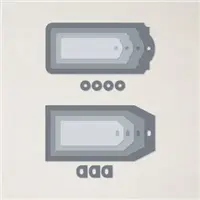
- On a scrap of Basic White cardstock, stamp the sentiment using Black memento ink and cut out using the Cut & Emboss Machine and the small Tailor Made Tag Die (measures 2-1/4” wide.)
- Cut a 3-1/2” x 5-1/2” of the Hand-Penned Designer Paper (purple pattern.) Adhere to card base.
- Cut a 2-1/2” x 5-1/2” floral piece of Hand-Penned Designer Paper and adhere to a 2-5/8” x 5-1/2” piece of Basic Black cardstock.
- Wrap Black Baker’s Twine from the Essentials Pack around the card mat, add the Tag from Step #4, and tie into a bow. Adhere to the card base.
- Assemble the flowers and leaves from Step #3 and then adhere to card using Stampin’ Dimensionals.

Pin It For Later
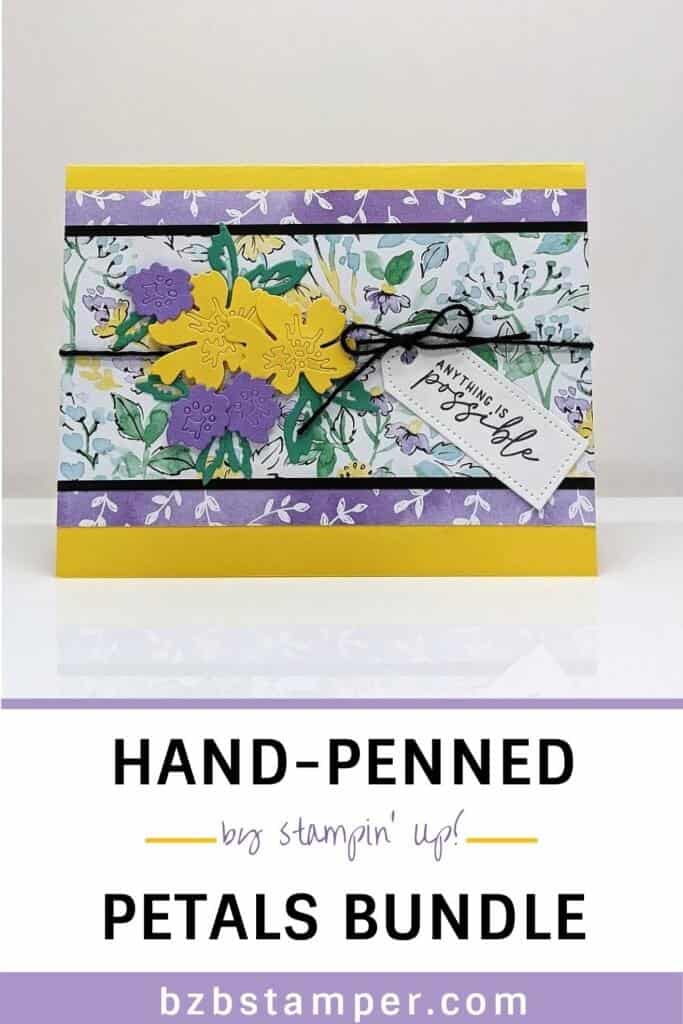
Now it’s your turn to make this project! Get your supplies and think of who you can make and send these cards to. Showing that you noticed something someone else did or achieved is priceless! Pin this image below to easily find it again.
- Get a Free Tutorial Every Week!
- Shop 24/7 in your PJ’s
- Queen Bee Rewards – Earn FREE Stamps!
- View the 2024-2025 Annual Catalog
- View NEW Online Products
- Monthly Crafting Kit
Thanks so much for stopping by today! Be sure to give this card sketch idea a try and mail it to a friend that is celebrating something! It’s so fun to make a card but it’s even more fun to send! #makeacardsendacard


