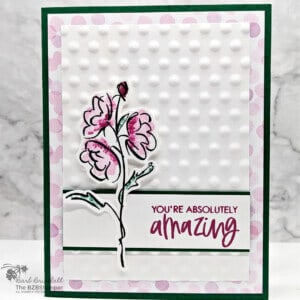
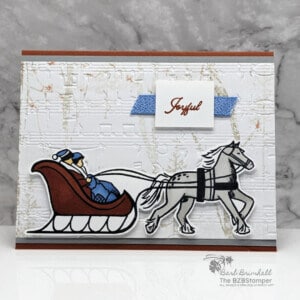
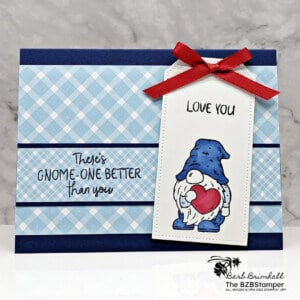
Looking for just the right staple sentiment? Then check out the Go To Greetings Stamp Set. This set includes three different sizes and fonts of the most stamped greetings that you’ll need.
View more stamped samples & inspiration here
I absolutely love the Go To Greetings Stamp set by Stampin’ Up! It’s one of those stamp sets that every stamper should have in their arsenal!
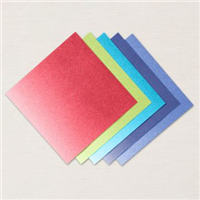
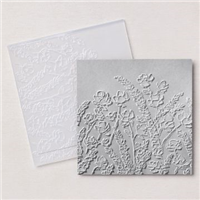
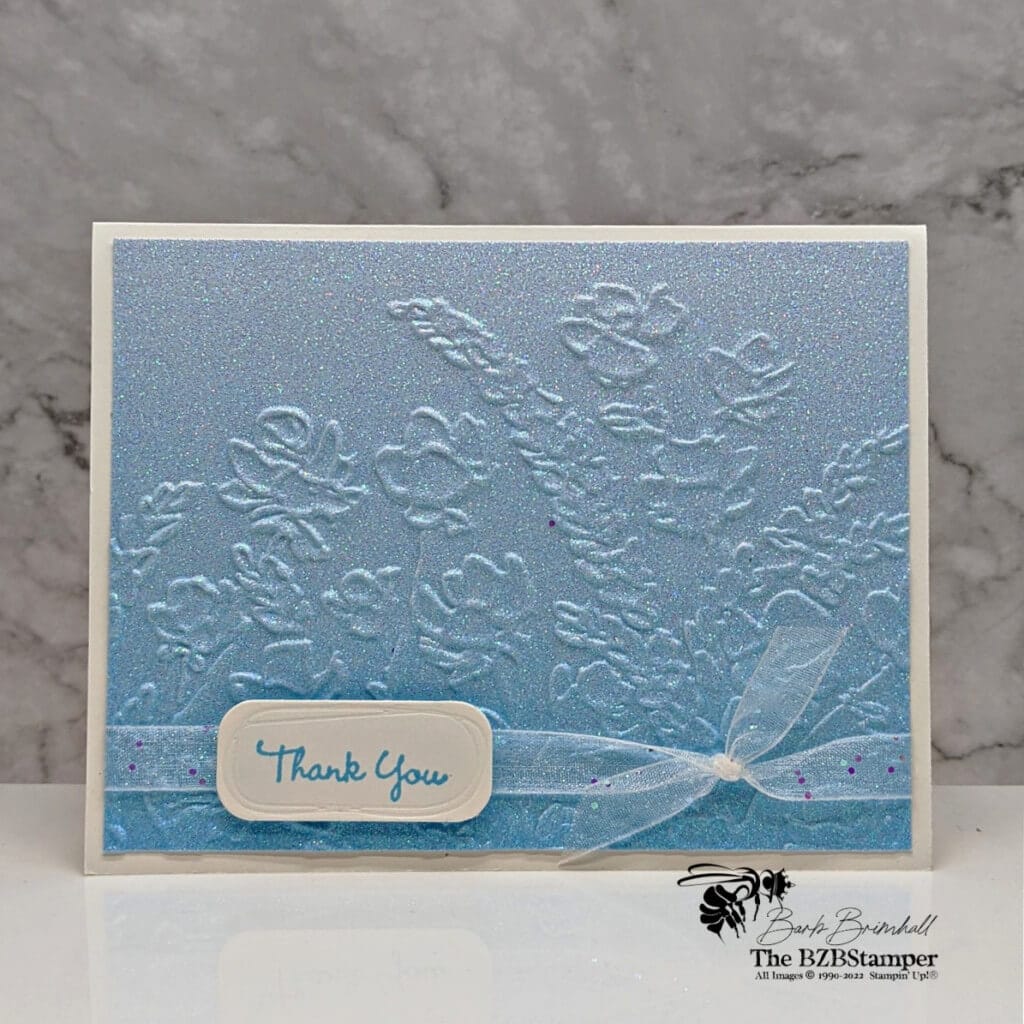
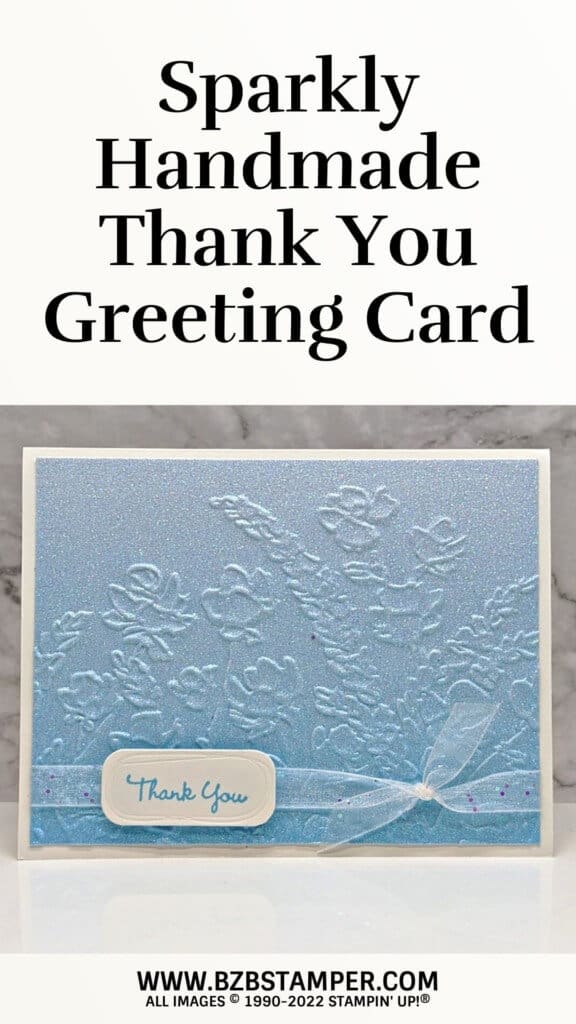
For this project, I wanted to keep it simple, so I made the focus on the teeny sentiment by surrounding it with lots of sparkle! I used a piece of Tahitian Tide Glimmer Paper, from the new 2022-2024 In Color Glimmer Pack, and embossed it with the Painted Posies 3D Embossing Folder. This added just a touch of depth to the background to set off the sentiment.
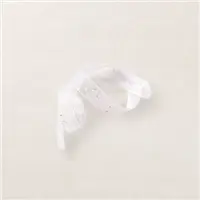
If you haven’t had a chance to play with the new In Color Glimmer Paper, you really should give it a try! It doesn’t flake off at all, and the Stampin’ Up! Paper Trimmer cut through it with ease. And it’s so sparkly in real life! Add some of the fun White Organdy Glitter Ribbon and this card looks like it was covered in fairy dust! 🙂
Here’s how I made this card:
Project Measurements
- Basic White: 5-1/2” x 8-1/2”, scored at 4-1/4” and 1” x 2” scrap for die-cutting
- Tahitian Tide Glimmer Paper: 4” x 5-1/4”
Project Instructions
. Fold the Basic White cardstock in half at the score line and burnish well with Bone Folder to create the base card.
2. Using the Cut & Emboss Machine, run the Tahitian Tide Glimmer paper through using the Painted Posies 3D Embossing Folder.
3. Wrap 12” of the White Glittered Ribbon around the bottom of the embossed Glimmer Paper and tie into a bow or knot on the right side.
4. Adhere the Glimmer paper to the base card.
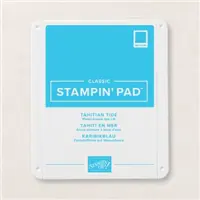
5. Stamp the sentiment onto the 1” scrap of Basic White cardstock using Tahitian Tide ink.
6. Using the Cut & Emboss Machine and the small die from the Beautiful Shapes Dies, cut out the sentiment and adhere to the base card, overlapping the ribbon, using Stampin’ Dimensionals.

Supplies Used on this Project
Save It!
Now it’s your turn to give this card a try. Order your supplies and plan a fun afternoon of papercrafting 🙂.
- Get a Free Tutorial Every Week!
- Shop 24/7 in your PJ’s
- Queen Bee Rewards – Earn FREE Stamps!
- View the 2024-2025 Annual Catalog
- View NEW Online Products
- Monthly Crafting Kit
Thank you so much for stopping by! I hope you feel inspired to create and that you also feel you have all the info you need to make this card with these instructions. If you aren’t sure about something, please comment below. I’m here to help!


