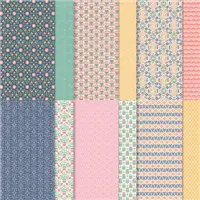
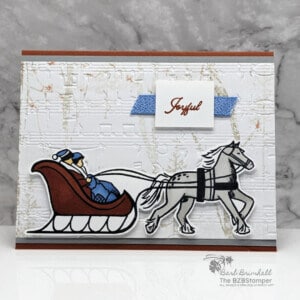
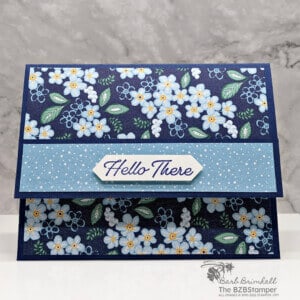
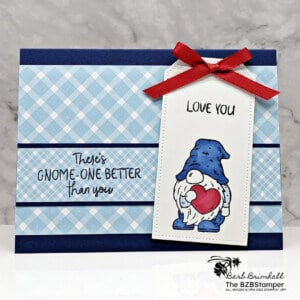
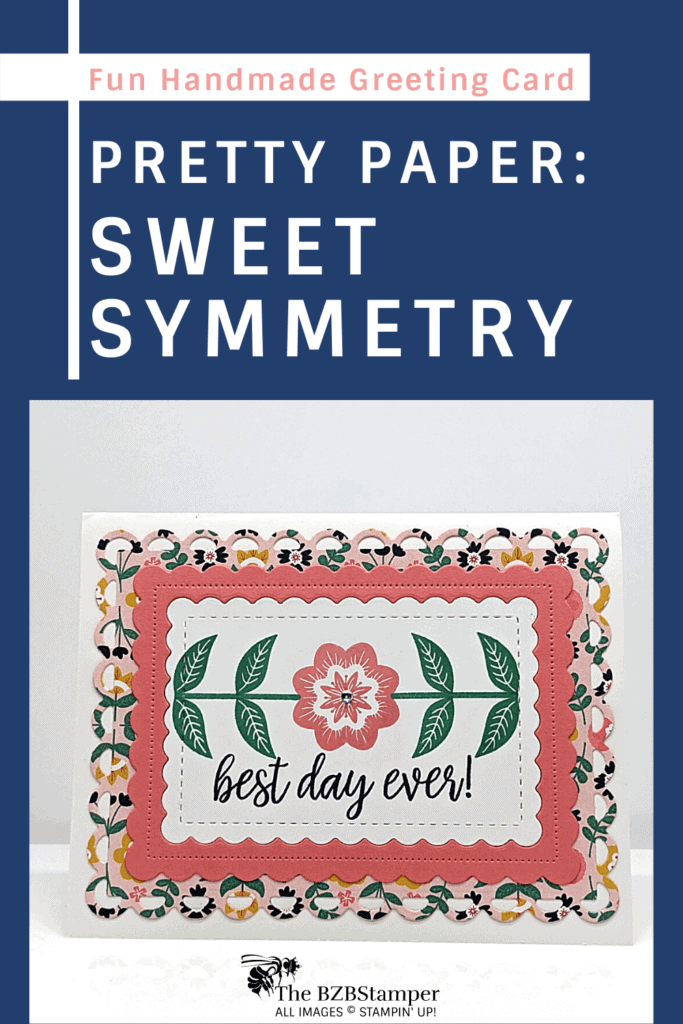
Let the folk art designs and motifs in the Sweet Symmetry Designer Paper inspire your creativity. This high-quality printed paper includes traditional, symmetrical folk art images and florals in soft colors. It’s a great choice for card making and scrapbooking. Each sheet is double-sided, giving you twice the crafting options.
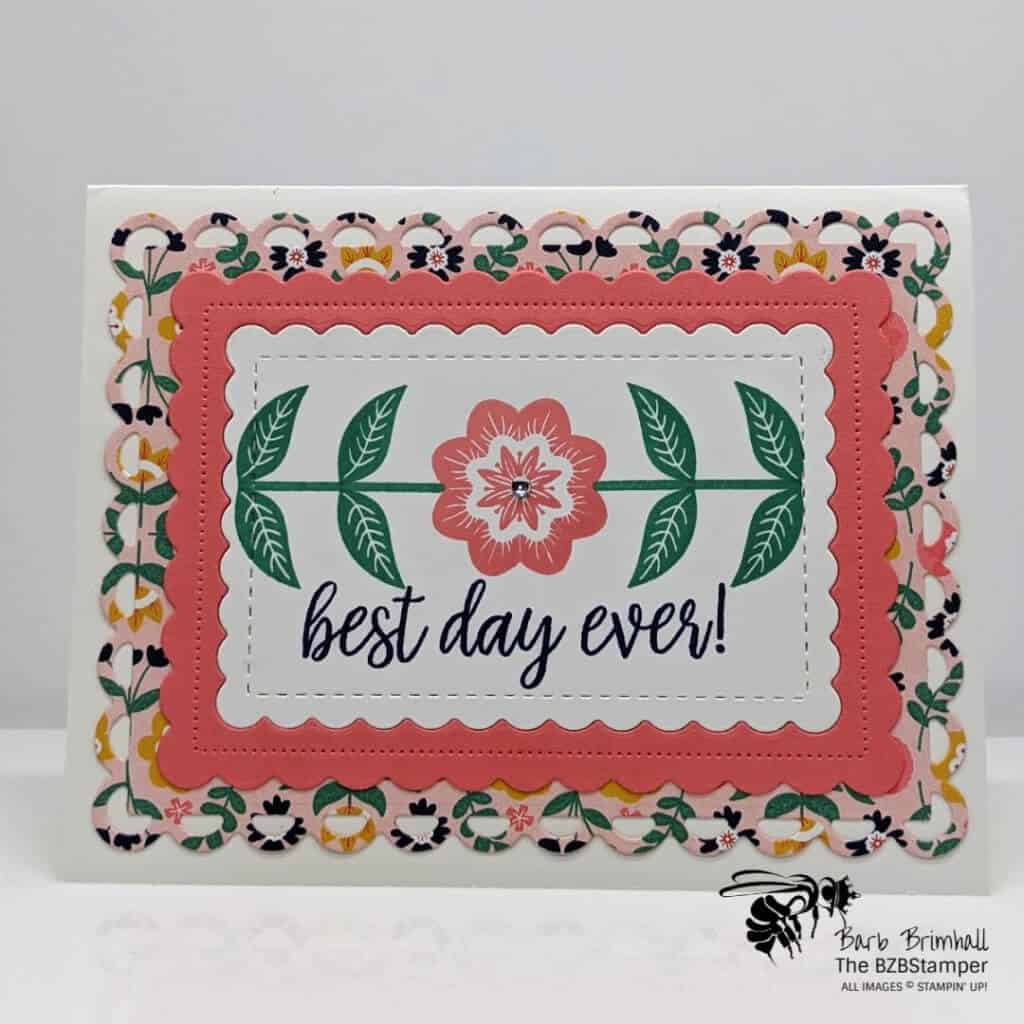
Ok, truth time. When I first saw this paper, my initial response was “eh.” But then I purchase the coordinating In Symmetry Stamp Set and oh my gosh, the creative ideas just started coming!
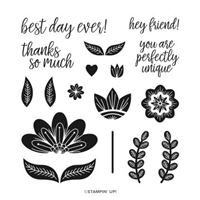
The images from the stamp set coordinate so beautifully with the bold images from Sweet Symmetry Designer Paper, and they’re so easy to use! Just grab a stamp, grab your favorite color of ink, and stamp away!
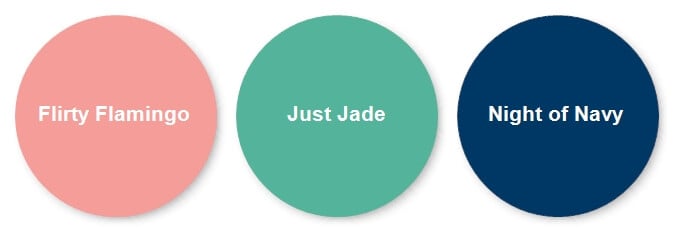
I decided to go with a color combination that I had never used before – and I love it! I think it’s so bright, cheery and perfect for those gorgeous, bold fok-art inspired images!
Here’s how I made this card – don’t forget there’s a link for a downloadable Tutorial if you’d like to print it out and put it in you book of ideas!
Supplies Used on this Project:
Project Measurements:
- Basic White Cardstock: 5-½” x 8-½” and 3” x 4”
- Flirty Flamingo: 4” x 5-½”
- Sweet Symmetry Paper: 4” x 5-½”
Project Instructions:
1. Cut a 5-1/2” x 8-1/2” piece of Basic White Cardstock; score at 4-1/4” and fold to create base card.
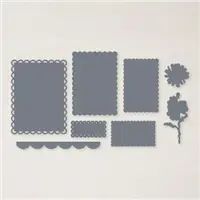
2. Cut a 4” x 5-1/2” piece of the In Symmetry Designer Paper, a 4” x 5-1/2” piece of Flirty Flamingo Cardstock, and a 3” x 4” piece of Basic White Cardstock. Run through the Cut & Emboss Machine using the Scalloped Contours Dies to cut out the 3 scalloped mats.
3. On the die-cut Basic White cardstock, stamp the sentiment in the bottom middle – just above the stitched line – using Night of Navy ink.
4. Stamp the small flower in the center using Flirty Flamingo ink.
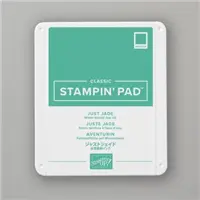
5. Stamp the stamp/leaves on either side of the flower using Just Jade ink. Add a Rhinestone in center of the flower.
6. Layer the 3 mats together by size and then layer onto the base card to finish.

Pin It
Like this project? Be sure to pin it so you can easily find it again. It will take you right back here to all the details of the card.
- Get a Free Tutorial Every Week!
- Shop 24/7 in your PJ’s
- Queen Bee Rewards – Earn FREE Stamps!
- View the 2024-2025 Annual Catalog
- View NEW Online Products
- Monthly Crafting Kit
Thank you so much for stopping by! I hope you are inspired to make simple handmade cards for friends this week! Give this papercrafting tutorial a try 🙂 Check back soon for more card making ideas!


