Flowers of Beauty Thank You Card
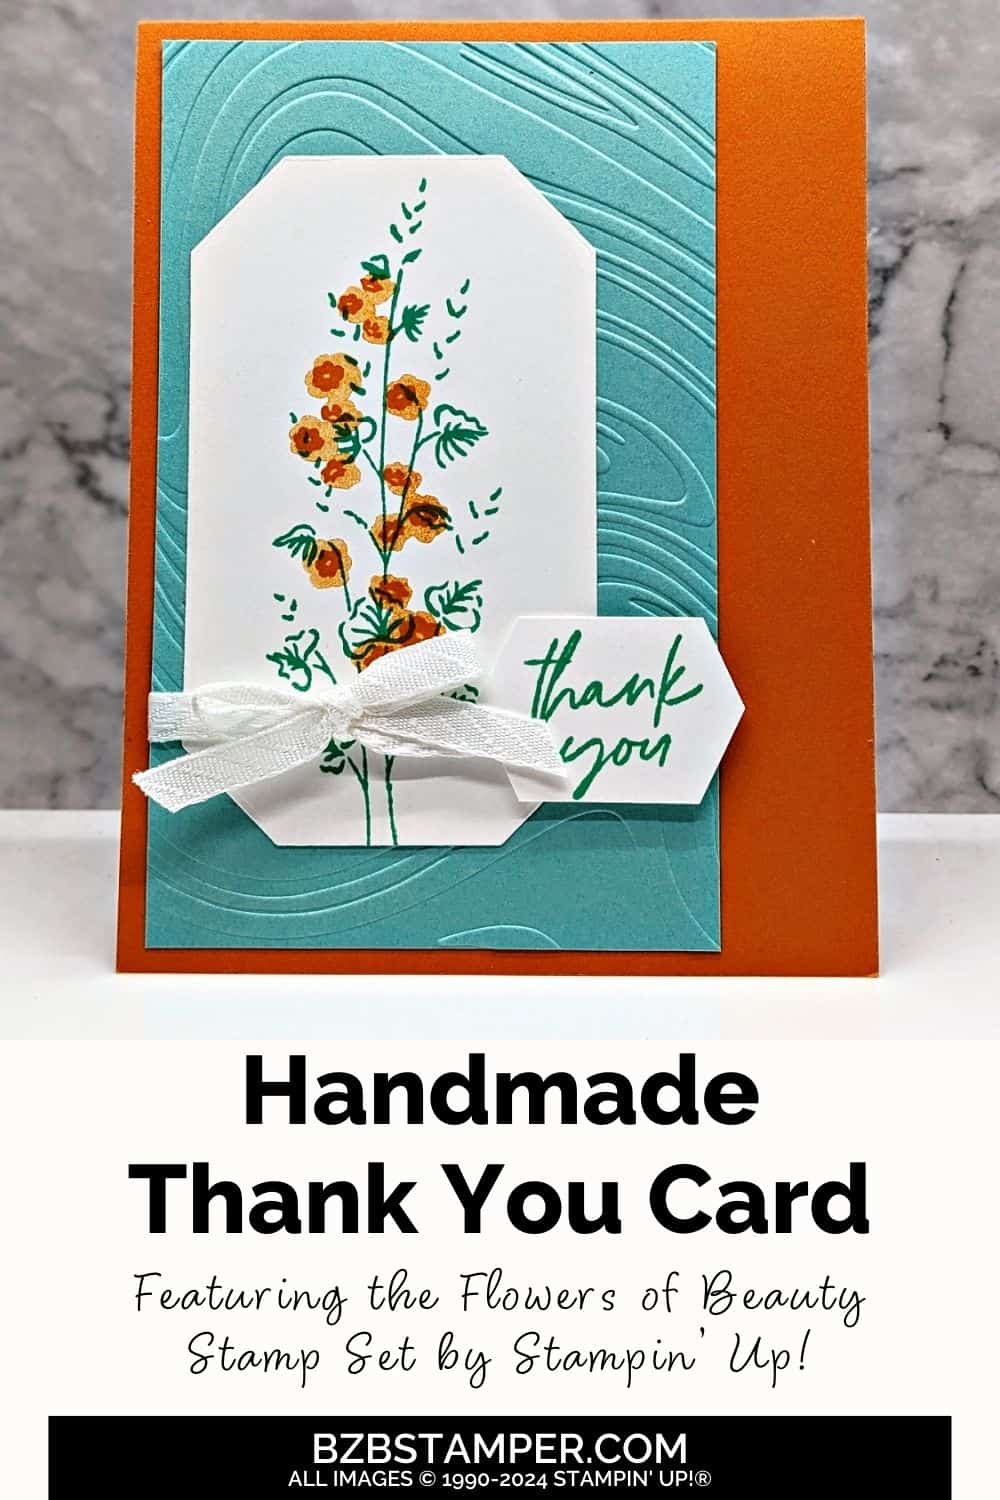
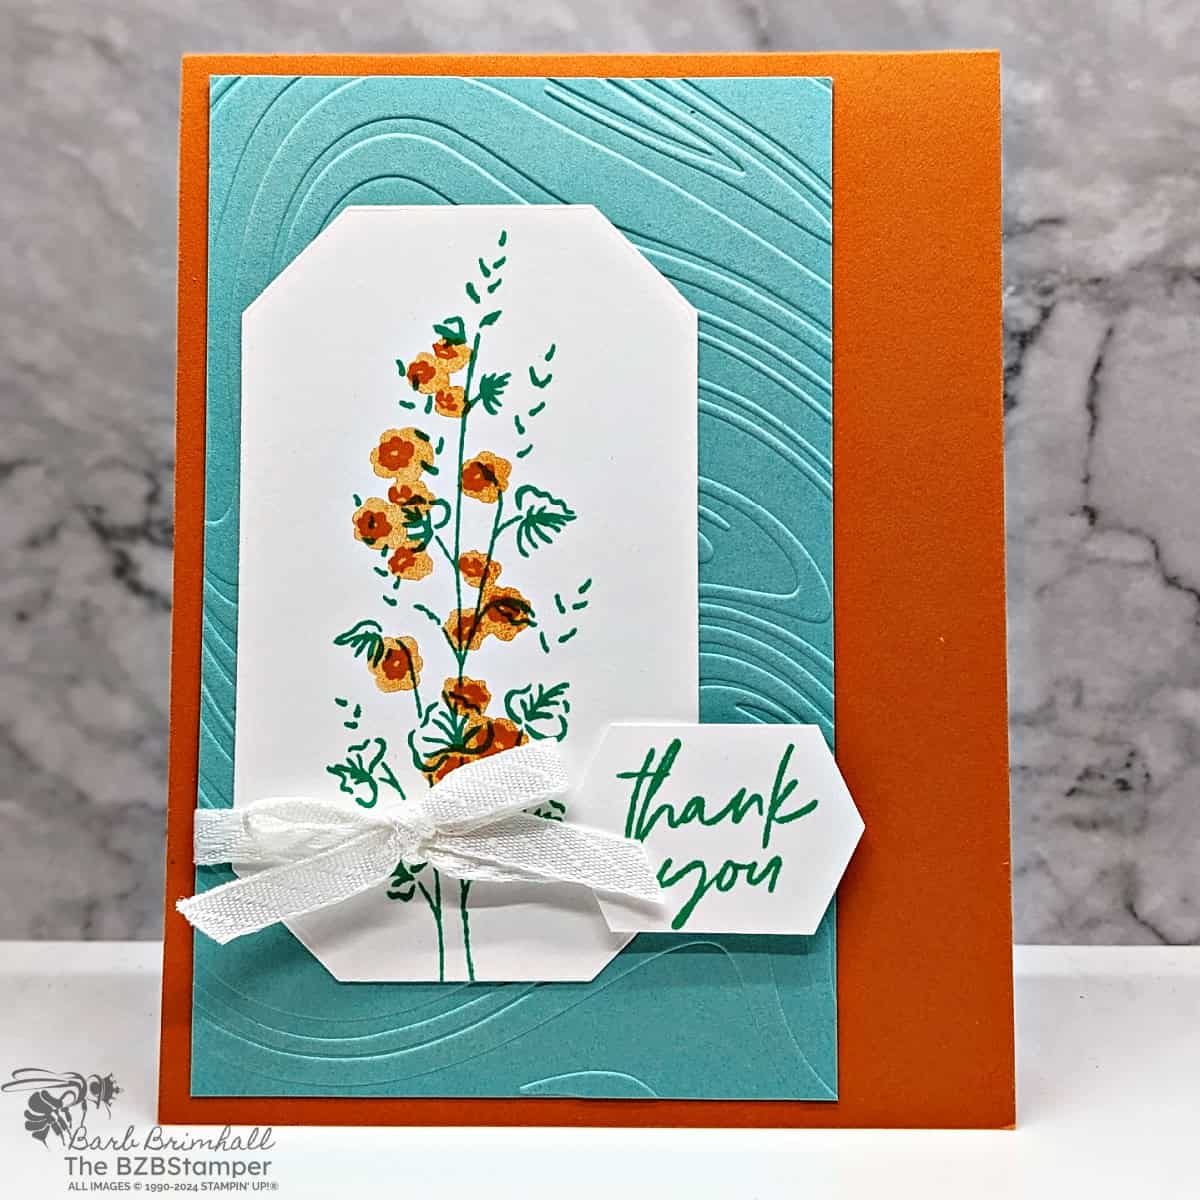
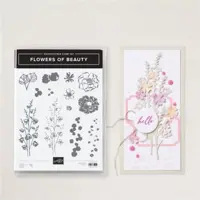
It’s easy to express your gratitude with a handmade card using this Flowers of Beauty Thank You card, featuring the Flowers of Beauty Stamp Set and Countryside Corners Dies by Stampin’ Up! These versatile products allow you to craft cards that are not only heartfelt but also visually striking.
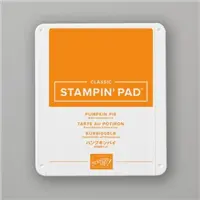
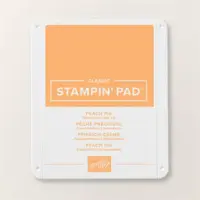
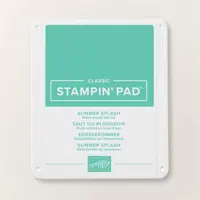
For this card, I was bright cheerful colors so I went with Summer Splash, Peach Pie and Pumpkin Pie. It was the perfect color choice for this card and I think it would work for any gender or age! If you prefer something softer, make sure you check out my Color Combination Library for additional inspiration.
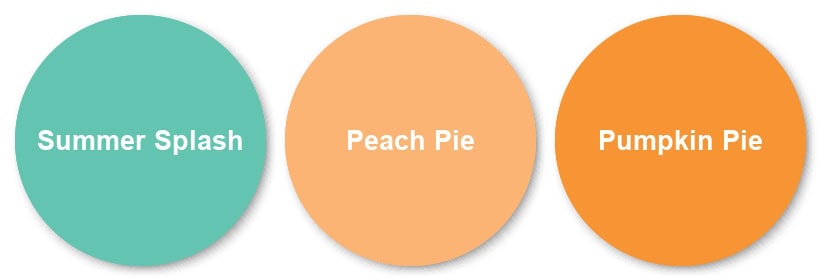
This is also a 2-step stamp set which is why it’s one of my favorites! The two-step stamping process lets you layer images using different stamps from the set. It’s like building an image piece by piece. In this case, I used Summer Splash for the stem/leaves and Peach Pie with Pumpkin Pie for the flowers. When you put it all together, you get one detailed picture that pops off the page!
Whether you’re thanking a friend, family member, or colleague, this card will express your gratitude in the most beautiful way possible. Let’s dive into this project and create a card that truly says “thank you” in style.
How To Make This Card
Project Skill Level: Busy Bee
Busy Bee projects are designed for the beginner or busy papercrafter. This is a basic cardmaking project that can be achieved by someone who has never made a handmade card before. You can view more Busy Bee cards here.
Cardstock Measurements:
- Pumpkin Pie Cardstock: 5-1/2″ x 8-1/2″, scored at 4-1/4″
- Basic White Cardstock: 4″ x 5-1/4″
- Summer Splash Cardstock: 3-1/4″ x 5-1/4″
- Basic White Cardstock: 2-1/4″ x 4″
- Basic White Cardstock: 1″ x 1-1/2″


Grab your Free copy
Get 5 Bee-utiful Exclusive
Card Sketches in Your Inbox
Join our newsletter and receive a honey of a package of five quick & simple cards guaranteed to make your creativity buzz! Sign up now and let the goodness flow straight to your inbox!
Step-by-Step Instructions:
- Fold the Pumpkin Pie cardstock in half at the score line to create your card base.
- Adhere the 4″ x 5-1/4″ piece of Basic White cardstock inside the card.
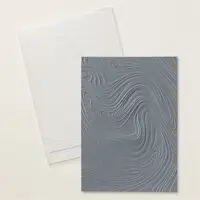
- Run the Summer Splash cardstock through the Stampin’ Cut & Emboss Machine using the So Swirly Embossing Folder. Adhere to front of card, 1/4″ over from left fold line. See note below if you do not have a Cut & Emboss Machine.
- Using the 2-1/4″ x 4″ piece of Basic White cardstock, stamp the open stem using Summer Splash ink. Stamp the long string of flowers using Peach Pie ink, lining up on the Summer Splash stem. Do not worry if it’s not lined up perfectly.
- Using the trio of outline flowers, stamp into the Peach Pie images using Pumpkin Pie ink as desired. You will not stamp inside all of the Peach Pie bold flowers, just the few that line up with the trio of flowers (making sure you reink this stamp every time.)
- Using Scissors, snip off each corner of the cardstock (see sample.)
- Tie ribbon around the Basic White cardstock and tie into a bowl. Adhere to the Summer Splash embossed cardstock.
- Stamp the sentiment onto the 1″ strip of Basic White cardstock using Summer Splash ink. Using scissors, “reverse snip” each of the 4 corners “out” (see sample) and adhere to the card front using Stampin’ Dimensionals to finish.
A Tip from Barb
If you don’t have the So Swirly Embossing Folder or a Cut & Emboss Machine, here’s an alternative for you. Taking the Summer Splash Cardstock, mist it lightly with water, and crinkle up in your hands until it’s well wrinkled. Lightly smooth out and adhere to the front of your card using adhesive. Tip: don’t smooth out too much, you want the crinkled to show!
Thanks for stopping by for today’s card tutorial! My goal is to help you make quick & easy greeting cards for all occasions. If you’d like more detailed directions on how to make this card, feel free to email me. I hope you’ll join me again for more card-making ideas!

Don’t forget to pin this for later!
