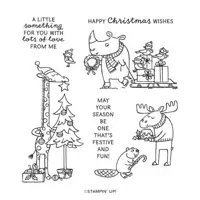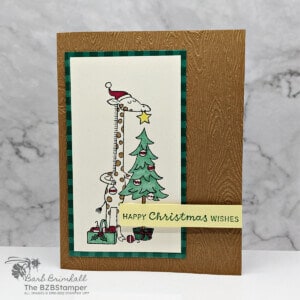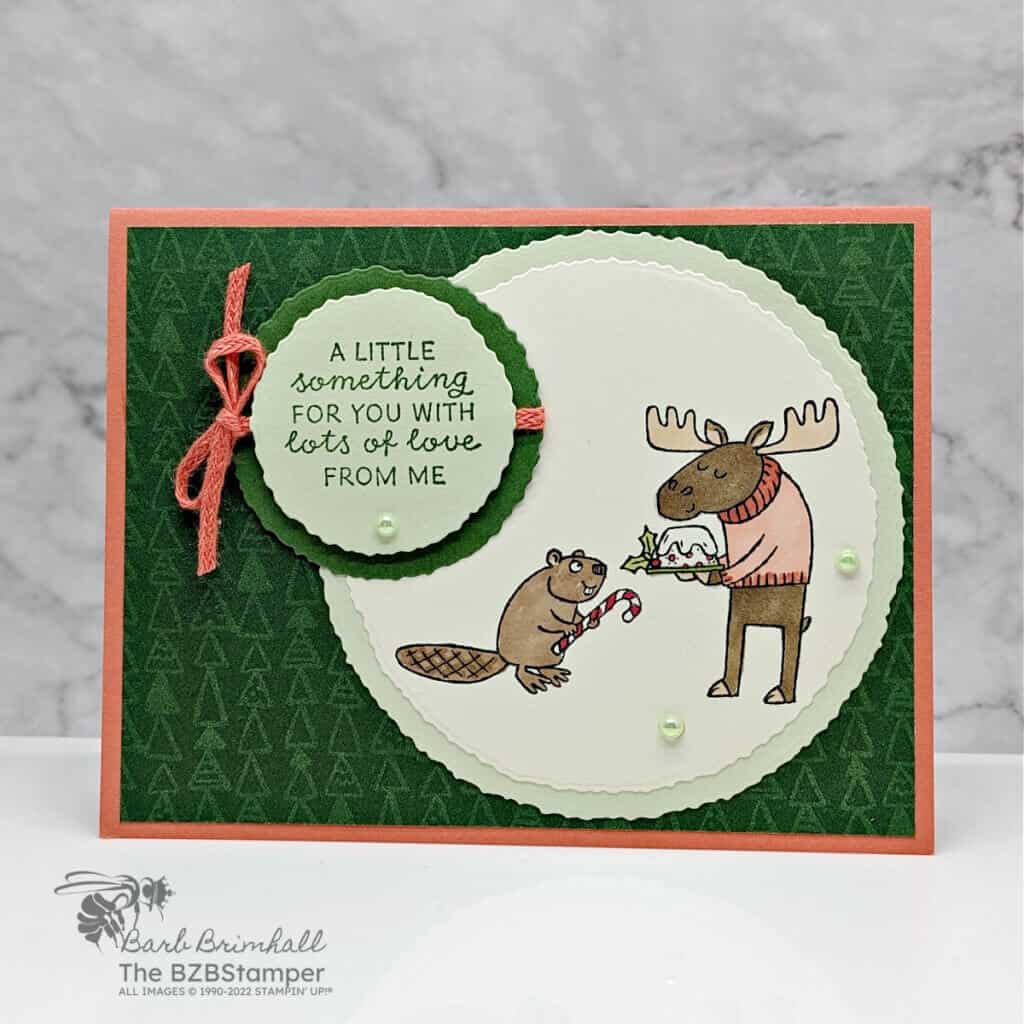
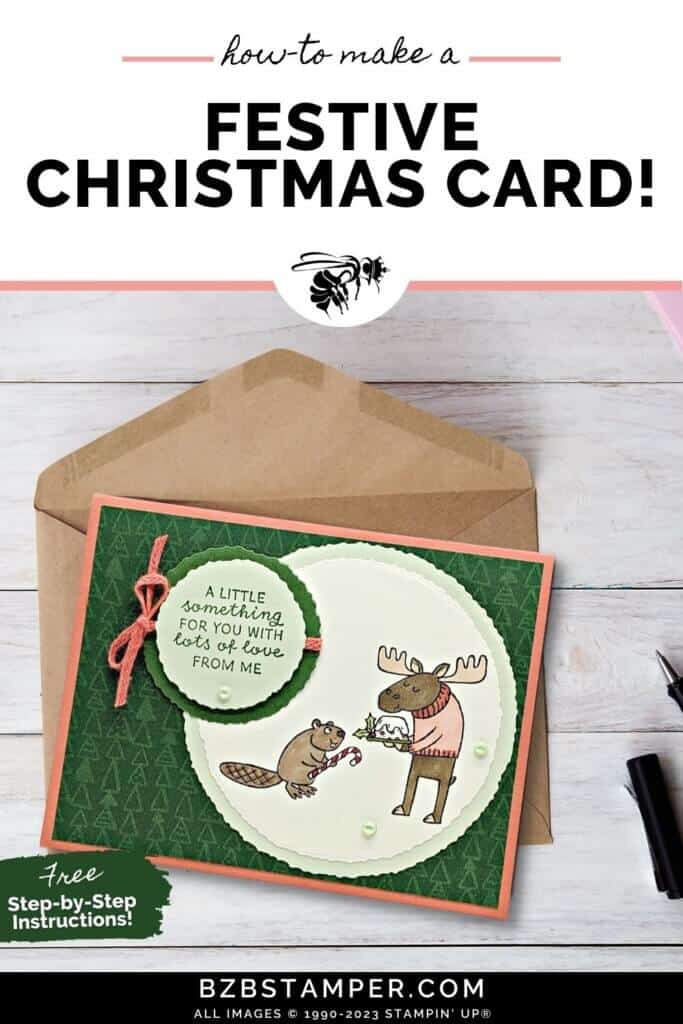
The Festive and Fun Stamp Set by Stampin Up is the perfect way to spice up your Christmas greetings this year. Step into the delightful world of animal designs and unleash your creativity with a blend of colors, making your festive season joyous and colorful.
Whether you’re crafting with the kiddos or taking some time to unwind by yourself, this stamp set offers versatility and fun, allowing you to personalize your holiday messages with a unique touch. So grab your favorite coloring tools and let’s embark on this crafting adventure together!
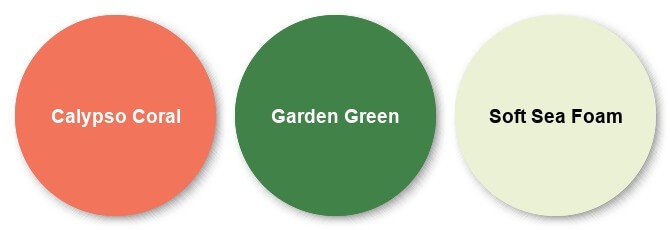
And speaking of coloring tools, I must confess that this color combination was one I had never tried before. I wasn’t sure at first how I would like it, but by the time I had finished the card, it was a winner for me! If it’s too big a departure for your tastes, then make sure you check out my Color Combination Library where you’re sure to find another combination you’ll love!
How To Make This Card
Project Skill Level: Queen Bee
Queen Bee projects are designed for experienced papercrafters. In most cases, these cards involve multiple techniques and products, including a Stampin’ Cut & Emboss Machine for die-cutting and/or embossing. These projects are often more involved – but the results are worth it!
Cardstock Measurements:
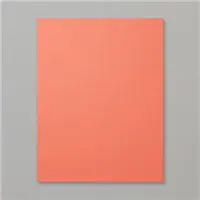
- Calypso Coral Cardstock: 5-1/2″ x 8-1/2″, scored at 4-1/4″
- Very Vanilla Cardstock: 4″ x 5-1/4″
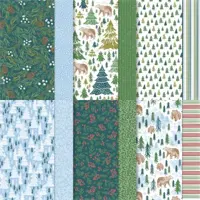
- A Walk in the Forest Designer Paper: 4″ x 5-1/4″
- Garden Green Cardstock: 2-1/2″ x 2-1/2″ (for die-cutting)
- Soft Sea Foam Cardstock: 4-1/4″ x 5-1/2″ (for die-cutting)
- Very Vanilla Cardstock: 4-1/4″ x 4-1/4″ (for die-cutting)


Grab your Free copy
Get 5 Bee-utiful Exclusive
Card Sketches in Your Inbox
Join our newsletter and receive a honey of a package of five quick & simple cards guaranteed to make your creativity buzz! Sign up now and let the goodness flow straight to your inbox!
Step-by-Step Instructions:
- Fold the Calypso Coral cardstock in half at the scoreline and burnish well with the Bone Folder.
- Adhere the 4″ x 5-1/4″ piece of Very Vanilla Cardstock inside the card base.
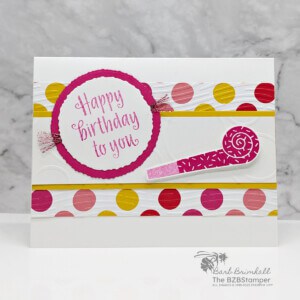
- Adhere the 4″ x 5-1/4″ piece of A Walk in the Forest Designer Paper to the front of the card.
- Using the 4-1/4″ x 4-1/4″ piece of Very Vanilla cardstock, use the Stampin’ Cut & Emboss Machine to cut out a 3-1/2″ deckled circle using the Deckled Circle Dies.
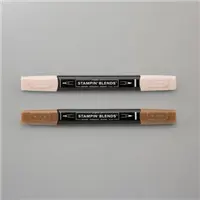
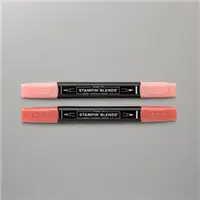
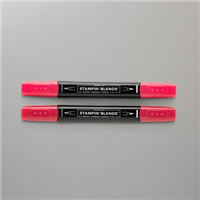
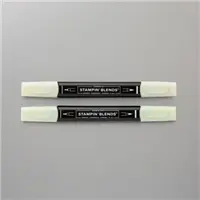
- Stamp the Moose and Beaver images onto the bottom right of the Very Vanilla circle using Black Memento ink. Color in the images as desired using the Blends Markers. (See card sample for examples of coloring.)
- Using the Soft Seafoam Cardstock and the Deckled Circle Dies, using the Stampin’ Cut & Emboss Machine to cut out a 3-7/8″ deckled circle and a 1-3/4″ deckled circle. Using the Garden Green cardstock, cut out a 2-1/8″ deckled circle.
- Adhere the stamped Vanilla circle from Step #5 onto the large Soft Seafoam circle and adhere to the right side of the card.
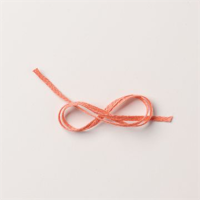
- Wrap about 12″ of the ribbon around the center of the Garden Green die-cut circle and tie into a bow on the left side.
- Stamp the sentiment onto the small Soft Seafoam Circle using Garden Green ink. Adhere to the Garden Green circle from Step #8 using Stampin’ Dimensionals. Adhere to the front of the card using adhesive, overlapping the Vanilla Circle (see sample for placement.)
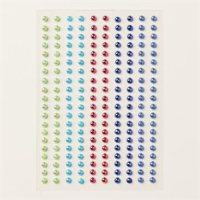
- To finish, add several of the small Parakeet Party In-Color Pearls to finish.
A Tip from Barb
This fun card takes a bit of work but it comes together fairly easily thanks to the Circle Dies and the Blends used for coloring! And best of all – that adorable Designer Paper used as the background mat for this card. Who wouldn’t love this card? 😊
Thank you so much for stopping by today! I hope you are inspired to create and make your own Christmas Cards.. We are heading into the holiday season, and as you know, not only is it a fast-moving time that goes by quickly, it’s also a crafter’s happy time of creating. Be sure to block off time to create a lot this fall! See you soon with more projects.

Don’t forget to pin this project for later!
Supplies Used On This Project:
Price: $12.50

