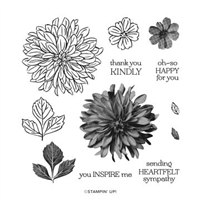
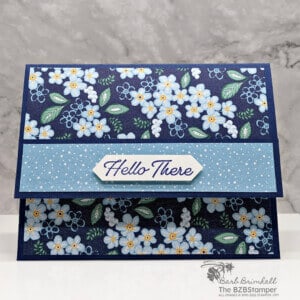
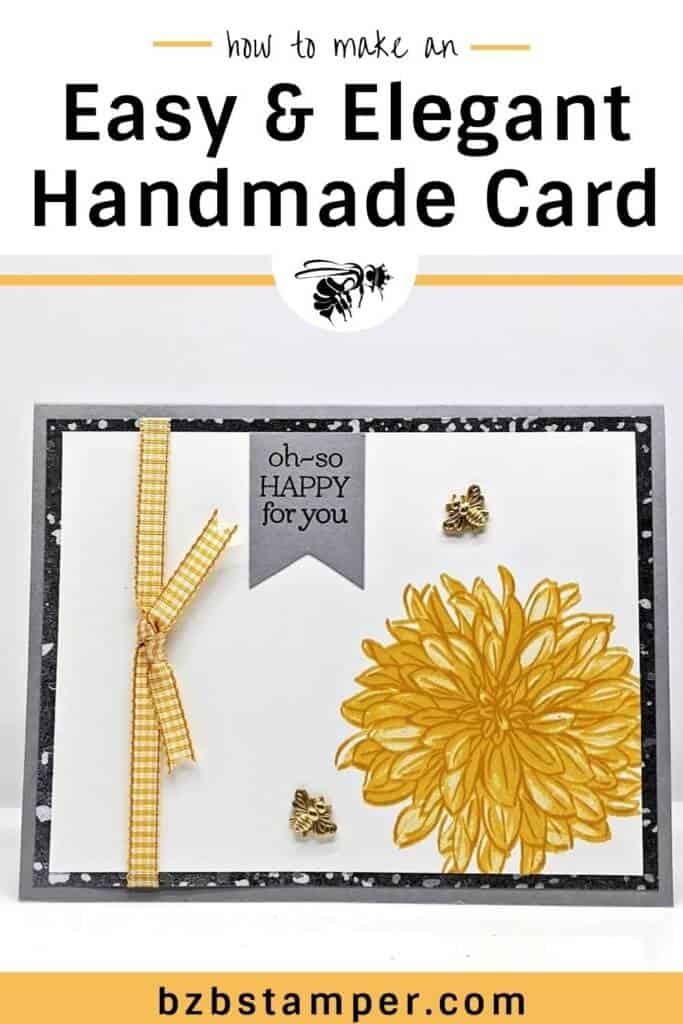
This easy show-stopping handmade card can be made in minutes thanks to the Two-Step Delicate Dahlia’s Stamp Set by Stampin’ Up!
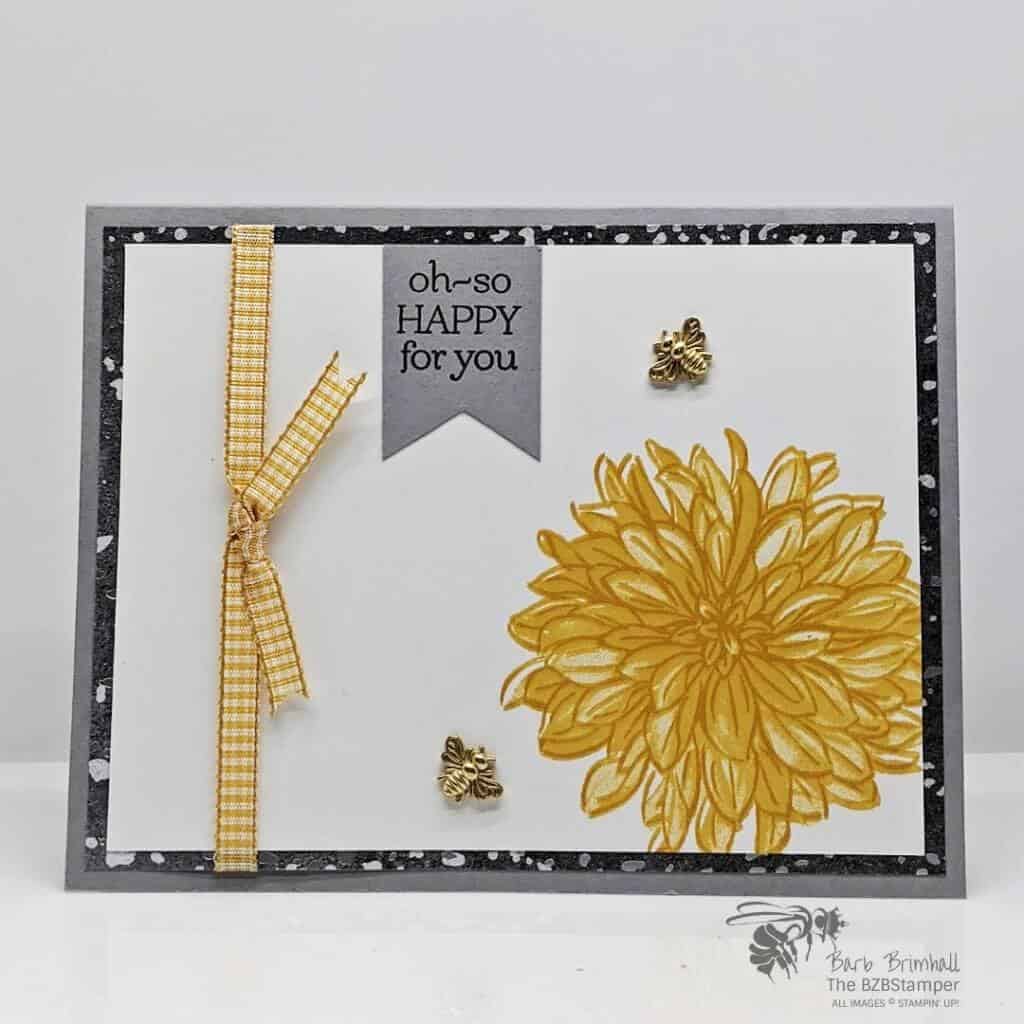
With hyper-realistic designs of beautiful dahlia florals, you can center the dahlia image as the main focal point for increased impact or place it off to the side to frame one of many versatile sentiments included in this set.
The Delicate Dahlia’s Stamp Set is actually a free stamp set you can get during Stampin’ Up!’s Fall Sale-A-Bration (August 3, 2021 thru September 30, 2021.) You can see more samples made with this stamp set here. If you’d like to download a written Tutorial on how to make this card, there’s a link under the Instructions below. 😊
Supplies Used on this Project
Project Measurements
- Smoky Slate: 5-1/2” x 8-1/2” scored at 4-1/4” and 1” x 1-1/2” for sentiment
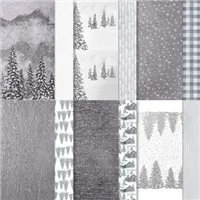
- Peaceful Place Paper: 4” x 5-1/4”
- Basic White: 4” x 5/14” (inside card) and 3-3/4” x 5”
Project Instructions
1. Fold the Smoky Slate cardstock in half at the score line and burnish well with your Bone Folder.
2. Adhere the 4” x 5-1/4” Basic White cardstock inside your card.
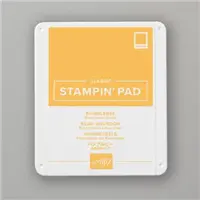
3. Using the 3-3/4” x 5” piece of Basic White cardstock, stamp the outline Dahlia stamp in Bumblebee ink in the lower right corner of the card.
4. Using the detailed Dahlia stamp, ink up using Bumblebee ink and if desired, tap off once on your scratch paper. Stamp onto outline stamp, matching it up. Pro-Tip: I recommend you practice this step and see if you like the bold stamp full-strength ink or tapped off.
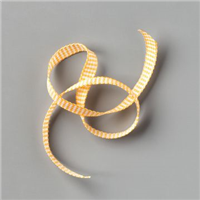
5. Adhere the White cardstock to the Designer Paper. Wrap about 10” of Gingham ribbon around the left side of the card and tie into a knot; trim ends as needed with your Paper Snips. Adhere to the base card.
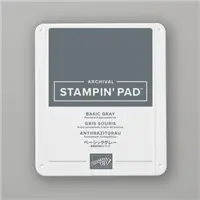
6. On the small piece of Smoky Slate cardstock, stamp the sentiment using Basic Gray ink. “Flag notch” the bottom of the sentiment strip using your Paper Snip Scissors. Pro-Tip: cut up with your scissors in the center, then cut in from both ends. Adhere the sentiment strip to the base card, between ribbon and stamped flower.
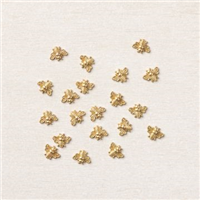
7. Adhere 2 of the Bumblebee Trinkets to the card using Glue Dots to finish.

Pin It
Pin away, my friends, pin away!
- Get a Free Tutorial Every Week!
- Shop 24/7 in your PJ’s
- Queen Bee Rewards – Earn FREE Stamps!
- View the 2024-2025 Annual Catalog
- View NEW Online Products
- Monthly Crafting Kit
Thanks for stopping by today, I hope you enjoyed this papercrafting tutorial. If you have a question or if I can help you with anything, please leave me a comment. I’d love to hear from you!


