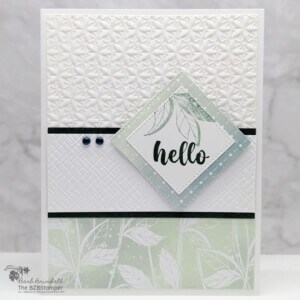
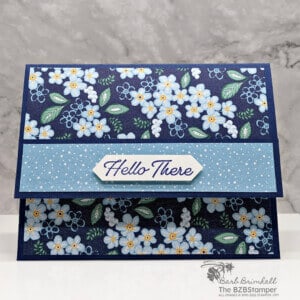
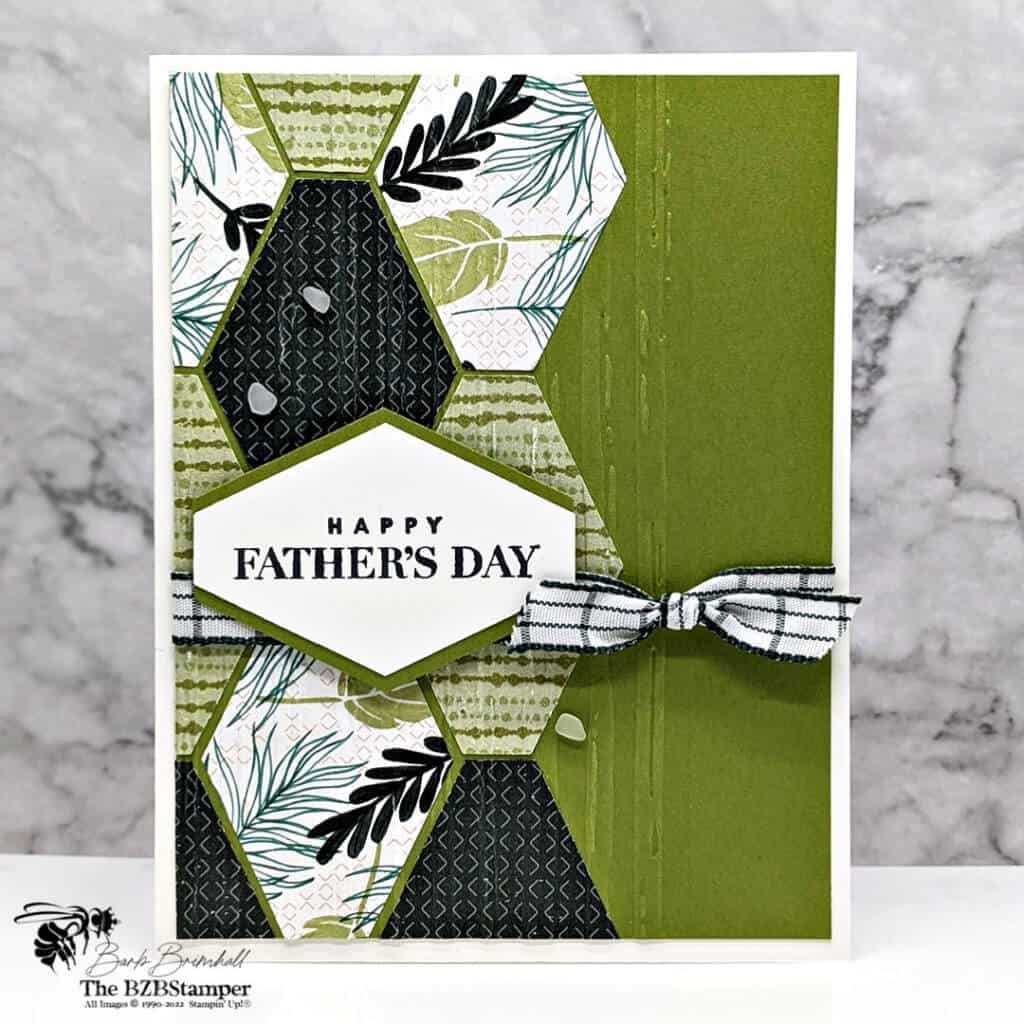
Looking for a special handmade DIY Father’s Day Card that you or the kids can give to Dad this June? Look no further – this card design is for you!
View more stamped samples & inspiration here
Dads can often be tricky to shop for and very difficult when it comes to gift-giving. But in my experience, most dads are truly happy with just about anything! And you can bet that if you make it with your own hands, with love, they are guaranteed to love it!
This card can also double-duty as a gift. Add a gift card to your dad’s favorite coffee shop or store and he’ll be overjoyed! I betcha he even keeps the card on his desk at work or in that special place he keeps his most precious things. Remember, a handmade card is like a hug with a fold in the middle!
Don’t forget you can download a written tutorial on how to make this card – it includes measurements, supplies and complete directions. Just use the link below!
Project Measurements
- Basic White: 5-1/2” x 8-1/2”; scored at 4-1/4” and 2” x 3” scrap for punching
- Old Olive: 4” x 5-1/4” and 2” x 3” scrap for punching
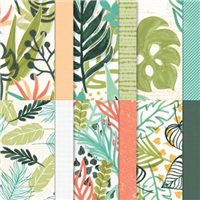
- Artfully Composed Paper: 2” x 9” in 3 different patterns
Project Instructions
1. Fold the Basic White cardstock in half to create your card base.
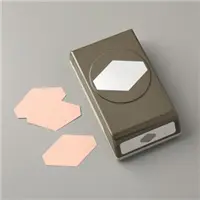
2. Using the 3 strips of Artfully Composed Paper, punch out 3 tags using the Tailored Tag Punch so that you have 9 pieces total.
3. Using adhesive, line up the paper tag pieces on the Old Olive mat so that they create a pattern. (See sample for suggested placement.) Leave an 1/8” between each of the papers to create a border.
4. Once the glue has dried, trim the edges from the top, left & bottom.
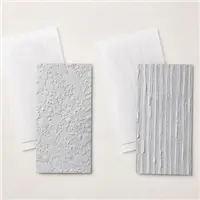
5. Note: this next step is optional. Using the Cut & Emboss Machine and the Stripes 3D Embossing Folder, emboss the left side of the Old Olive cardstock.
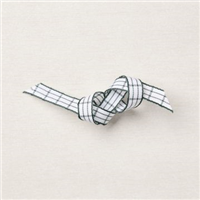
6. Wrap approximately 15” of the Ribbon around the Old Olive cardstock and tie into a knot or bow on the right side.
7. Adhere the Old Olive cardstock to the card base.
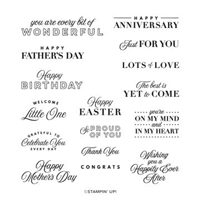
8. Using the scrap of Basic White cardstock, stamp the sentiment using Black ink and punch out using the Tailored Tag punch.
9. Using the Old Olive scrap of cardstock, punch out a tag using the Tailored Tag Punch. Cut in half length-wise (“hot dog style”) and layer each half to the back of the white stamped tag so that it creates a border. Adhere the sentiment tag to the base card using Stampin’ Dimensionals.
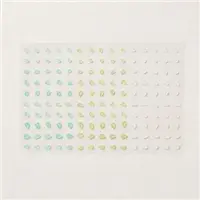
10. Using glue dots or liquid adhesive, add 3 of the Faux Sea Glass Shapes to the card as desired to finish.

Supplies Used on this Project
Pin It
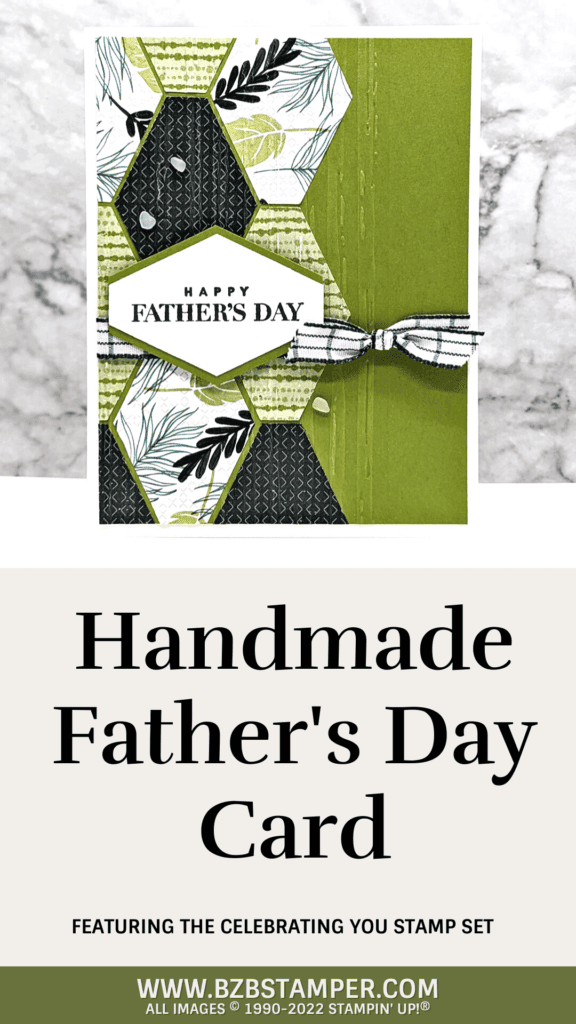
Like this project? Be sure to pin it so you can easily find it again. It will take you right back here to all the details of the card.
- Get a Free Tutorial Every Week!
- Shop 24/7 in your PJ’s
- Queen Bee Rewards – Earn FREE Stamps!
- View the 2024-2025 Annual Catalog
- View NEW Online Products
- Monthly Crafting Kit
Thanks so much for stopping by today! Be sure to give this card sketch idea a try and mail it to a friend who is celebrating something! It’s so fun to make a card but it’s even more fun to send! #makeacardsendacard


