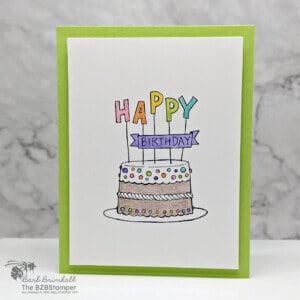
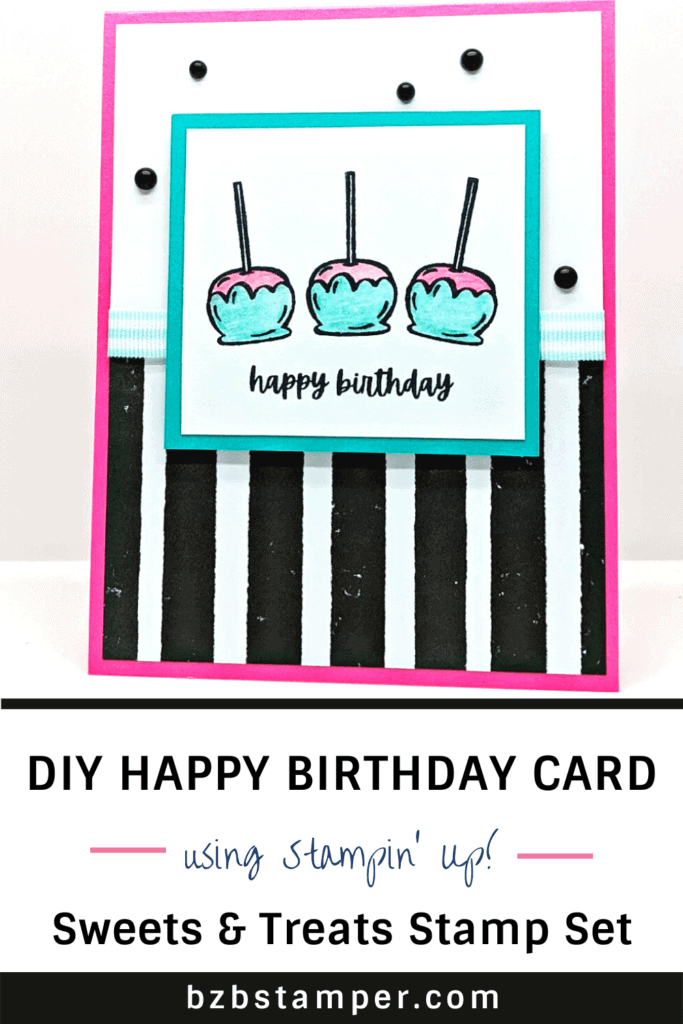
How adorable is this cute handmade card featuring cake pops? Perfect for all ages, this card is sure to bring a smile to someone’s face!
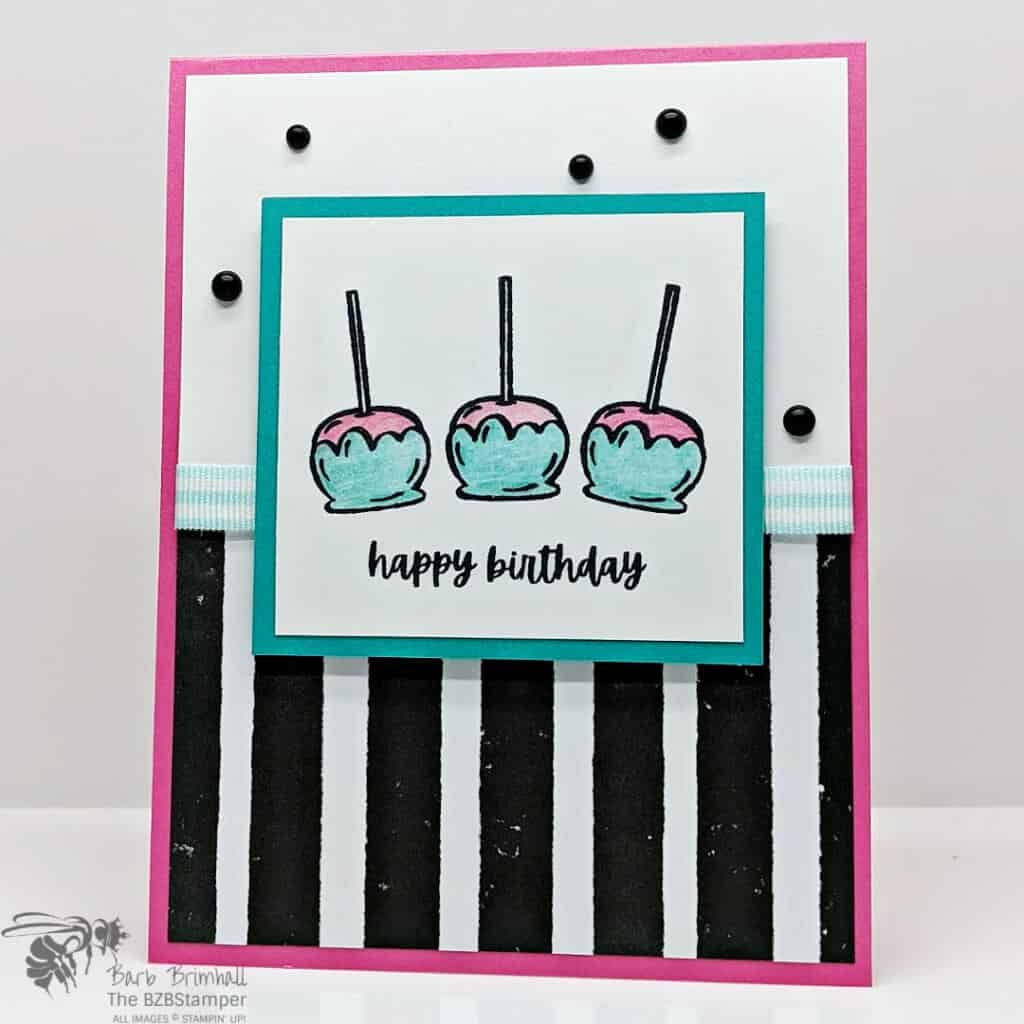
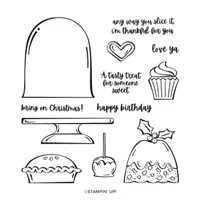
When I first saw this stamp set, I fell in love with the candied apple image. (You can see the card I made here.) Then one day, my daughter & I were driving thru Starbuck’s and I got her a cake pop. As she pulled it out of the bag, I stared at it for a second and this card was born! 😄
As soon as I got home, I made this card, using supplies that were already on my stamping table. In hindsight, I’d probably have preferred to use Blends instead of Watercolor Pencils, but since I blended them with WInk of Stella, they have a nice little sparkle!
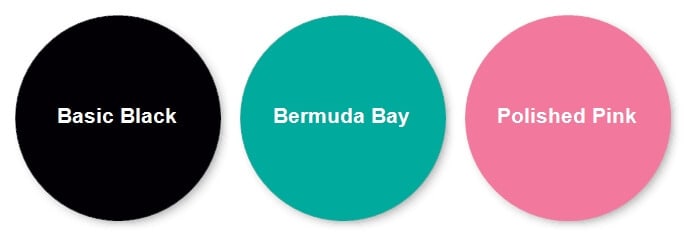
Here’s the color combination I used but if you prefer a different color palette, check out my Color Library. Complete instructions on how to make this card are below – enjoy!
Supplies Used on this Project
Project Measurements
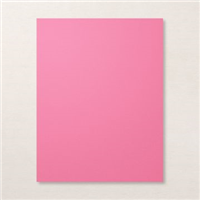
- Polished Pink: 5-1/2” x 8-1/2”, scored at 4-1/4”
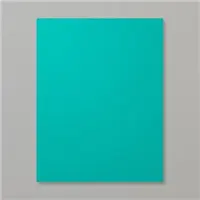
- Bermuda Bay: 2-3/4” x 3”
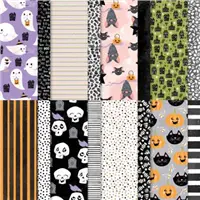
- Cute Halloween Paper: 2-3/4” x 4”
- Basic White:
- 4” x 5-1/4” (x 2)
- 2-1/2” x 2-3/4”
Project Instructions
1. Fold the Polished Pink cardstock in half at the score line to create the base card.
2. Adhere one of the 4” x 5-1/4” piece of Basic White cardstock inside the base card.
3. Adhere the piece of striped Cute Halloween paper to the bottom of the other 4” x 5-1/4” piece of Basic White cardstock.
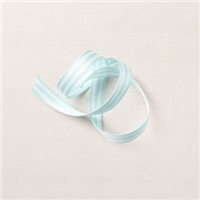
4. Wrap about 6” of the Ribbon around the seam of the Designer Paper and adhere to the back of the Basic White cardstock; adhere to the base card.
5. Using the 2-1/2” x 2-3/4” Basic White cardstock, stamp the sentiment on the center bottom of the cardstock using Black Memento ink.
6. Stamp the candied apple (or cake pops!) 3 times above the sentiment. Pro Tip: angle the images slightly so that it won’t matter if the images are perfectly lined up.
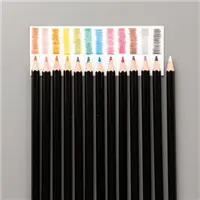
7. Color in the images using the Melon Mambo and Bermuda Bay Watercolor Pencils; blend using the Wink of Stella Glitter Brush (cleaning the brush between the color change.)
8. Layer the White cardstock onto the Bermuda Bay cardstock and then adhere to the card using the Stampin’ Dimensionals.
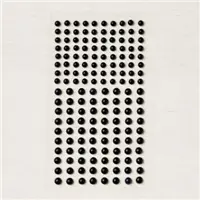
9. Finish by adding 5 Matte Black Dots in various sizes around the Bermuda Bay cardstock.

Pin It
Go ahead and pin this image to your “favorites” board so you can find this when you need it!
- Get a Free Tutorial Every Week!
- Shop 24/7 in your PJ’s
- Queen Bee Rewards – Earn FREE Stamps!
- View the 2024-2025 Annual Catalog
- View NEW Online Products
- Monthly Crafting Kit
Thank you so much for stopping by! I hope you are inspired to make simple handmade birthday cards for friends this week! Give this papercrafting tutorial a try 🙂 Check back soon for more card making ideas!


