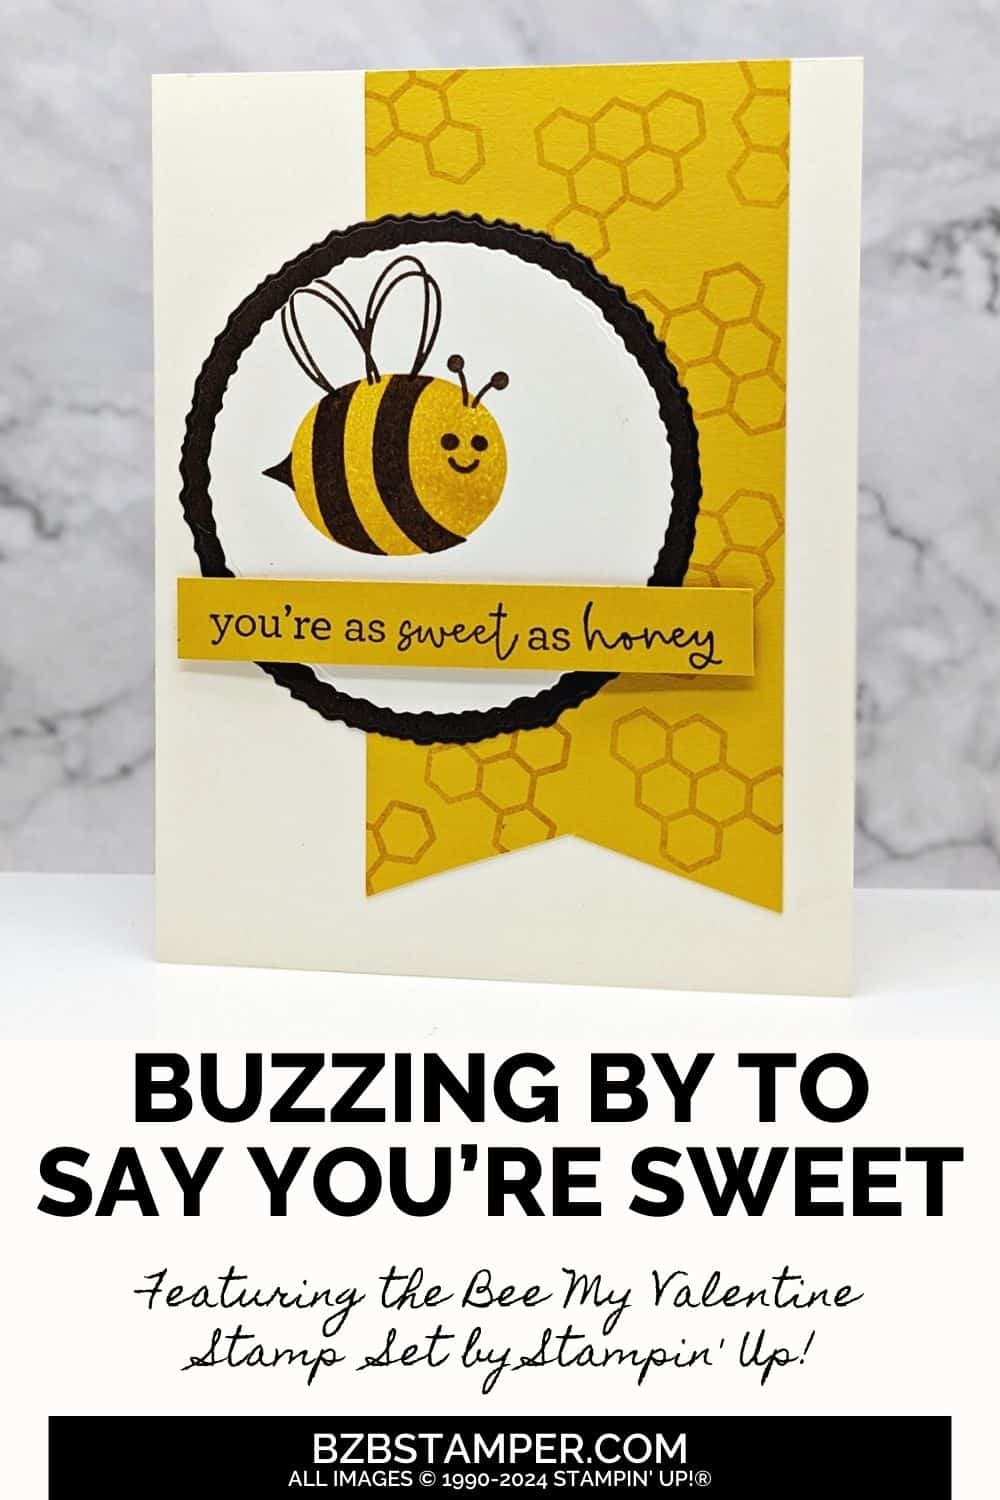
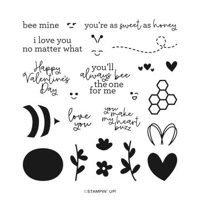
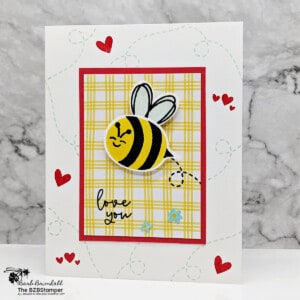
It’s so easy to craft a bee-autiful Thinking of You card using the Bee My Valentine Bundle by Stampin’ Up! This bundle is not only perfect for Valentine’s Day but also ideal for crafting cards that convey care and thoughtfulness any time of the year.
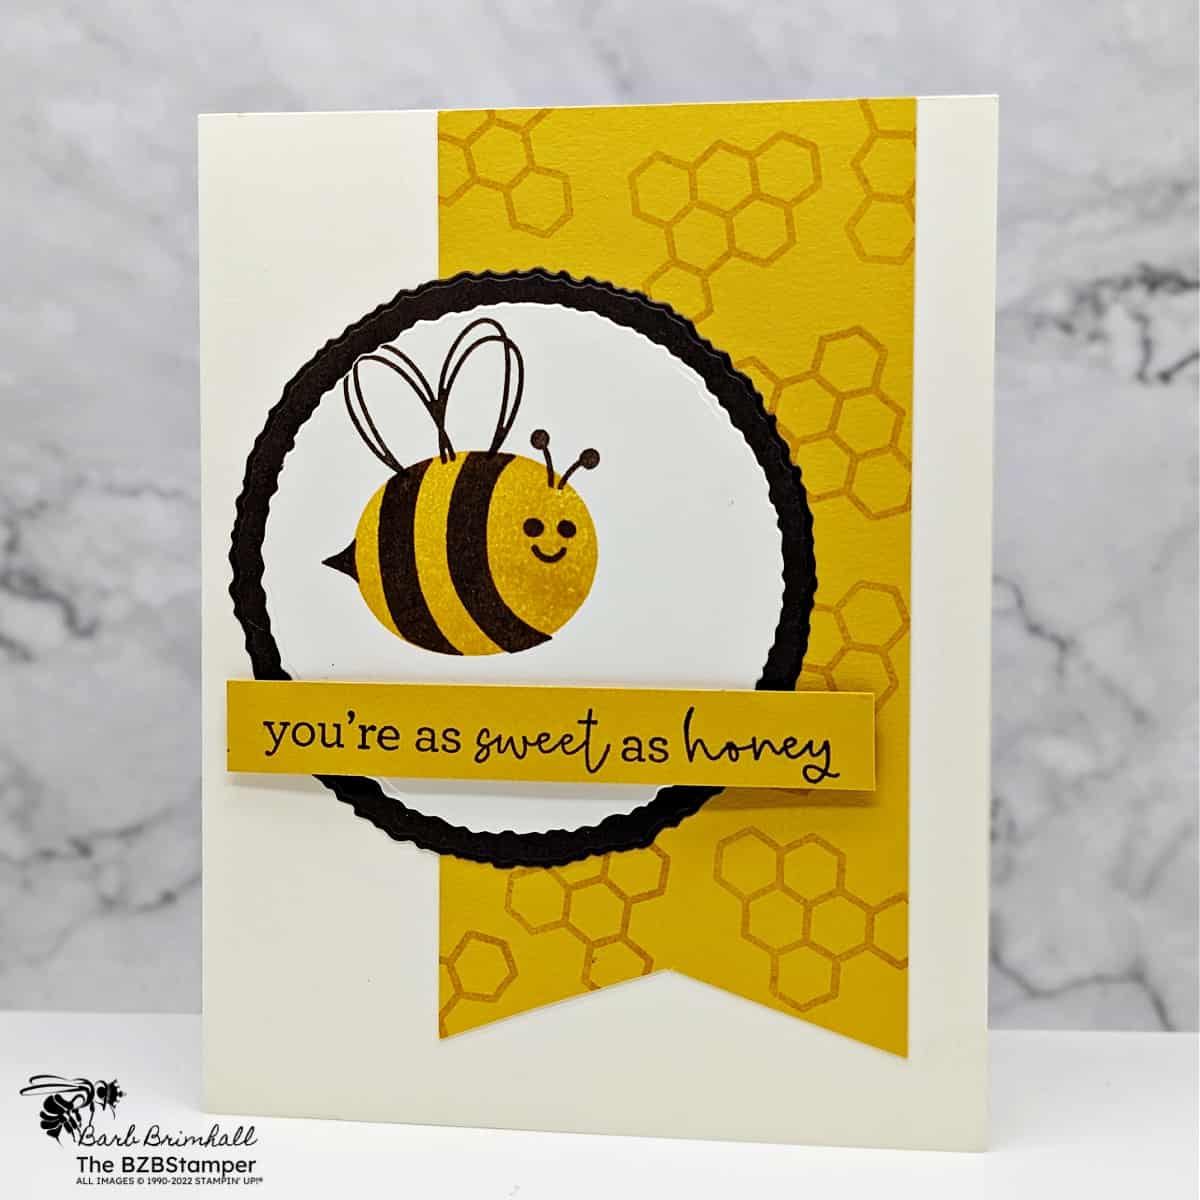
Whether you’re reaching out to a friend who needs a little cheer or just want to show someone they’re in your thoughts, this Stampin’ Up! set offers endless possibilities to express your sentiments creatively. Let’s explore how to use the Bee Builder Punch and the Bee My Valentine Stamp Set to make a card that’s as special as the person you’re thinking of.
How To Make This Card
Project Skill Level: Worker Bee
Worker Bee projects are designed for the crafter who has a bit more time and enjoys creating a handmade card that features a technique or tool. In many cases, a Stampin’ Cut & Emboss Machine is required for die-cutting and/or embossing.
Cardstock Measurements:
- Very Vanilla Cardstock: 5-1/2” x 8-1/2”, scored at 4-1/4”
- Crushed Curry Cardstock: 2-1/2” x 5”
- Early Espresso Cardstock: 3-1/2” x 3-1/2” (for die-cutting)
- Very Vanilla Cardstock: 3-1/2” x 3-1/2” (for die-cutting)
- Crushed Curry Cardstock: 1/2” x 3-1/2”


Grab your Free copy
Get 5 Bee-utiful Exclusive
Card Sketches in Your Inbox
Join our newsletter and receive a honey of a package of five quick & simple cards guaranteed to make your creativity buzz! Sign up now and let the goodness flow straight to your inbox!
Step-by-Step Instructions:
- Fold the Very Vanilla cardstock in half to create your card base.
- Stamp the honeycomb on the 2-1/2” strip of Crushed Curry Cardstock using Crushed Curry ink. Use scissors to “flag notch” the bottom of the cardstock. Adhere to the front of the card, about 1/4” from the right side.
- Using the Cut & Emboss Machine and Early Espresso cardstock, cut the 3-1/4” circle from the Deckled Circles dies. Set aside.
- Using the 3-1/2” piece of Very Vanilla cardstock, stamp the oval bee body in Crushed Curry ink. Add the wings, face, and striped body using Early Espresso ink. Run through the Cut & Emboss Machine and cut the 2-7/8” circle using the Deckled Circles dies.
- Adhere the Very Vanilla stamped circle to the Early Espresso circle and adhere to the front of the card.
- Using the Early Espresso ink pad, stamp the sentiment onto the 1/2” strip of Crushed Curry cardstock and adhere to the bottom of the circle die-cuts using Stampin’ Dimensionals to finish.
A Tip from Barb
If you don’t have a die-cut machine or the Circle dies, it’d be very easy to convert this card to a Busy Bee card by simply switching out the circles for rectangles or squares. Example: 3-1/4″ x 3-1/4″ piece of Early Espresso cardstock and 3″ x 3″ piece of Very Vanilla cardstock. It’ll still be an adorable card!
Thanks for stopping by for today’s card tutorial! My goal is to help you make quick & easy greeting cards for all occasions. If you’d like more detailed directions on how to make this card, feel free to email me. I hope you’ll join me again for more card-making ideas!

Don’t forget to pin this for later!
