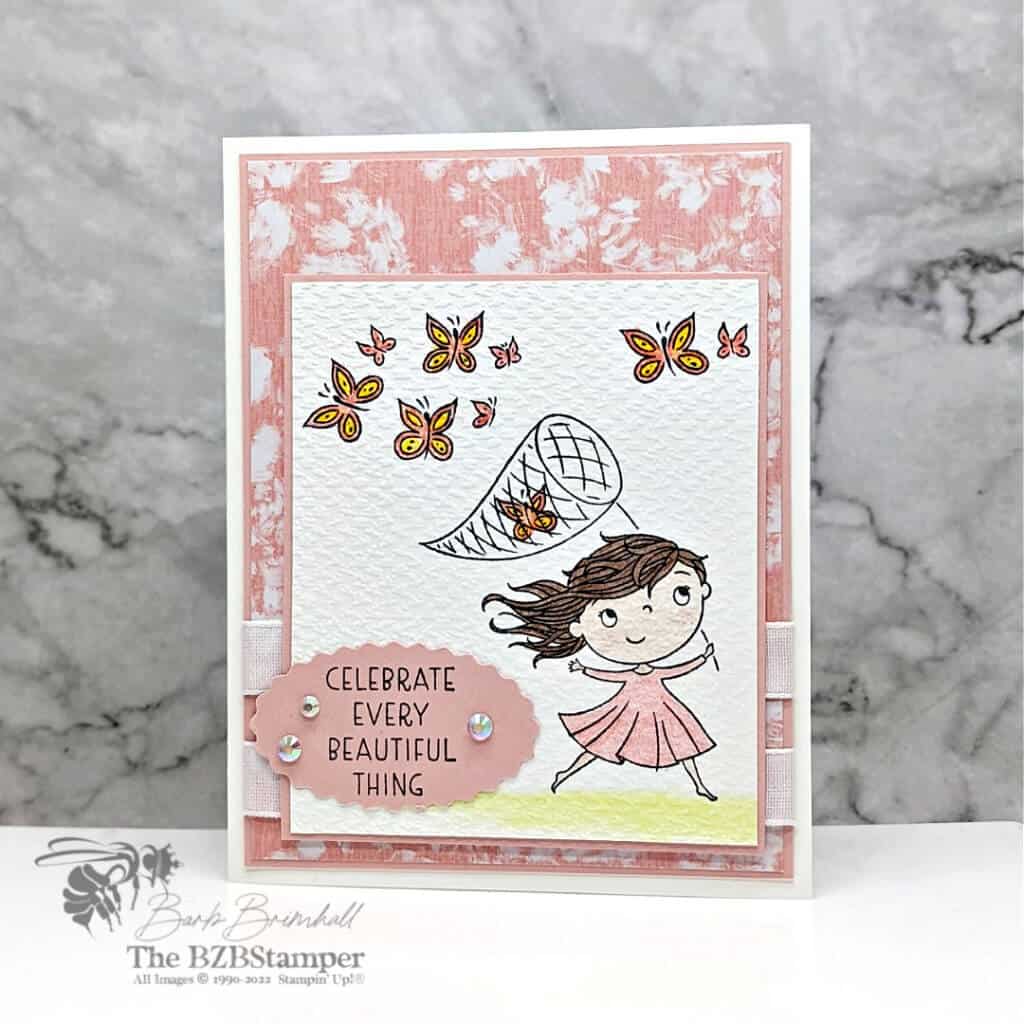
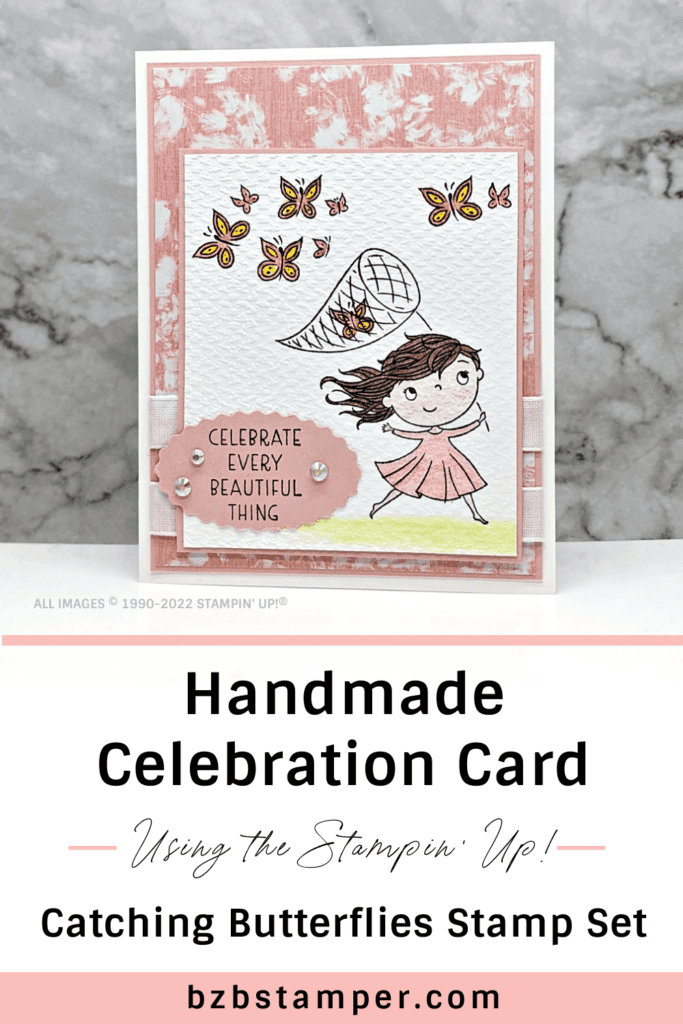
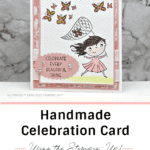
Is someone you know celebrating a special occasion? This fun handmade celebration card using the Catching Butterflies Stamp Set is the perfect card to send them!
View more stamped samples & inspiration here
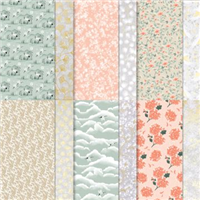
I love sending happy mail to friends and this handmade card is the perfect card to send when you want to bring some sunshine into someone’s mailbox! Between the gorgeous Symbols of Fortune Designer paper and that fun Catching Butterflies Sale-A-Bration Stamp Set (free with a qualifying $50 order until February 28, 2022), this card is sure to make the recipient smile!
Don’t forget that I have a complete written Tutorial that you can download and save until you’re ready to make this card! Check it out below.
Project Measurements
- Basic White: 5 ½” x 8 ½” scored at 4 ¼” and 3-3/4” x 4”
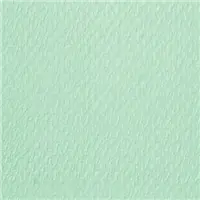
- Blushing Bride: 4” x 5-1/4” and 3-7/8” x 4-1/8”
- Symbols of Fortune Paper: 3-7/8” x 5-1/8”
Project Instructions
1. Fold the 5-1/2” x 8-1/2” piece of Basic White cardstock in half at the score line. Burnish well with your Bone Folder to create a crisp fold.
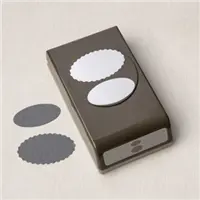
2. Using the 4” x 5-1/4” piece of Blushing Bride cardstock, use the Double Oval Punch to punch out the large Scallop Oval from the center of the cardstock. Set aside.
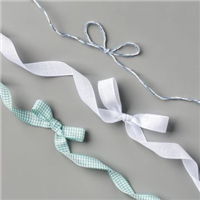
3. Adhere the Symbols of Fortune paper to the 4” x 5/4” piece of Blushing Bride cardstock. Cut two 5-1/2” pieces of the White Flowers for Every Season ribbon and adhere them to the bottom of this piece (see picture for placement) securing the ends to the back of the Blushing Bride cardstock mat. Adhere to the front of the card using Stampin’ Dimensionals.
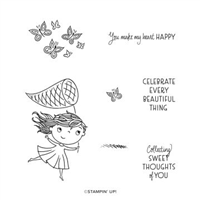
4. Using the 3-3/4” x 4” piece of Basic White Cardstock, stamp the girl with the net & the butterflies image using Black Memento Ink.
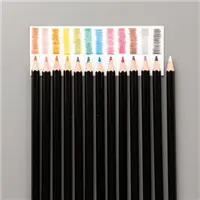
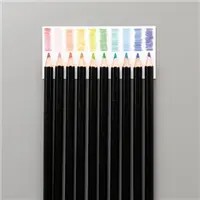
5. Color in the Butterflies using the Daffodil Delight & Flirty Flamingo Watercolor Pencils. Color in her Dress using the Flirty Flamingo Watercolor pencil and use it lightly to color in her skin. Color in her Hair using the Early Espesso Watercolor pencil and the grass using the Granny Apply Green Watercolor Pencils.
6. Blend the butterflies & the “grass” using the Wink of Stella Glitter Brush.
7. Run the stamped piece of White cardstock through the Cut & Emboss Machine using the Tasteful Textile 3D Embossing Folder. Adhere to the 1/8” larger piece of Blushing Bride cardstock and adhere to base card.
8. Using the Scalloped Oval from Step #2, stamp the sentiment using the Black Memento ink pad. Adhere to the base card.
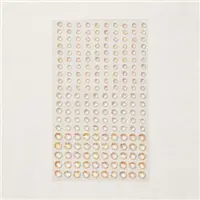
9. To finish the card, adhere 3 Iridescent Rhinestones in various sizes around the sentiment on the Blushing Bride Oval.

Supplies Used on this Project
Save This
Save this to your Pinterest board where you save those quick and easy cards.
- Get a Free Tutorial Every Week!
- Shop 24/7 in your PJ’s
- Queen Bee Rewards – Earn FREE Stamps!
- View the 2024-2025 Annual Catalog
- View NEW Online Products
- Monthly Crafting Kit
Thanks for stopping by for today’s card tutorial! My goal is to help you make quick & easy greeting cards for all occasions. I hope you’ll join me again for more card-making ideas!






This card is adorable and gorgeous! Love every element especially the embossing. Thanks for sharing Barb!
Thank you Kylie! So happy you liked it!