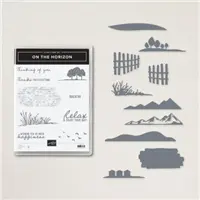
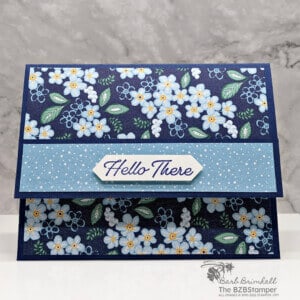
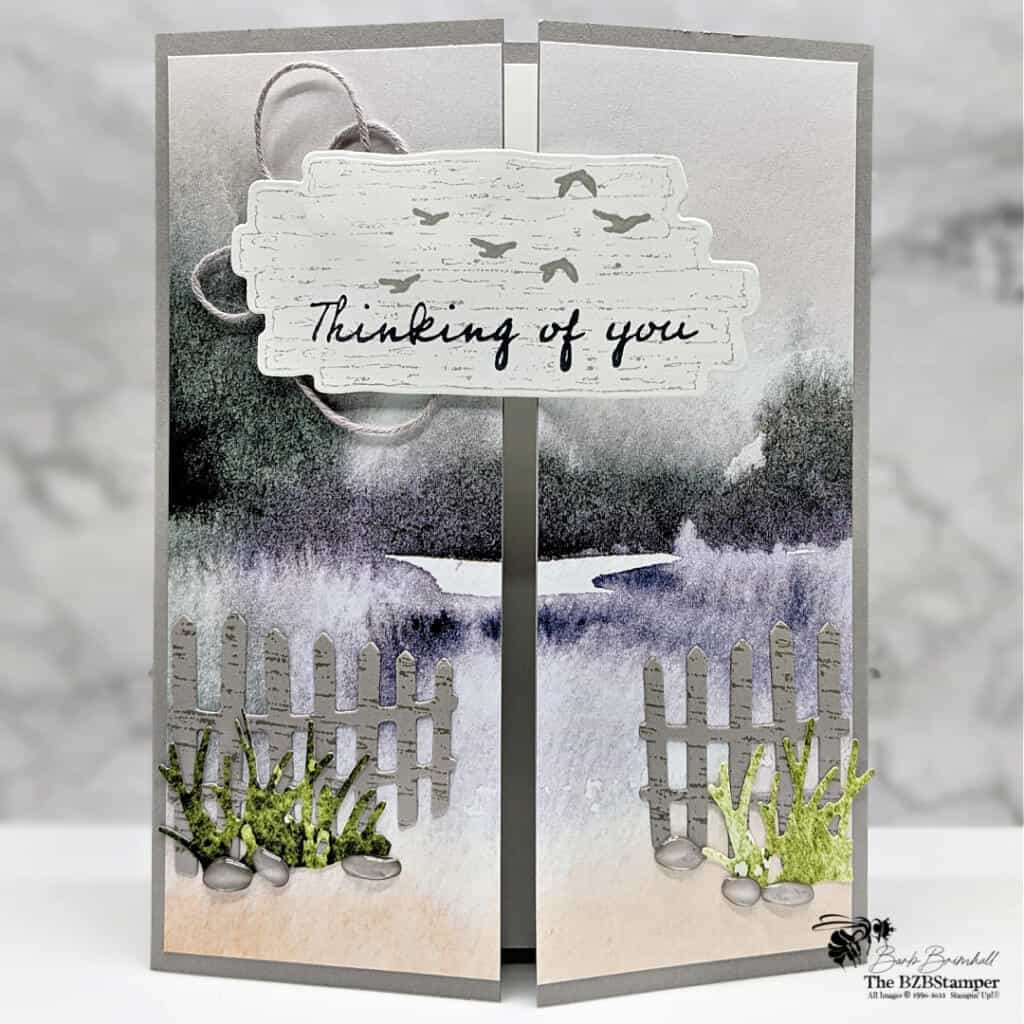
This Beatuiful Gate Fold Card using the On The Horizon Bundle by Stampin’ Up! is easier to create than you think But just in case, I have a Tutorial for you!
View more stamped samples & inspiration here
I love Gate Fold cards. For me, they’re one of the easiest “fun fold” type of cards to make and they always turn out right!
Basically, instead of folding your card in half, you fold each end in towards the middle. A standard-sized greeting card in the United States is 5-1/2″ x 8-1/2″. To fold it in half, you’d score at 4-1/4″ which is half of 8-1/2″ (the long side.)
When you’re doing a Gate Fold, instead of folding in half, you fold each end in, or at 2-1/8″ (which is half of 4-1/4″, where the 2 ends will meet.)
I’m not the worlds best scorer, so what I usually do is score on one end at 2-1/8″, flip the card over and score at 2-1/8″ again so that both ends are scored at 2-1/8″.
Another easy way is to only score one end at 2-1/8″, fold on the score line, and then bring the other end over so that they meet perfectly in the middle. No matter how you do it, it’s super easy peasy after your first try!
Don’t forget to download the Tutorial below which gives you step-by-step instructions on how to make this card!
Project Measurements
- Gray Granite: 5-1/2” x 8-1/2”, scored at 2-1/8” on each side and 2” x 4” scrap
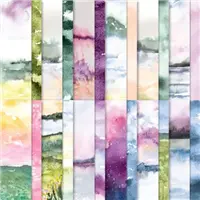
- New Horizons Paper: 2-1/8” x 5-1/4” (2) and 1-1/2” x 3” scrap for die-cutting
- Basic White: 4” x 5-1/4” and 2” x 4” for die-cutting
Project Instructions
1. Fold the Gray Granite cardstock along the score lines so that they meet in the middle of the front of your card.
2. Adhere the 4” x 5-1/4” Basic White cardstock inside your base card.
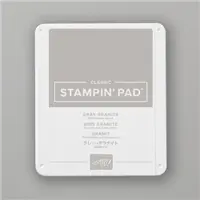
3. Using the Cut & Emboss Machine and the Horizon Dies that come in the Bundle, cut the 2 fences out of the scrap of Gray Granite cardstock. Cut out 2 of the grass die-cuts from the scrap of New Horizon paper. Using the Gray Granite ink pad, stamp the “lined” stamp onto the fences. Set these 4 die-cut pieces aside.
4. Using the scrap of Basic White cardstock, ink up the “lined” background stamp using Gray Granite ink. Tap most of the ink off on your scratch paper and then stamp onto the white cardstock. Stamp the seagulls onto the stamped label using Gray Granite ink (do not tap off.) Stamp the sentiment using the Black Memento ink.
5. Using the Cut & Emboss Machine and Horizon Dies, cut out the label using the appropriate die and set aside.
6. Line up both of the 2-1/8” strips of the New Horizons paper so that they “match” up if there is a scene. Adhere the larger stamped die-cut fence on the left strip and the smaller stamped die-cut fence on the right strip. (see sample for placement.)
7. Add the “grass” die-cuts from Step #3 at the bottom of each fence and trim as needed. Add both of the 2-1/8” Designer Paper strips to the front flap of your base card.
8. Add a glue dot to the back (left side) of the sentiment tag from Step #5 and randomly wind some of the Gray Granite Bakers Twine from the Essentials Pack. Add adhesive or more glue dots to the left side around the Twine and adhere to the left flap of the card towards the top. Be careful to not have any adhesive on the right side of you’re glue the front of your card shut by accident.
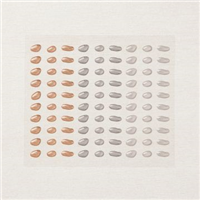
9. To finish the card, add some of the Pebble Enamel Shapes randomly around the grass on the front of the card.

Supplies Used on this Project
Pin It
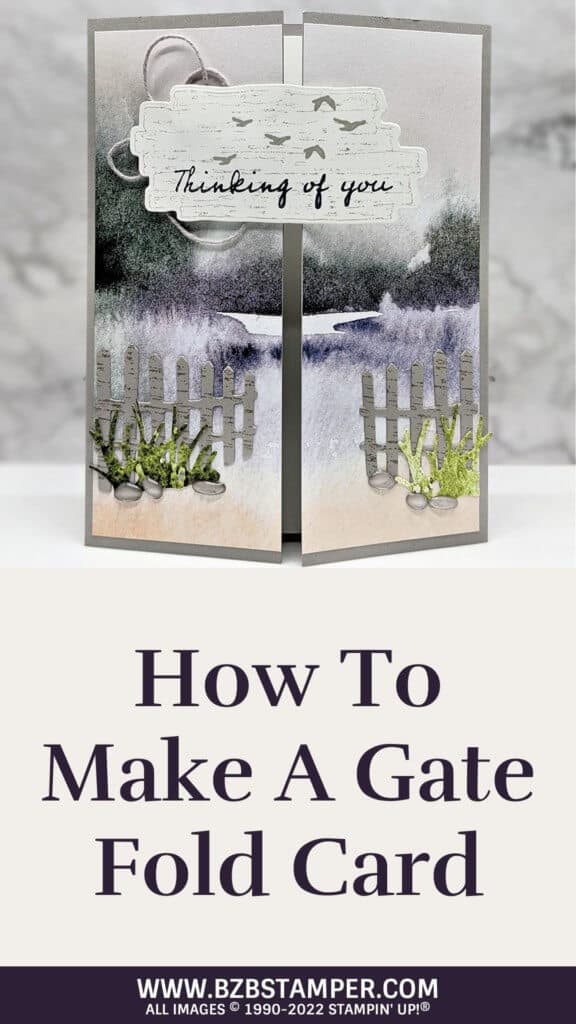
Go ahead and pin this image in your “favorites” board so you can find this when you need it!
- Get a Free Tutorial Every Week!
- Shop 24/7 in your PJ’s
- Queen Bee Rewards – Earn FREE Stamps!
- View the 2024-2025 Annual Catalog
- View NEW Online Products
- Monthly Crafting Kit
Thank you so much for stopping by and checking out this papercrafting tutorial. I hope you are inspired to create and send cards. I love sharing how to make cards here on the BZBStamper blog and I can’t thank you enough for all of your support!


