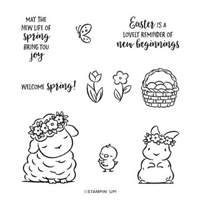
The flowers are starting to bloom and it’s time to start thinking about making a handmade card for Spring and Easter. The Springtime Joy stamp set from Stampin’ Up! has everything you’ll need!
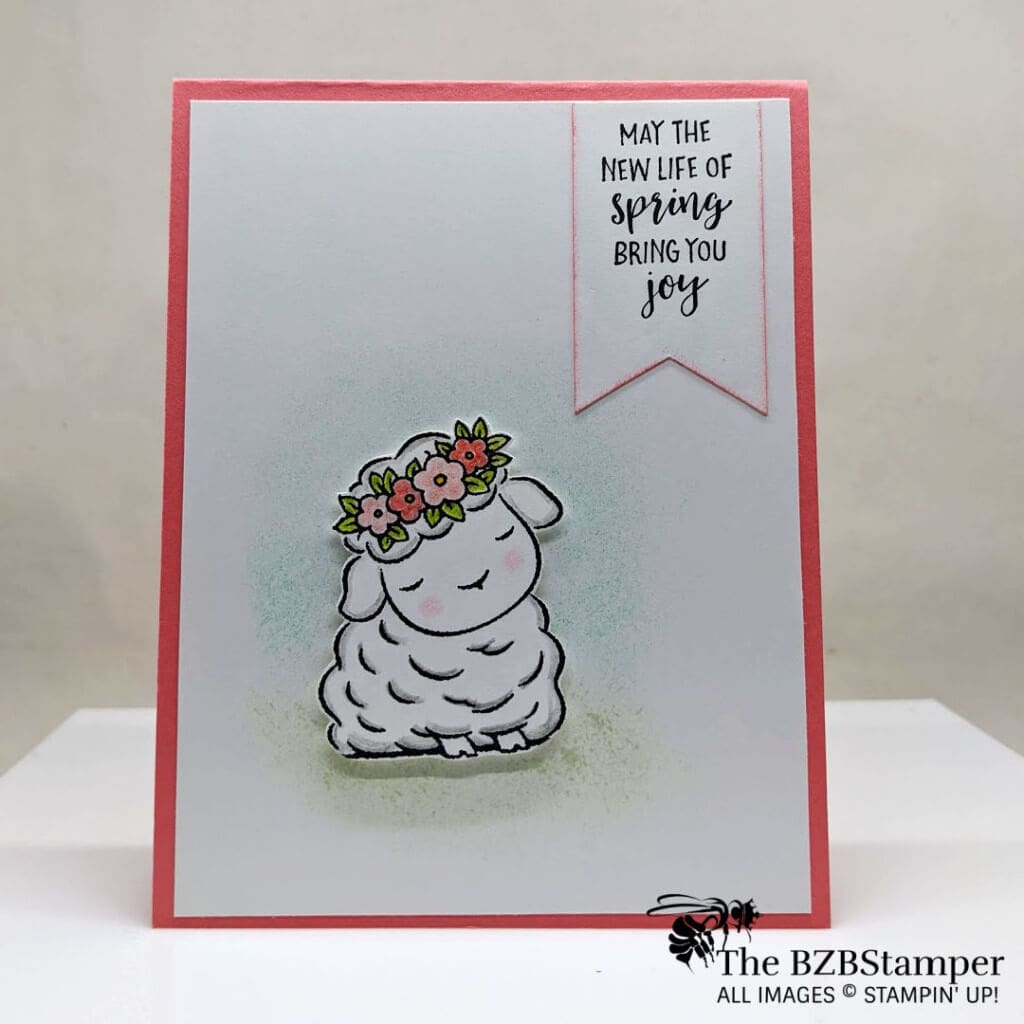
I absolutely love the Springtime Joy stamp set from Stampin’ Up! The adorable bunny and lamb images stole my heart the first time I saw it! And that little chickie! How adorable is she?!? (You can see the bunny card I did from this set here – I have a card coming made with the little chick soon!)
I wanted to keep this card soft, with lots of pastel overtones, so this was the color palette I chose:
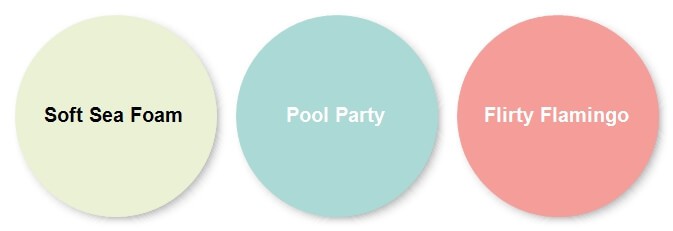
I could have gone with a lighter pink, but I really loved how the Flirty Flamingo made the other two colors pop! This card came together really easily – the key is to keep a very light touch with the sponging of the background. Keep that in mind if you recreate this card. 😊
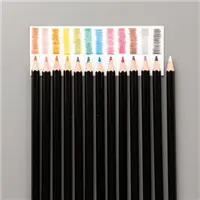
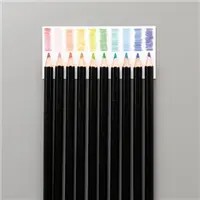
And one final design detail – I used watercolor pencils to color in the images here. I then went back over where I colors and blended the colors just a teeny bit using my Wink Of Stella Glitter Brush. The fine-tip brush allows you to get into some small spaces and the touch of glitter adds a must needed sparkle!
Supplies Used On This Project
Cardstock Measurements
- Flirty Flamingo cardstock: 4-1/4″ x 11″
- Basic White cardstock: 4″ x 5-1/4″ (2) and 1-1/4″ x 2-1/4″ for sentiment tag and scrap for lamb
Project Instructions
- Cut a piece of Flirty Flamingo Cardstock to 4-1/4” x 11”, score at 5-1/2” and fold at score line to create your base card.
- Cut 2 pieces of 4” x 5-1/4” Basic White Cardstock. Adhere 1 piece on the inside of the base card.
- On a scrap of white cardstock, stamp the Lamb using Black Memento ink. Color in the Lamb using the Basic Gray pencil to highlight her body, the Flirty Flamingo & Calypso Coral for the flowers, Daffodil Delight for the flower centers and Granny Apple Green for the leaves. Cut out using your Paper Snip scissors. Set aside.
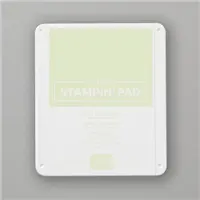
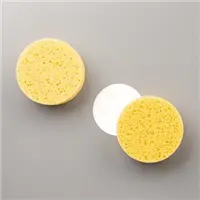
- Using a sponge and the Pool Party and Soft Seafoam Ink Pads, lightly sponge the 2 colors onto a small area of the 4” x 5-1/4” Basic White mat. Tip: use the cut Lamb as your guide as you only want the colors to “halo” where the lamb will go, leaving the rest of the White mat without color.
- With the remaining scrap of White cardstock, cut a 1-1/4” x 2-1/4” piece of Basic White Cardstock. Stamp the sentiment using Black Memento ink and sponge the edges lightly with Flirty Flamingo ink. Adhere to the sponged Basic White mat and adhere to the base card.
- Adhere the Lamb using Stampin’ Dimensionals. If you need to blend the Pencils on the Lamb, use the Wink of Stella Clear Glitter Brush – this will also add some sparkle to your card!

Pin It For Later
Don’t forget to pin this image below to your Pinterest boards.
- Get a Free Tutorial Every Week!
- Shop 24/7 in your PJ’s
- Queen Bee Rewards – Earn FREE Stamps!
- View the 2024-2025 Annual Catalog
- View NEW Online Products
- Monthly Crafting Kit
Thanks for stopping by today, I hope you enjoyed this papercrafting tutorial. If you have a question or if I can help you with anything, please leave me a comment. I’d love to hear from you!


