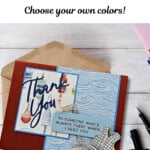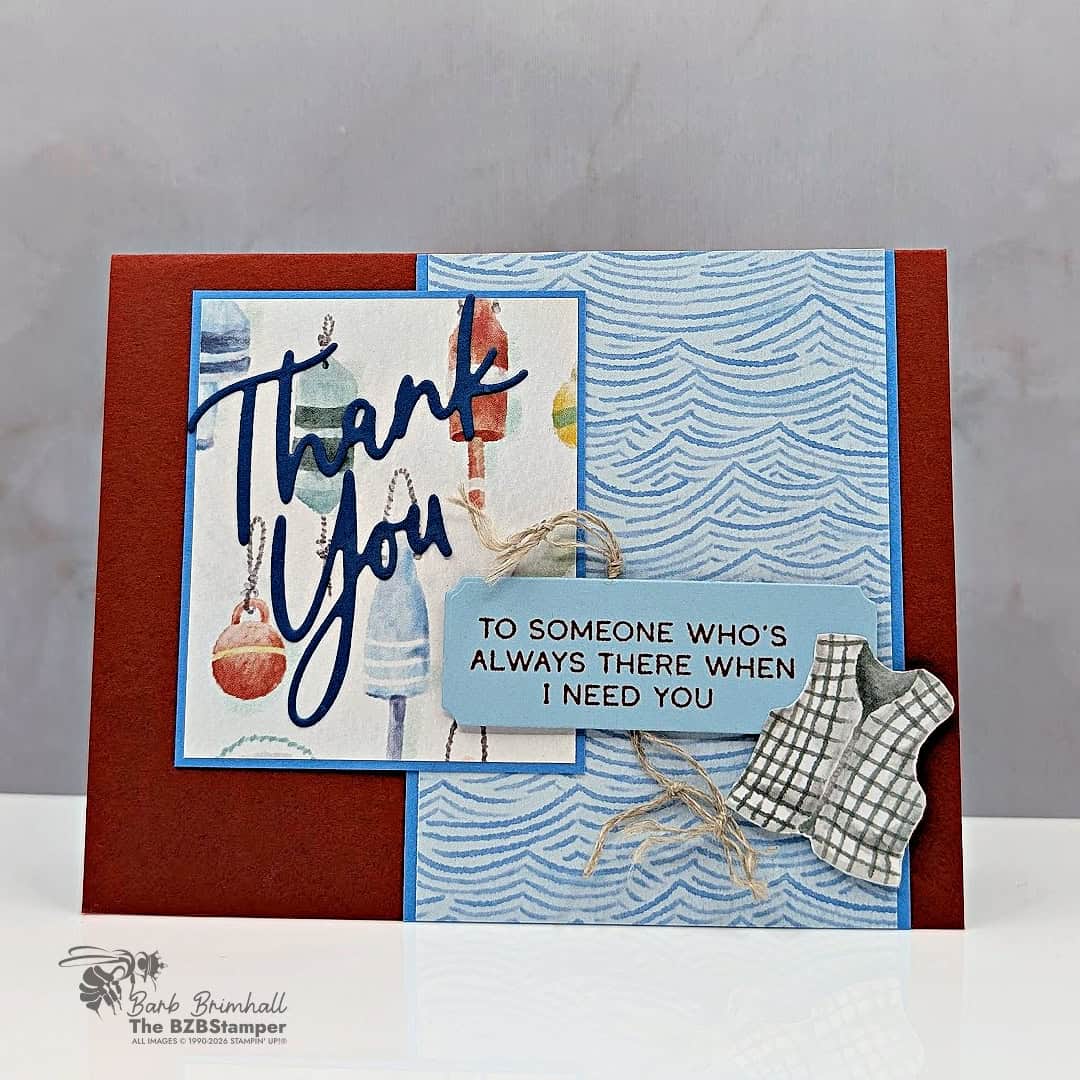
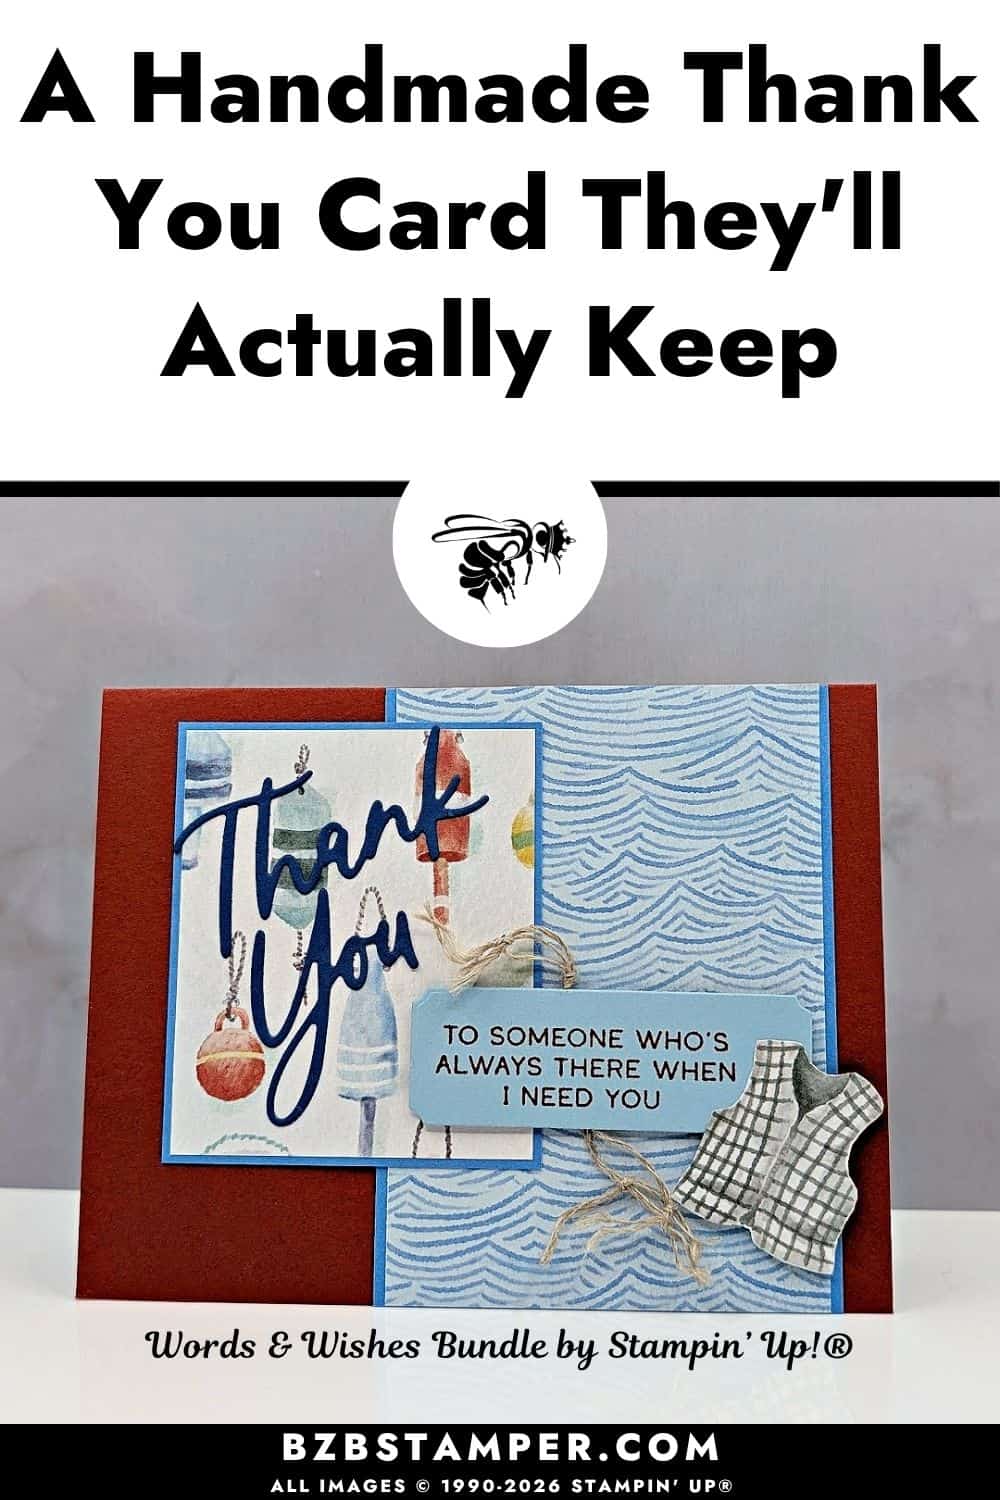
Today’s masculine Thank You card using the Words & Wishes Bundle by Stampin’ Up!® is a great example of letting your Designer Series Paper do the heavy lifting. The Waterside Retreat Designer Series Paper gives this card its outdoorsy feel, while the Words & Wishes Bundle adds just the right message of appreciation.
And while I’m calling this a masculine card, it certainly doesn’t have to be! This design would be perfect for anyone who enjoys fishing, being outdoors, or simply prefers a card without lots of flowers and frills. Sometimes it’s nice to have a card design in your stash that feels a little more simple and outdoorsy.
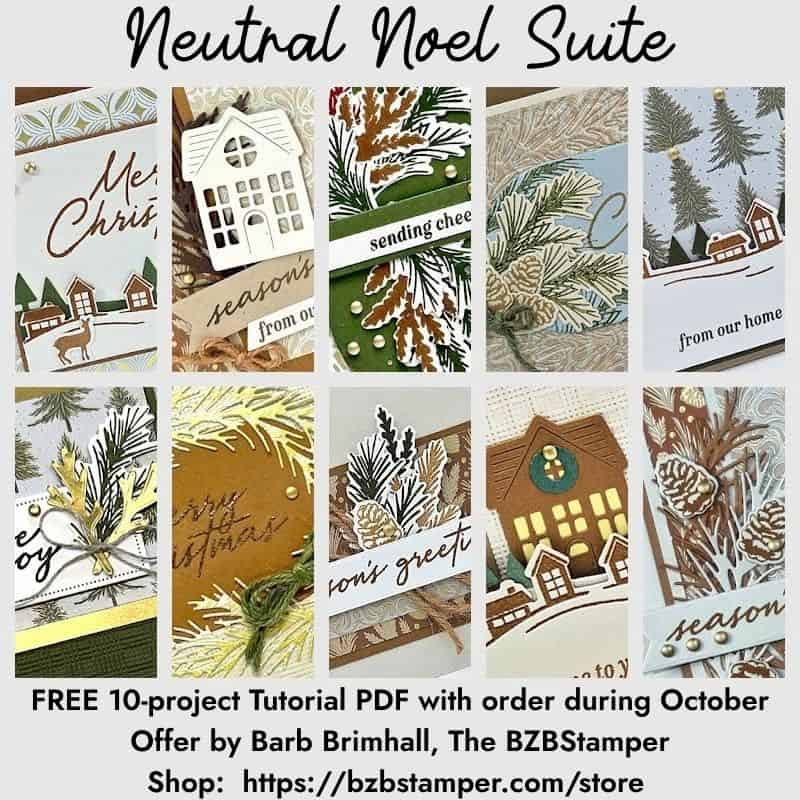
october ordering Bonus
A Bonus for You!
Any order you place in October includes a free 10-project tutorial featuring the Neutral Noel Suite that you can use with any Bundle in your stamp stash.
It’s filled with cozy, step-by-step card ideas to spark your creativity when your order arrives — so you’re not staring at supplies wondering where to start.
One of my favorite things about Designer Series Paper is finding ways to use more than just the pretty background patterns.
For this card, the Waterside Retreat Designer Series Paper provides both the patterned layers and that fun fishing vest. Cutting an image from the paper is such an easy way to create an embellishment that coordinates perfectly with the rest of your card.
It’s also a great reminder to look closely at your Designer Series Paper before you start cutting. There may be little images hiding in those patterns that can become the star of your card!
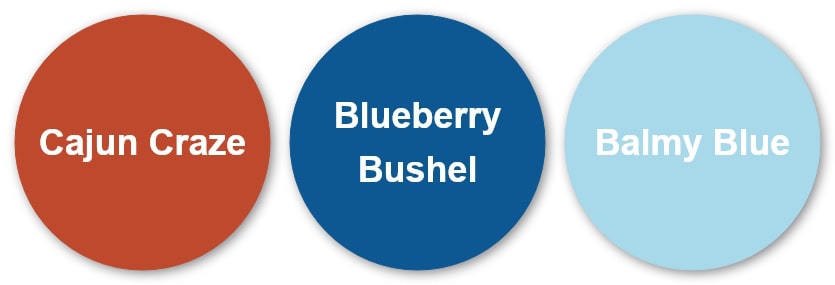
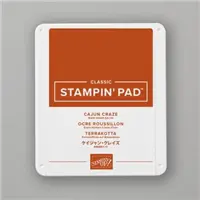
I love these colors together. Blueberry Bushel gives the card a strong pop of color, Balmy Blue keeps everything light, and Cajun Craze adds that warm, outdoorsy feel. And little Linen Thread adds some texture without making the card feel fussy.
And because the colors come right from the Waterside Retreat Designer Series Paper, there’s no guessing about what works together. It’s an easy color combination to use when you want something bold without feeling too bright. I especially love it for masculine cards and outdoor-themed projects.
The large Thank You die-cut gives the card a strong focal point, but I especially love the smaller sentiment: “To someone who’s always there when I need you.” That turns this from a nice handmade card into something much more personal. Because sometimes “thank you” really means, I notice what you do for me. I appreciate you. And I’m glad you’re in my life.
How To Make This Card
You’ll find the full supply list and step-by-step instructions below.
Masculine Thank You Card using the Words & Wishes Bundle
Supplies Needed
- Cajun Craze Cardstock: 5-1/2" x 8-1/2" (score at 4-1/4")
- Basic White Cardstock: 4" x 5-1/4" (inside card)
- Azure Afternoon Cardstock: 3-1/8" x 4-1/4"
- Waterside Retreat Wave Pattern: 3" x 4-1/4"
- Azure Afternoon Cardstock: 2-5/8" x 3-1/8"
- Waterside Retreat Buoy Pattern: 2-1/2" x 3"
- Waterside Retreat Paper: scrap Pattern with vest
- Blueberry Bushel Cardstock: 3" x 3" (for die-cutting)
- Balmy Blue Cardstock: 1-1/2" x 3" (for die-cutting)
Instructions
- Fold the Cajun Craze cardstock in half at the score line to create your card base. Adhere the 4" x 5-1/4" piece of Basic White cardstock inside card and decorate as desired.
- Adhere the 3" Waterside Retreat wave paper to the 3-1/8" Azure Afternoon cardstock. Adhere to the front of the card, approximately 1/2" to the left of the right side.
- Adhere the 2-1/2" Waterside Retreat buoy paper to the 2-5/8" Azure Afternoon cardstock and adhere to the front of the card as shown in the sample
- Run the Blueberry Bushel cardstock through the Stampin' Cut & Emboss Machine and die cut the "thank you" dies from the Words & Wishes Bundle Dies. Adhere to the "buoy" paper using small dots of Liquid Adhesive.
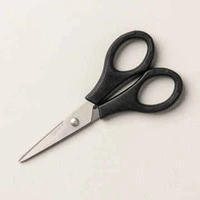
- Using the scrap of Waterside Retreat paper, cut out one of the vest using the Detail Scissors. Set aside.
- Stamp the sentiment onto the Balmy Blue cardstock using Cajun Craze ink. Run through the Cut & Emboss Machine using the rectangle label die from the Words & Wishes Bundle Dies.
- Cut 12" of the linen thread, fold in half and randomly tie knots in the thread. Adhere to the back of the Balmy Blue label using a Stampin' Dimensional.
- Adhere the vest from the previous step to the right side of the label using adhesive only where the vest is added to the label. Adhere the label/vest to the front of the card using Stampin' Dimensionals and "fluf out" the linen thread as desired.
Notes
You could easily change this design for a birthday, Father’s Day, or another occasion by swapping out the sentiment. But I really like it as a thank-you card. We don’t always tell the people who quietly show up for us how much that means.
So if someone came to mind while you were looking at this card, there’s your sign. Make them a card. Write a few words inside. And get it in the mail.
Because the best part of making a handmade card isn’t keeping it on our craft table. It’s putting it into someone else’s hands.
Love this color combo? Pin it for later!
Supplies Used:


Price: $13.00








One more little perk while you’re shopping. Each month there’s a Product of the Month you can add for just $5 when your order reaches $75. It’s a fun surprise that’s not in the catalog and only available while supplies last. Click To Learn More
If you enjoy simple, cozy cardmaking like this, you’d love the creative support we share inside the Creative Living Room. If you have questions about today’s tutorial, please email me for detailed steps. Inspire your craft with more ideas—join me over on Pinterest!
Grab your Free copy
Get 5 Bee-utiful Exclusive
Card Sketches in Your Inbox
Join our newsletter and receive a honey of a package of five quick & simple cards guaranteed to make your creativity buzz! Sign up now and let the goodness flow straight to your inbox!