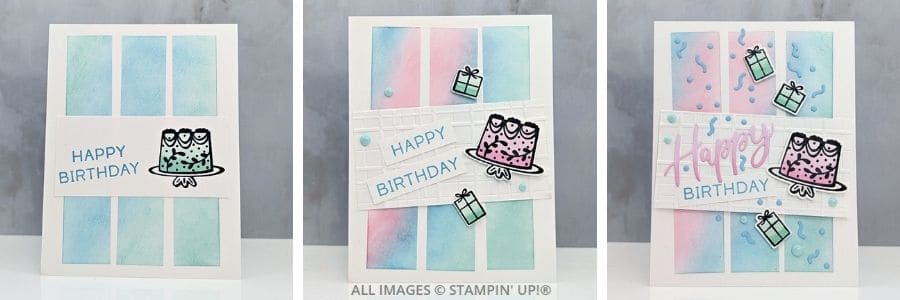
There’s something especially fun about taking one card idea and seeing how far you can go with it, and that’s exactly what we’re doing with today’s 3 Cards using the Words and Wishes Bundle by Stampin’ Up!® We start with a clean birthday card, add a few more details to the second, and then finish with a card that’s ready to celebrate in a big way. But no matter which version you make, they all have the same important job: letting someone know you remembered their special day.
That’s what I love about Step It Up Stamping. You don’t need three completely different card ideas. Start with one layout you like and decide how much time, energy, or creativity you want to give it that day. Sometimes you’re perfectly happy with the simpler version. Other days, you might want to pull out a few more supplies and play. There’s no right or wrong choice because all three end with a handmade card ready to be sent.
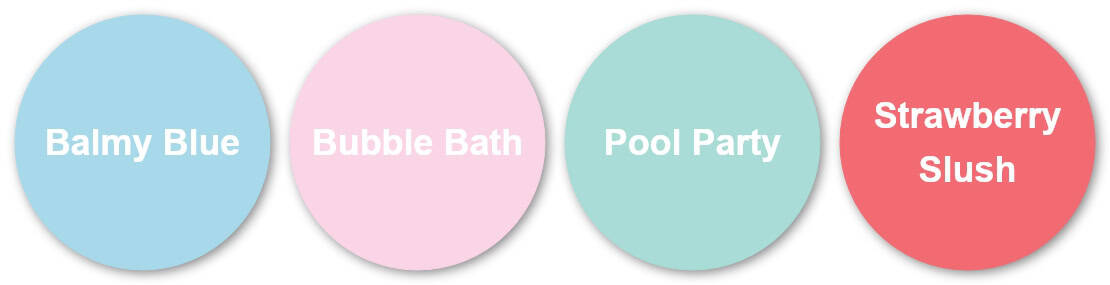
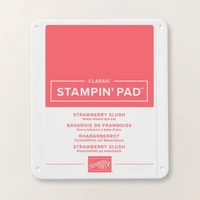
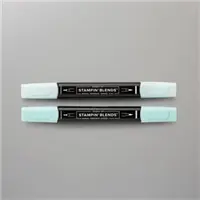
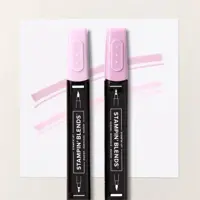
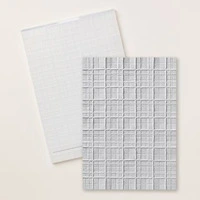
For these cards, I used Blending Brushes with Balmy Blue, Bubble Bath, Pool Party, and Strawberry Slush inks to create the soft panels in the background. As the cards step up, those blended colors become a little more playful and noticeable. The Forever Plaid Embossing Folder adds texture without taking attention away from the birthday images, while the Words & Wishes Dies give us another way to make the greeting part of the design. On the final card, that large die-cut “Happy” really helps turn up the celebration.
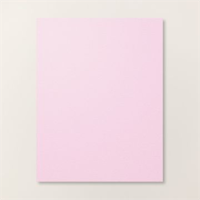
The color combination is a big part of why these cards feel so cheerful. Balmy Blue and Pool Party give us a cool, fresh foundation, while Bubble Bath brings in a soft pink that keeps everything light. Strawberry Slush adds the stronger pop of color the palette needs. Together, the four colors feel happy and festive without becoming too bright or overwhelming, which makes them especially fun for birthday cards.

Want the Tutorial? Get It at a Discount!
The tutorials for my Step It Up Stamping Projects usually sell for $10, but you can
purchase it for a limited time for $5. Use the button below for this special offer!
The Words & Wishes Bundle works beautifully for this kind of project because it gives you choices. You can keep things simple with the stamped birthday cake and greeting, or use the coordinating dies when you want more layers and detail. I especially like having that flexibility because our cards don’t always need to be complicated to feel special. Sometimes one cute cake and a “Happy Birthday” are plenty.
Sending the card does something for us, too. We get the fun of creating it, but we also get that little moment of connection when we address the envelope, add the stamp, and send it on its way. It turns our creative time into something bigger than another finished project sitting on the craft table. We get to use something we love doing to make another person feel remembered.
So whether you make the Busy Bee, Worker Bee, Queen Bee, or your own version somewhere in between, don’t worry about how fancy it is. Make the card that fits your time and your mood today. Then comes the most important step of all: put it in an envelope and send it.
WATCH THE VIDEO
Supplies You’ll Need
These are the basic supplies you’ll need for each of the 3 cards. You can find the complete detailed supply list at the bottom of this post.
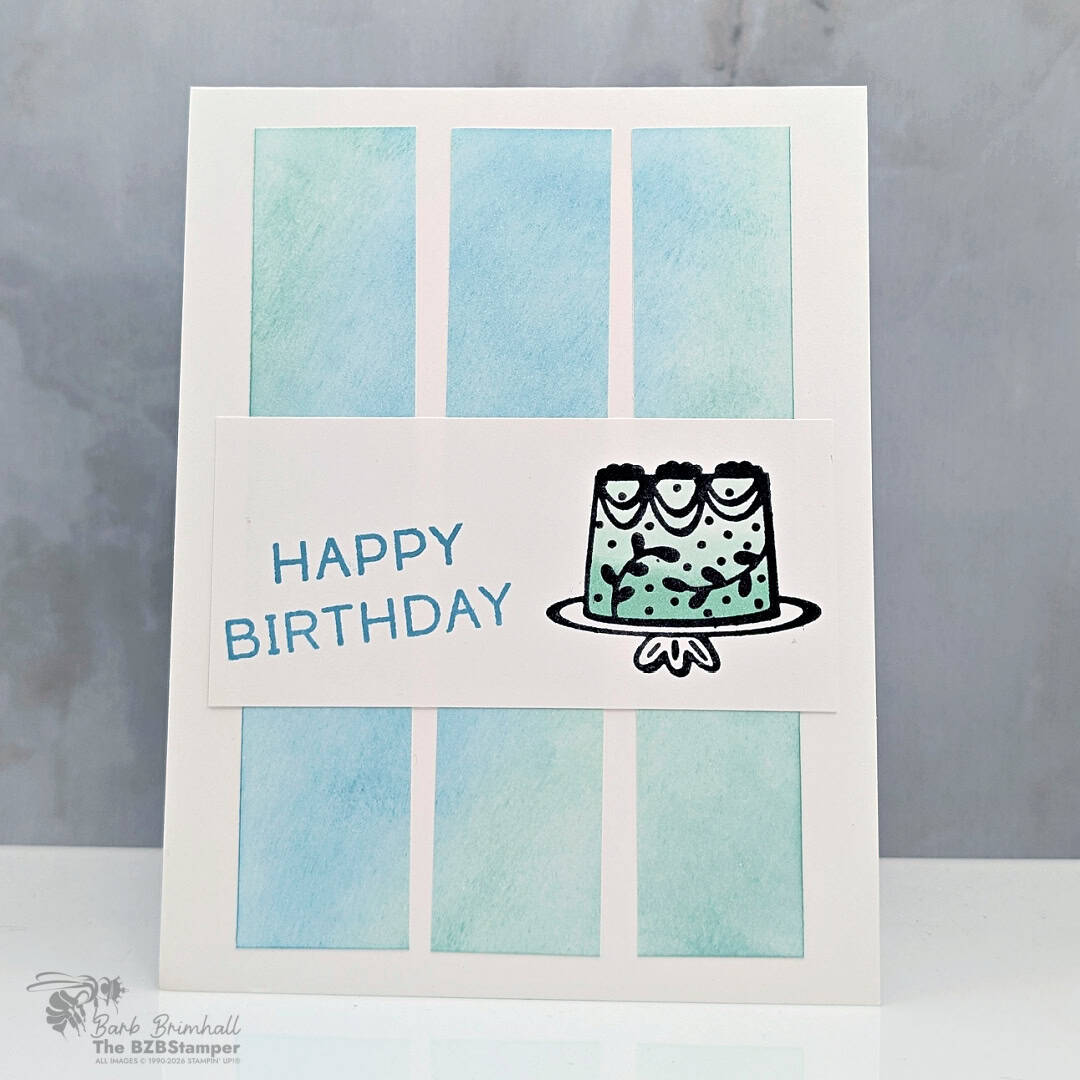
The Busy Bee Card
Quick & Easy when you want to fill up someone’s mailbox with sunshine & love. Perfect for the Beginner Cardmaker.
Love these projects? Unlock exclusive weekly crafting tutorials delivered straight to your inbox! Sign up now and start creating with us—it’s free!
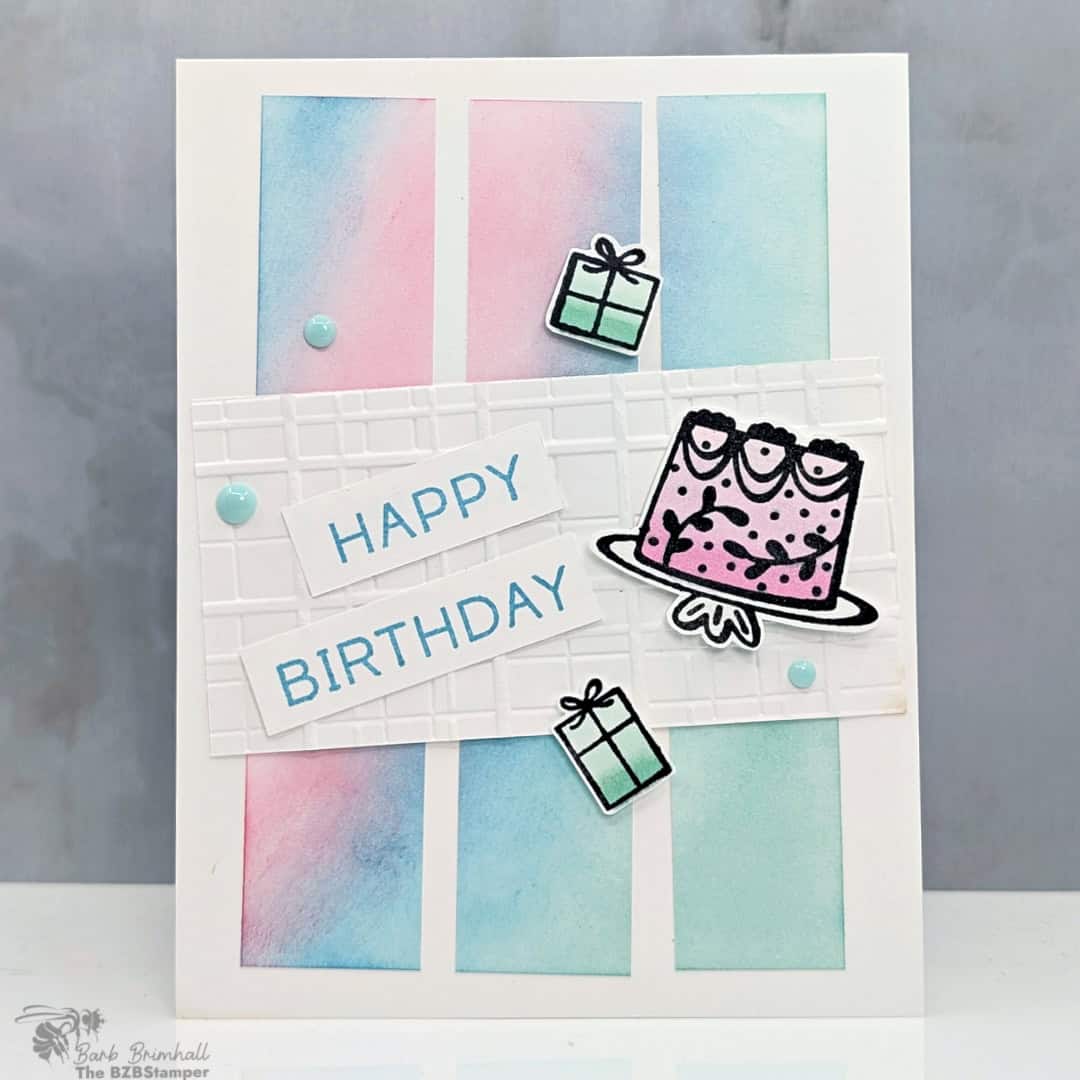
The Worker Bee Card
When you have a bit more time and supplies to put into a very special project for that special someone. Perfect for the Confident Cardmaker.
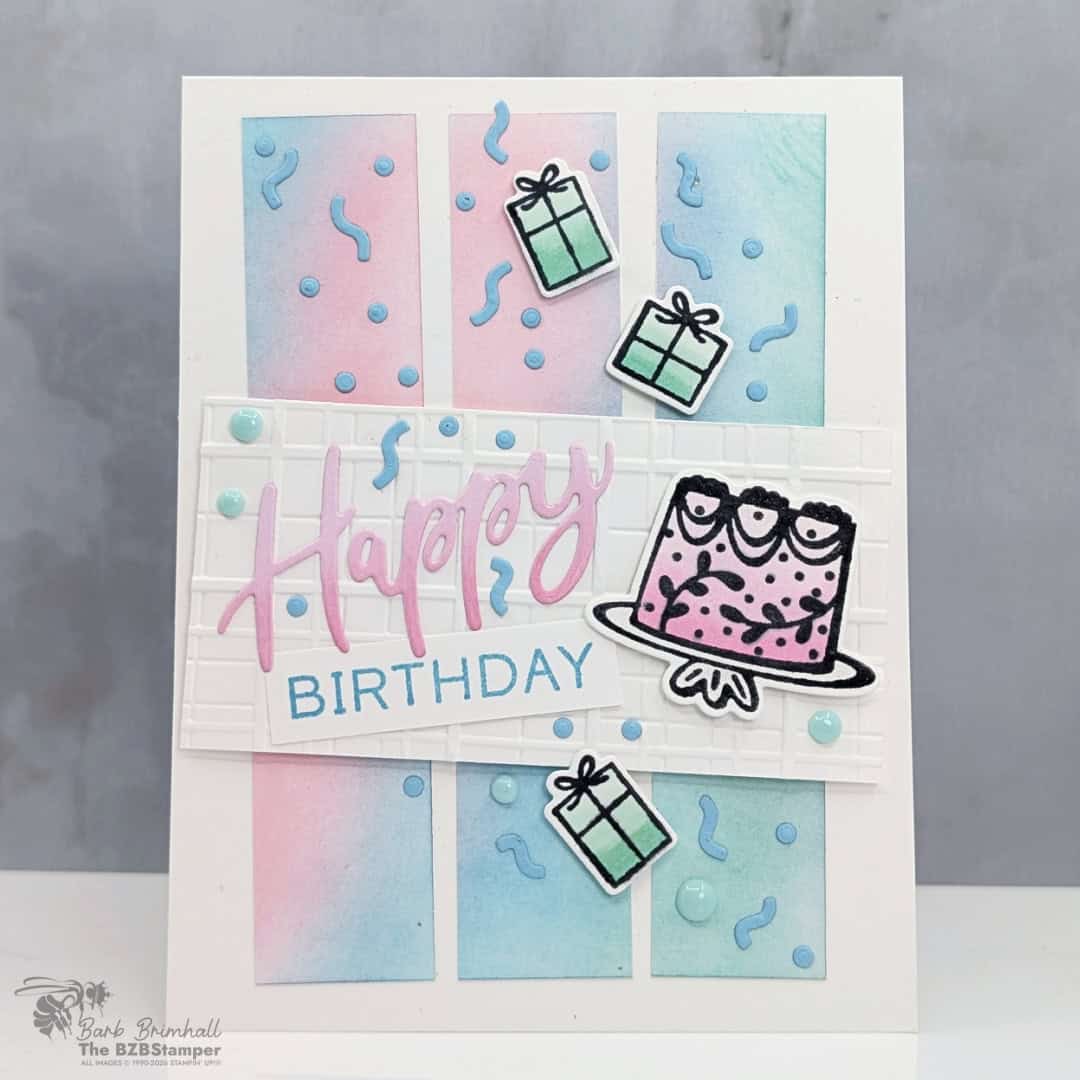
The Queen Bee Card
When you have the time and supplies to take your project right over the top. Give yourself bragging rights – perfect for the Experienced Cardmaker!
Thanks for stopping by for today’s Step It Up Stamping card tutorial! My goal is to help you make quick & easy greeting cards for all occasions. If you’d like more detailed directions on how to make these cards, feel free to email me.
I hope you’ll join me again for more card-making ideas! I’d love to see what you have created so mention me @bzbstamper, tag me @bzbstamper or comment below where I can see your creations!
COMPLETE SUPPLY LIST: