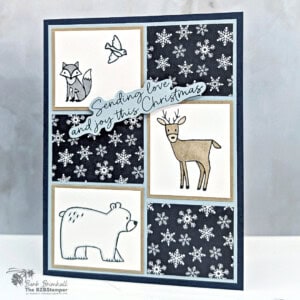
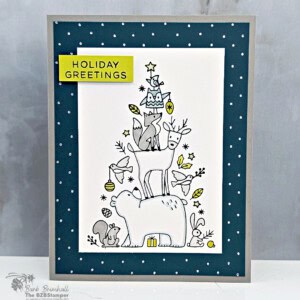
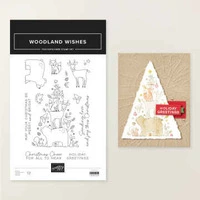
These 3 cards using the Woodland Wishes Stamp Set by Stampin’ Up!® started with one basic Christmas card design. Instead of coming up with three completely different ideas, I kept the main design and changed how much color, texture, layering and detail I added.
And THAT is what I want you to take away from today’s Step It Up Stamping. You don’t need three ideas to make three different cards. Sometimes you just need one idea you like and a few ways to change it.
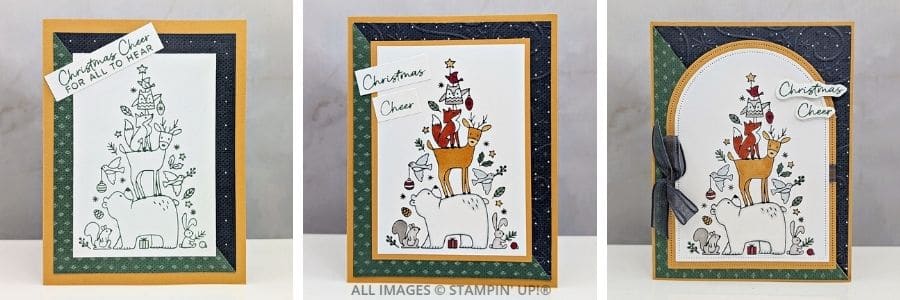
One of the easiest ways to get stuck when cardmaking is thinking every card has to start from scratch. It doesn’t! If you find a layout or stamped image you like, use it again. Change the colors. Add another layer. Pull out an embossing folder. Add patterned paper. Color an image you left uncolored the first time.
The Woodland Wishes Stamp Set works especially well for this because that sweet grouping of woodland animals gives us a ready-made focal point. Once you’ve decided where that focal point will go, most of the design work is already done.
From there, you get to decide how much more you want to add.
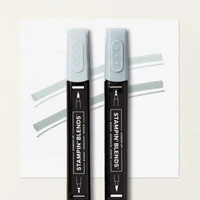
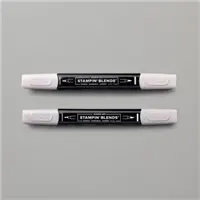
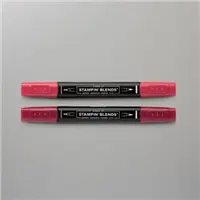
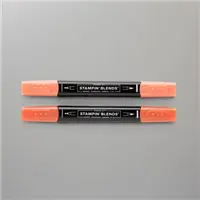
Coloring is one of the easiest ways to take the same stamped image and give it a completely different feel. I used Stampin’ Blends to color the woodland animals. You can keep the coloring fairly simple and still add a surprising amount of depth and personality to those little critters.
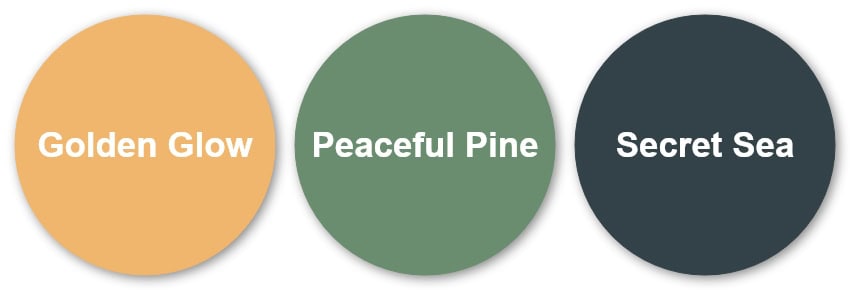
I love this combination because it feels like Christmas without relying on traditional bright red and green. Golden Glow brings warmth and keeps the cards cheerful. Peaceful Pine gives us that classic Christmas green, while Secret Sea adds a deep, rich contrast that grounds the softer colors. Together they feel warm, wintry and a little unexpected.
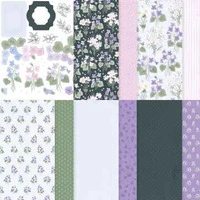
And because we’re repeating those colors across the three cards, they help tie the designs together even as we add more details. The Violet Dreams Specialty Paper brings Peaceful Pine and Secret Sea into the designs and gives us another way to change the look without changing the original idea.
That’s something else worth remembering when you’re stepping up a card. You don’t always need a different stamp set or a completely new layout. Sometimes changing a cardstock layer to a beautiful patterned or specialty paper is enough to make the design feel new.
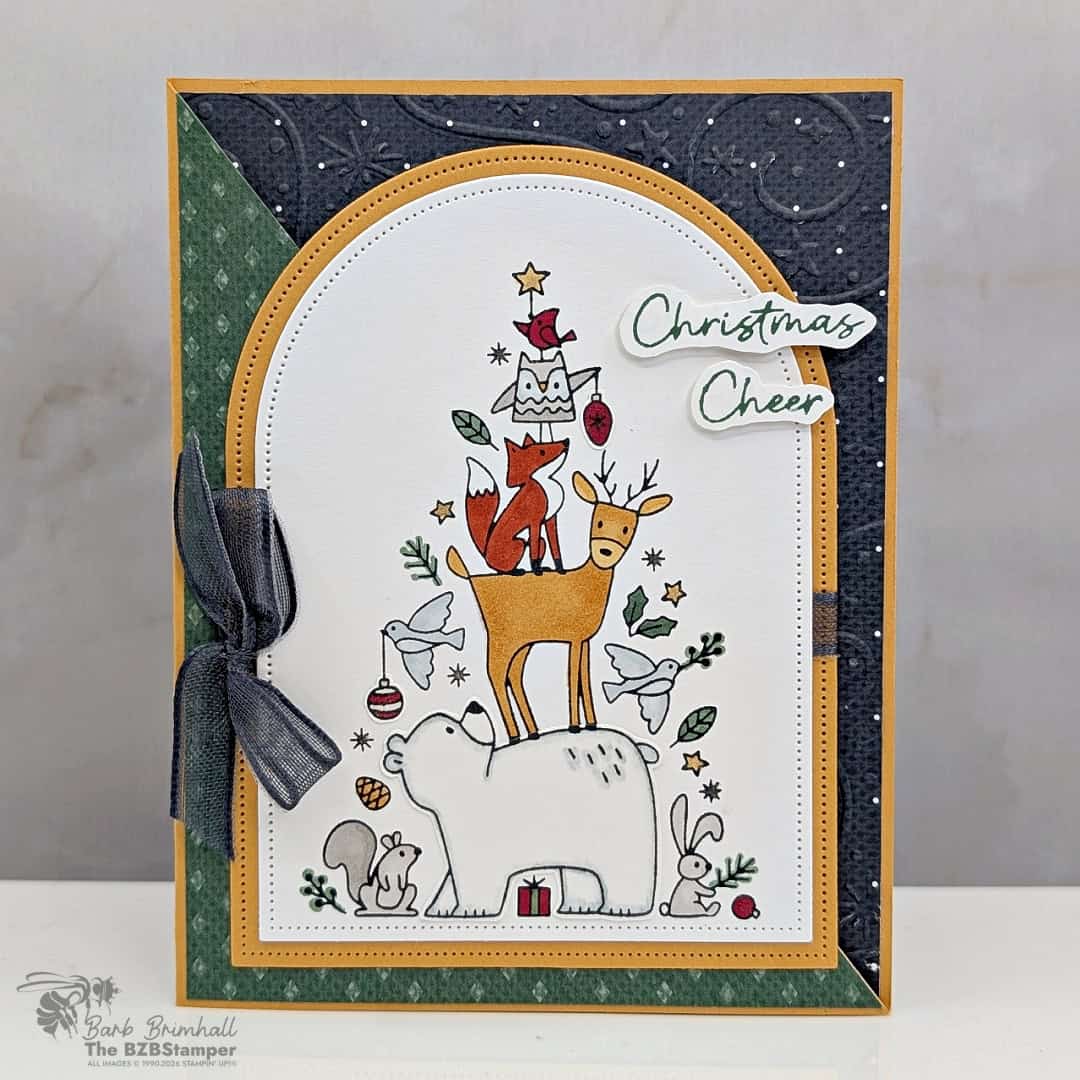
And when you do want to take things even further, a different shape can change the whole focal point. The Everyday Arches Dies add that extra detail to the most stepped-up version while we’re still working from the same original card idea.

Want the Tutorial? Get It at a Discount!
The tutorials for my Step It Up Stamping Projects usually sell for $10, but you can
purchase it for a limited time for $5. Use the button below for this special offer!
Here’s the idea I hope you’ll save from today’s post: when you make a card you like, don’t immediately move on to the next design.
Ask yourself: What would happen if I made this again and changed just one thing?
Maybe you add coloring.
Maybe you add an embossed background.
Maybe you bring in some Designer Series Paper.
Maybe you change the focal point shape or add a little sparkle.
Before you know it, that one card idea has given you two, three or even more cards without having to stare at a blank piece of cardstock wondering what to make next. And during Christmas card season, when you may need a LOT more than one card, that’s a pretty handy trick to have. 😊
There’s one more reason I love using one design to create several Christmas cards. It makes it easier to actually get them made.
Your Christmas cards don’t all have to match. They don’t all have to be elaborate. And they definitely don’t all have to be the most stepped-up version. Choose the amount of detail that fits the time and energy you have.
Because when December rolls around, the person opening your envelope isn’t going to count your layers. She’s going to see your name, read what you wrote inside and know you thought of her.
That’s the part that matters.
If you’d like the exact measurements, cutting instructions and complete supply lists for these three Woodland Wishes cards, I’ve put everything together for you in my Step It Up Stamping tutorial.
WATCH THE VIDEO
Supplies You’ll Need
These are the basic supplies you’ll need for each of the 3 cards. You can find the complete detailed supply list at the bottom of this post.
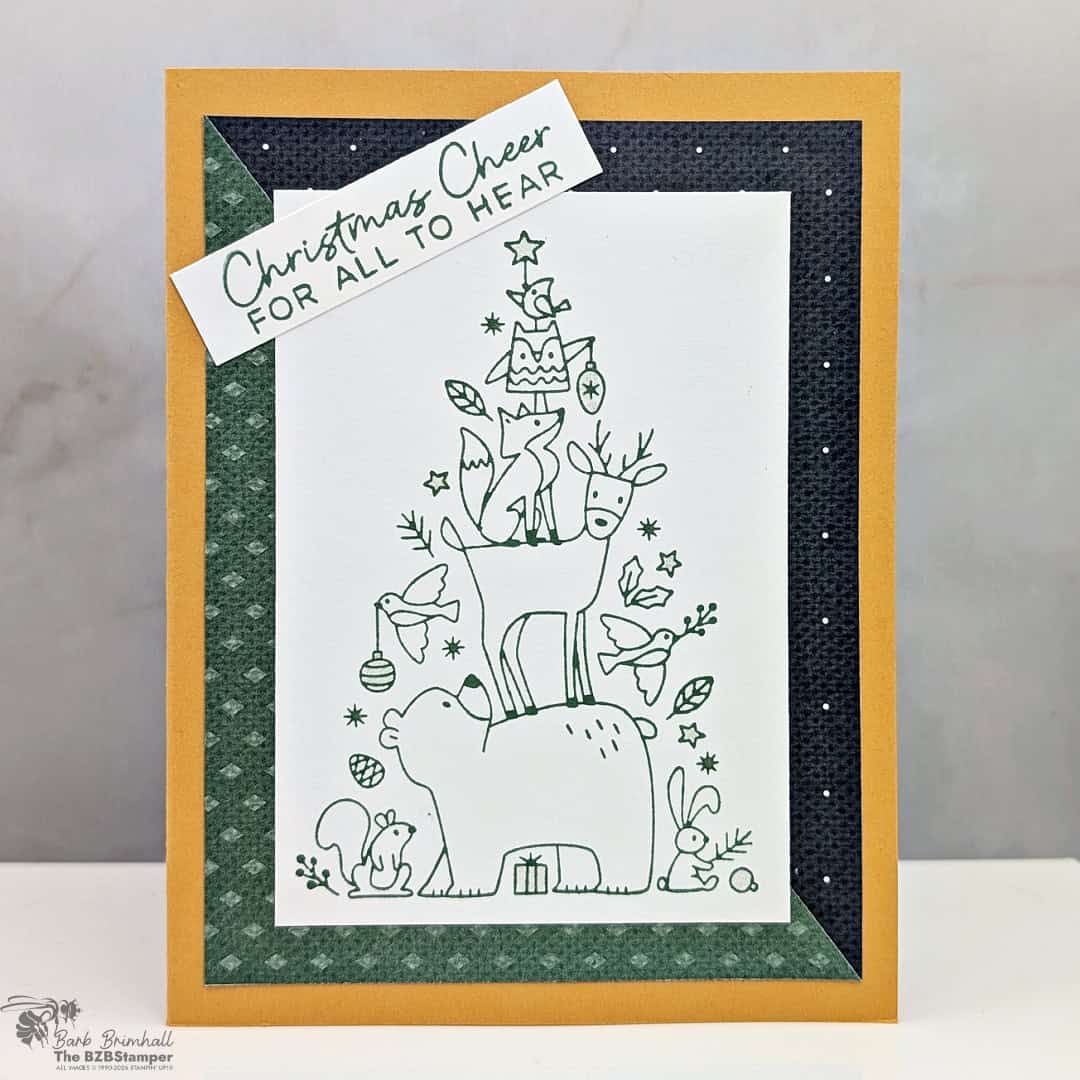
The Busy Bee Card
Quick & Easy when you want to fill up someone’s mailbox with sunshine & love. Perfect for the Beginner Cardmaker.
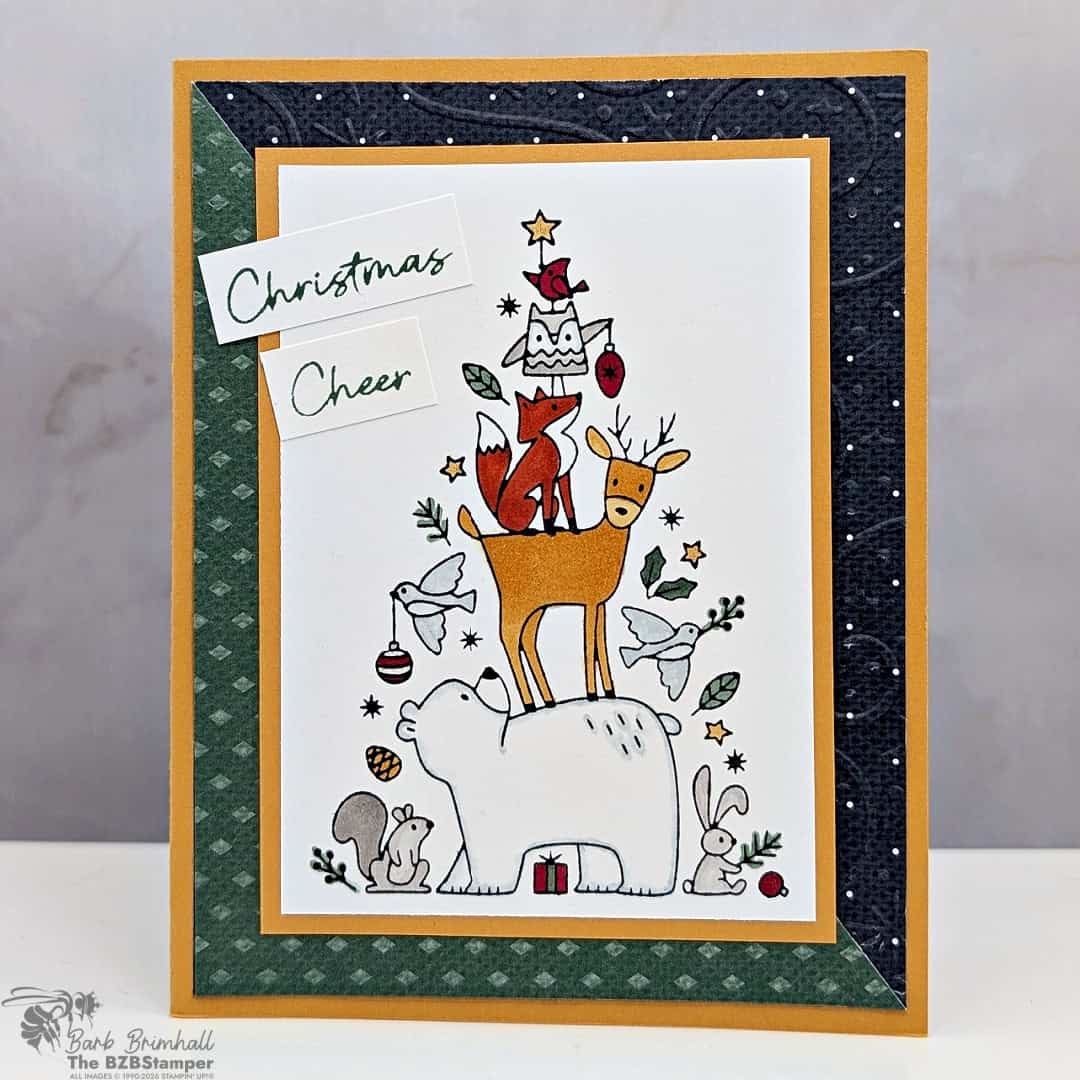
The Worker Bee Card
When you have a bit more time and supplies to put into a very special project for that special someone. Perfect for the Confident Cardmaker.
The Queen Bee Card
When you have the time and supplies to take your project right over the top. Give yourself bragging rights – perfect for the Experienced Cardmaker!
Thanks for stopping by for today’s Step It Up Stamping card tutorial! My goal is to help you make quick & easy greeting cards for all occasions. If you’d like more detailed directions on how to make these cards, feel free to email me.
I hope you’ll join me again for more card-making ideas! I’d love to see what you have created so mention me @bzbstamper, tag me @bzbstamper or comment below where I can see your creations!
COMPLETE SUPPLY LIST:
Price: $17.00