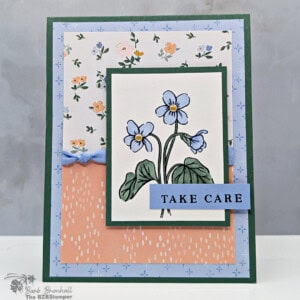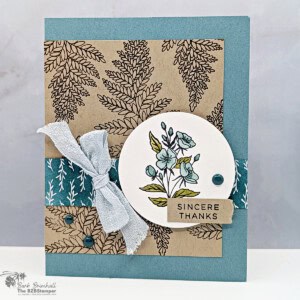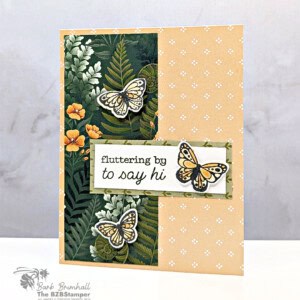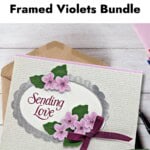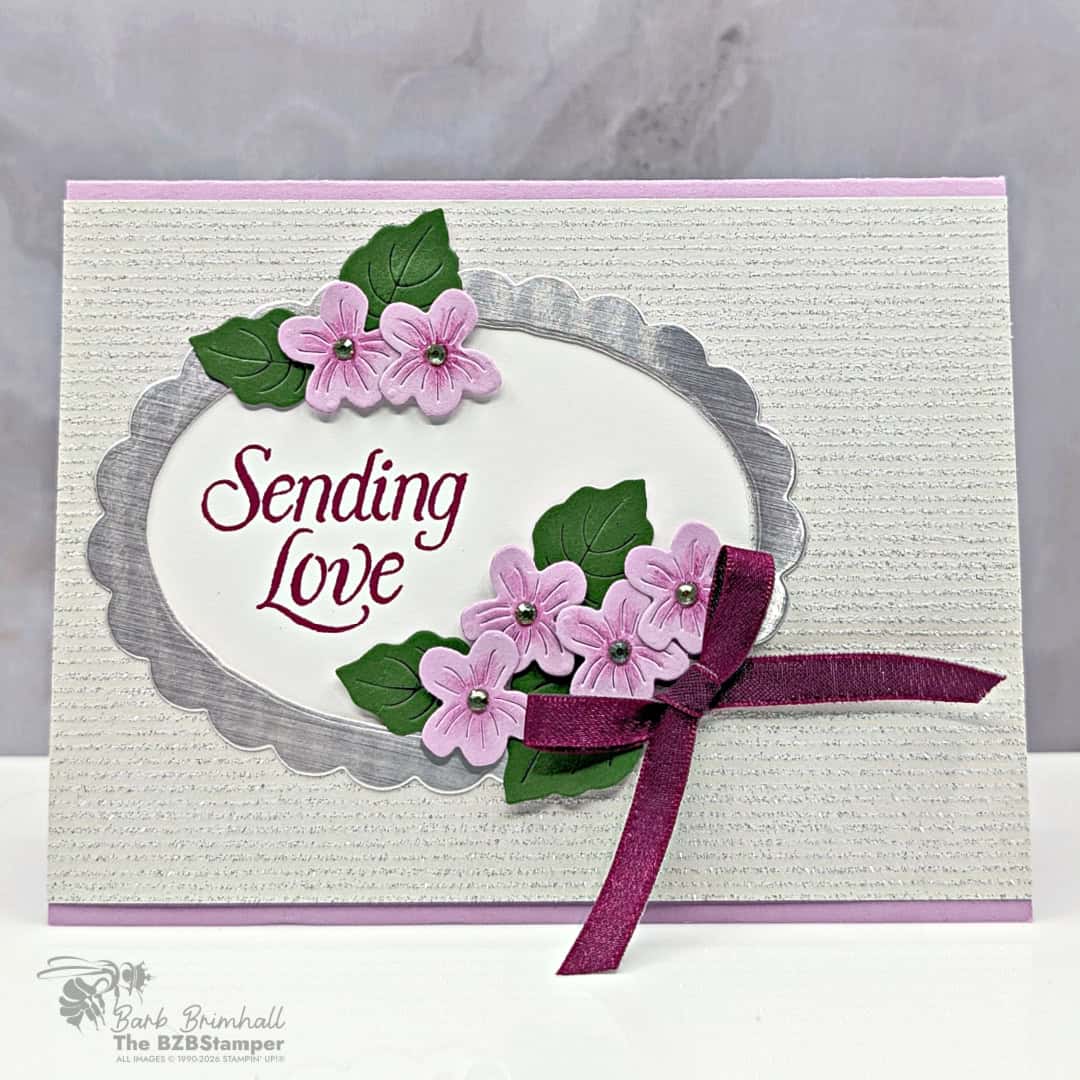
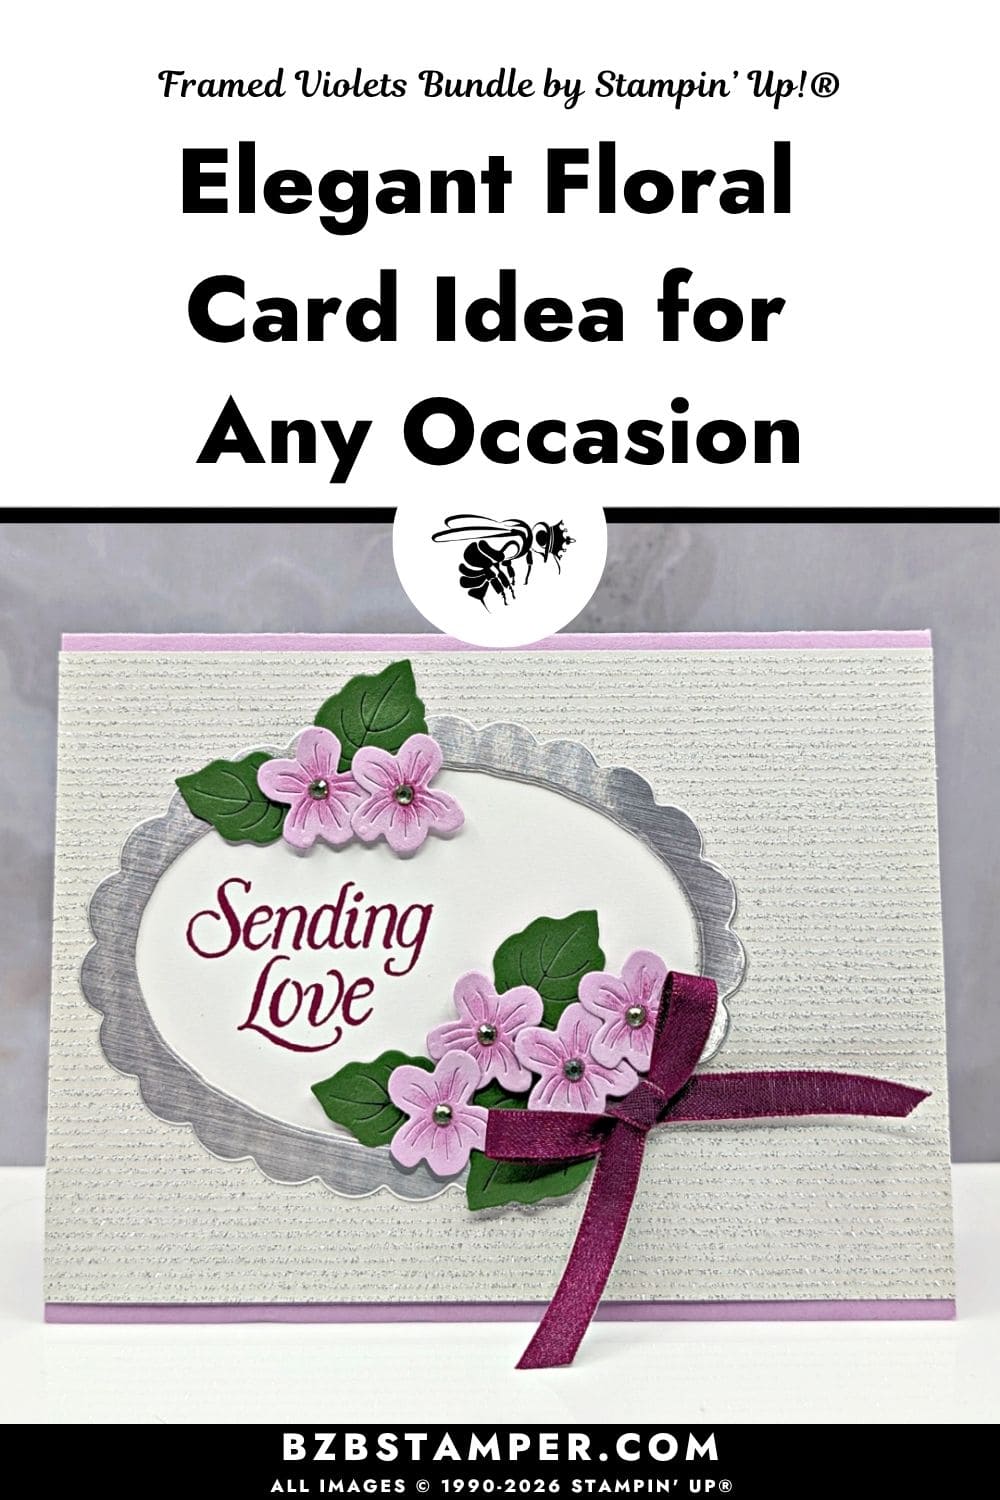
This elegant Floral Card with the Framed Violets Bundle by Stampin’ Up!® is a wonderful reminder that a handmade card doesn’t need to be complicated to make someone feel truly special. This design combines soft florals, shimmering details, and rich color to create a card that’s both elegant and heartfelt. Whether you’re sending a note of encouragement, letting someone know they’re in your thoughts, or simply reaching out “just because,” this beautiful design shows that even a simple message can leave a lasting impression.
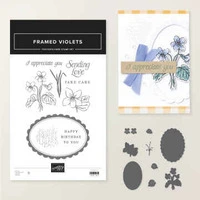
The Framed Violets Bundle makes creating polished floral cards surprisingly easy. The coordinating stamps and dies work together beautifully, allowing the delicate flowers, detailed leaves, and elegant frame to become the focal point without requiring complicated techniques. Each layer adds a little more interest, resulting in a design that feels refined while still being approachable for everyday cardmaking thanks to the Stampin’ Cut & Emboss Machine.
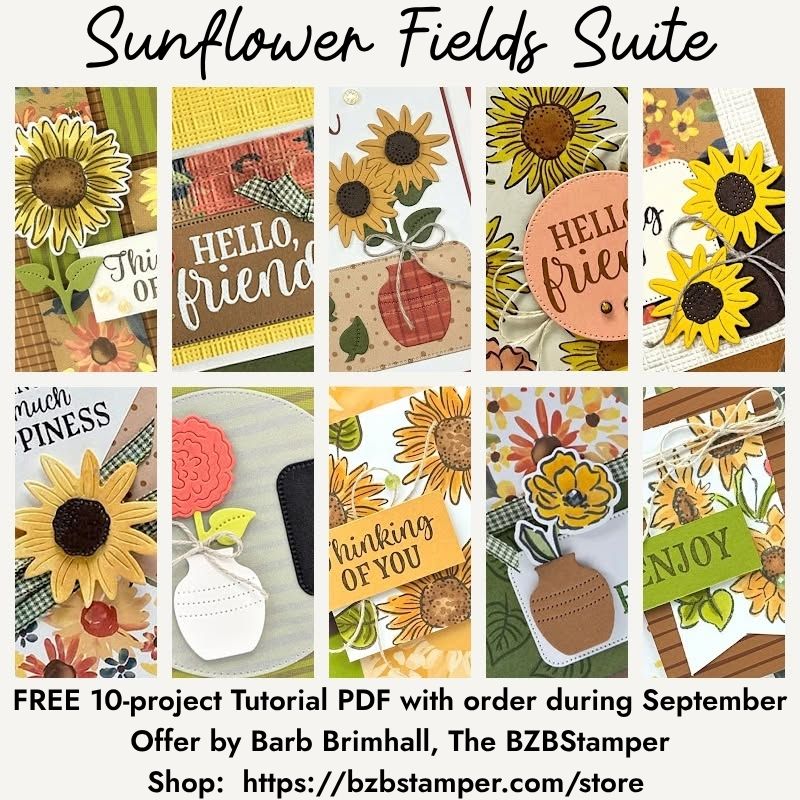
September ordering Bonus
A Bonus for You!
Any order you place in September includes a free 10-project tutorial featuring the Sunflower Fields Suite that you can use with any Bundle in your stamp stash.
It’s filled with cozy, step-by-step card ideas to spark your creativity when your order arrives — so you’re not staring at supplies wondering where to start.
One of the first things you’ll notice is the beautiful silver foil frame surrounding the sentiment. It gently draws your eye toward the heartfelt greeting while adding just the right amount of shine. Combined with the layered die-cut flowers and leaves, the frame creates a balanced focal point that feels graceful without overwhelming the rest of the design.
The Shimmery Stripes Specialty Designer Series Paper adds another layer of elegance. Its subtle sparkle catches the light beautifully, giving the background texture and interest without competing with the floral arrangement. It’s one of those papers that quietly elevates the entire project, proving that sometimes the background can be just as important as the focal image.
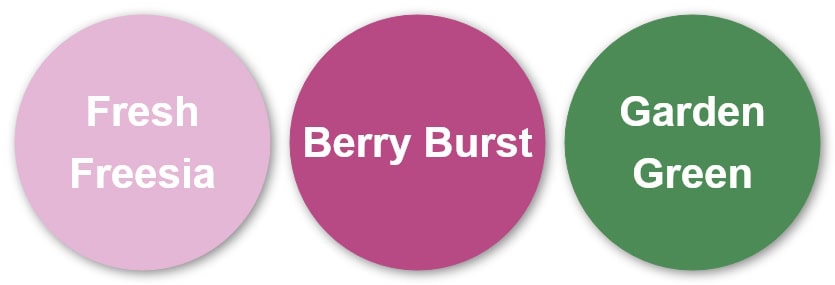
The color combination of Fresh Freesia, Berry Burst, and Garden Green creates a palette that’s both elegant and comforting. Fresh Freesia brings a soft, gentle beauty to the flowers, while Berry Burst adds richness and warmth that naturally draws your eye to the sentiment and ribbon. Garden Green grounds the design with fresh, natural contrast, giving the floral arrangement a realistic, garden-inspired feel. Together, these colors create a card that feels peaceful, uplifting, and perfect for sending a thoughtful message.
The finishing touch is the beautiful Berry Burst Shiny Ribbon, tied into a simple bow that adds softness, movement, and a rich pop of color. Along with the sparkling embellishments nestled in the flower centers, it gives the card a finished look that feels thoughtful and carefully crafted. These small details are easy to add, yet they make the finished project feel extra special.
How To Make This Card
You’ll find the full supply list and step-by-step instructions below.
Elegant Floral Card with the Framed Violets Bundle
Supplies Needed
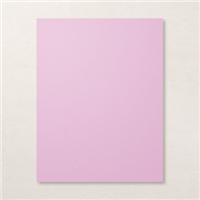
- Fresh Freesia Cardstock: 5-1/2" x 8-1/2" (scored at 4-1/4")
- Basic White Cardstock: 4" x 5-1/4" (inside card)
- Shimmering Stripes Specialty Paper: 4" x 5-1/2"
- Silver Foil Paper: 3-1/2" x 4-1/2"
- Basic White Cardstock: 3-1/2" x 4-1/2"
- Fresh Freesia Cardstock: Scraps (for the flowers)
- Garden Green Cardstock: Scraps (for the leaves)
Instructions
- Fold the Fresh Freesia cardstock in half to create the card base.
- Adhere the 4" x 5-1/4" Basic White cardstock inside the card and decorate as desired.
- Adhere the Shimmering Stripes Specialty Paper to the front of the card.
- Using the Silver Foil paper, line up the oval die inside the scallop oval die and run through the Stampin' Cut & Emboss Machine. Tip: I used non-stick tape to hold the dies in place.
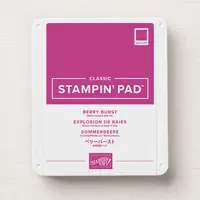
- Run the 3-1/2" x 4-1/2" piece of Basic White cardstock through the Stampin' Up! & Emboss machine and die-cut using the oval die. Stamp the sentiment on the left side using the Berry Burst ink pad.
- Adhere the Silver Foil Scalloped Oval onto the card as shown in the sample. Adhere the Basic White oval inside the silver foil scalloped oval.
- Run the scraps of Garden Green cardstock through the Stampin' Cut & Emboss Machine and die-cut 5 of the small leaves. Set aside.
- Run the scraps of Fresh Freesia cardstock through the Stampin' Cut & Emboss Machine and die-cut 6 of the small flowers. Using a q-tip, lightly sponge just the center of each flower using Berry Burst ink.
- Using glue dots and Stampin' Dimensionals, adhere the 6 flowers as shown in the sample. Adhere the leaves, using glue dots to easily slip them underneath the flowers.
- Tie a bow using the Berry Burst ribbon and adhere to the card using a glue dot.
- Add a small Rhinestone Jewel inside each of the flowers to finish.
Notes
One of my favorite things about this card is that the dies do much of the creative work for you. The layered flowers, detailed leaves, and coordinating frame come together naturally, making it easy to achieve an elegant design without needing advanced techniques. It’s a wonderful reminder that beautiful cards don’t always require complicated steps—sometimes the right products simply work together to help your creativity shine
Cards like this are wonderful to keep on hand because they work for so many occasions. Whether a friend is going through a difficult season, a family member needs encouragement, or you simply want to remind someone they’re loved, a beautiful floral card lets them know they were on your mind. Sometimes we don’t need a special occasion—we just need a reason to reach out.
In today’s busy world, receiving a handmade card in the mailbox is an unexpected gift. It tells someone that you slowed down long enough to create something just for them, and that simple act of kindness often means more than we realize. A heartfelt “Sending Love” can provide comfort, encouragement, or simply brighten an ordinary day in ways that linger long after the card is opened.
Love this color combo? Pin it for later!
Supplies Used:










One more little perk while you’re shopping. Each month there’s a Product of the Month you can add for just $5 when your order reaches $75. It’s a fun surprise that’s not in the catalog and only available while supplies last. Click To Learn More
If you enjoy simple, cozy cardmaking like this, you’d love the creative support we share inside the Creative Living Room. If you have questions about today’s tutorial, please email me for detailed steps. Inspire your craft with more ideas—join me over on Pinterest!

Grab your Free copy
Get 5 Bee-utiful Exclusive
Card Sketches in Your Inbox
Join our newsletter and receive a honey of a package of five quick & simple cards guaranteed to make your creativity buzz! Sign up now and let the goodness flow straight to your inbox!