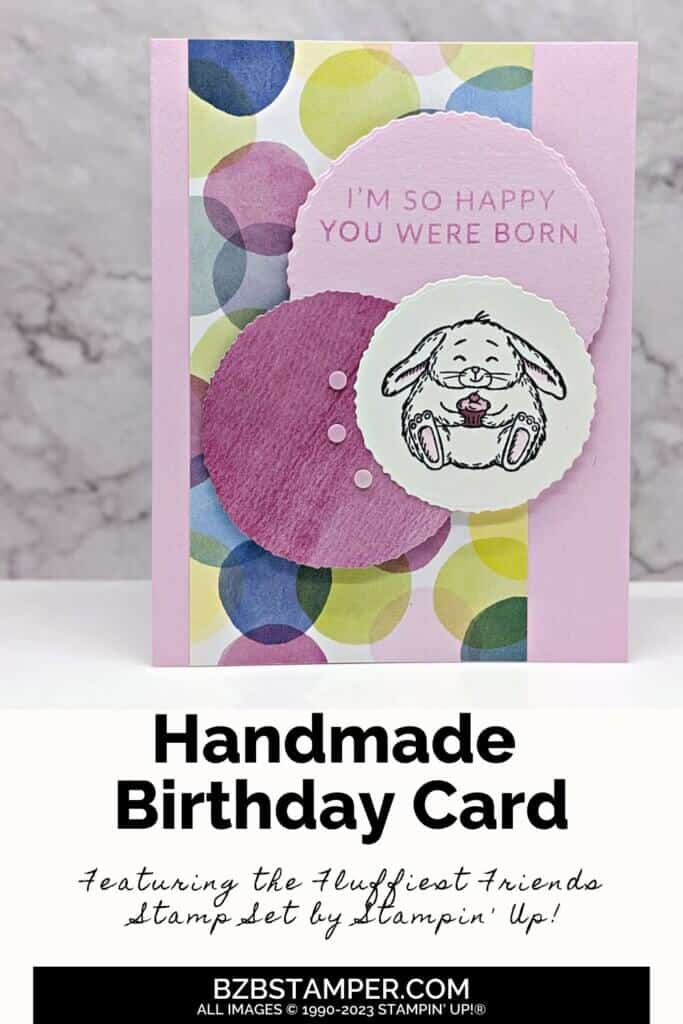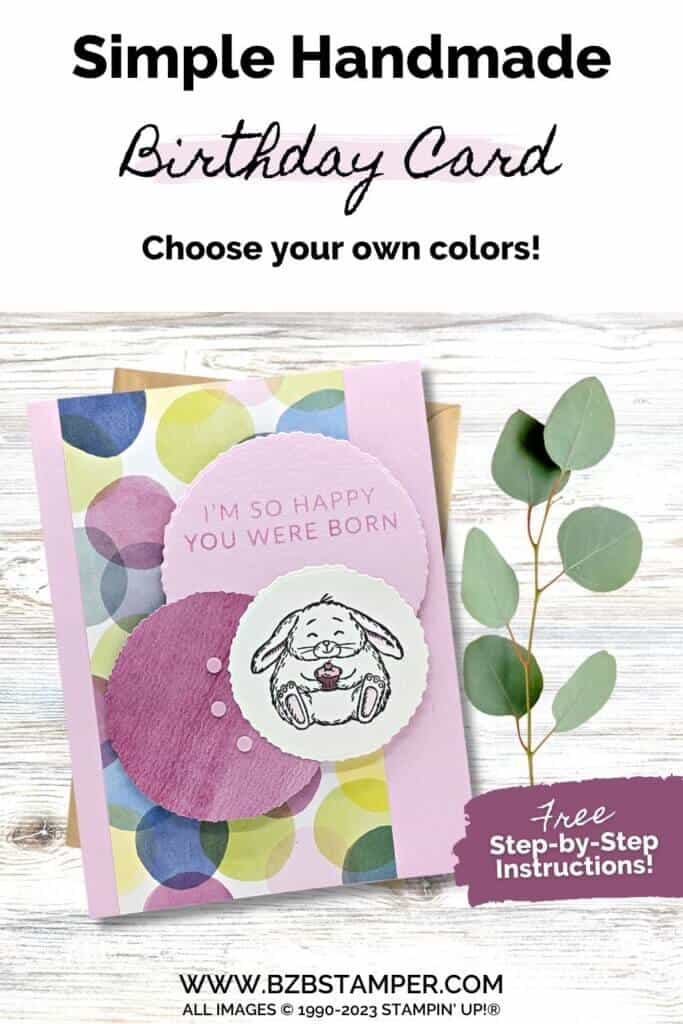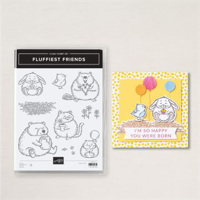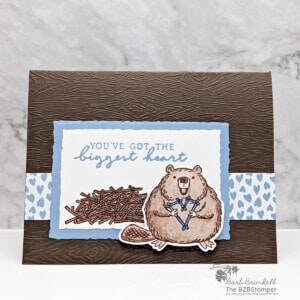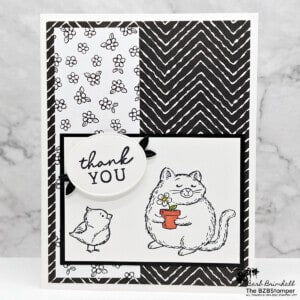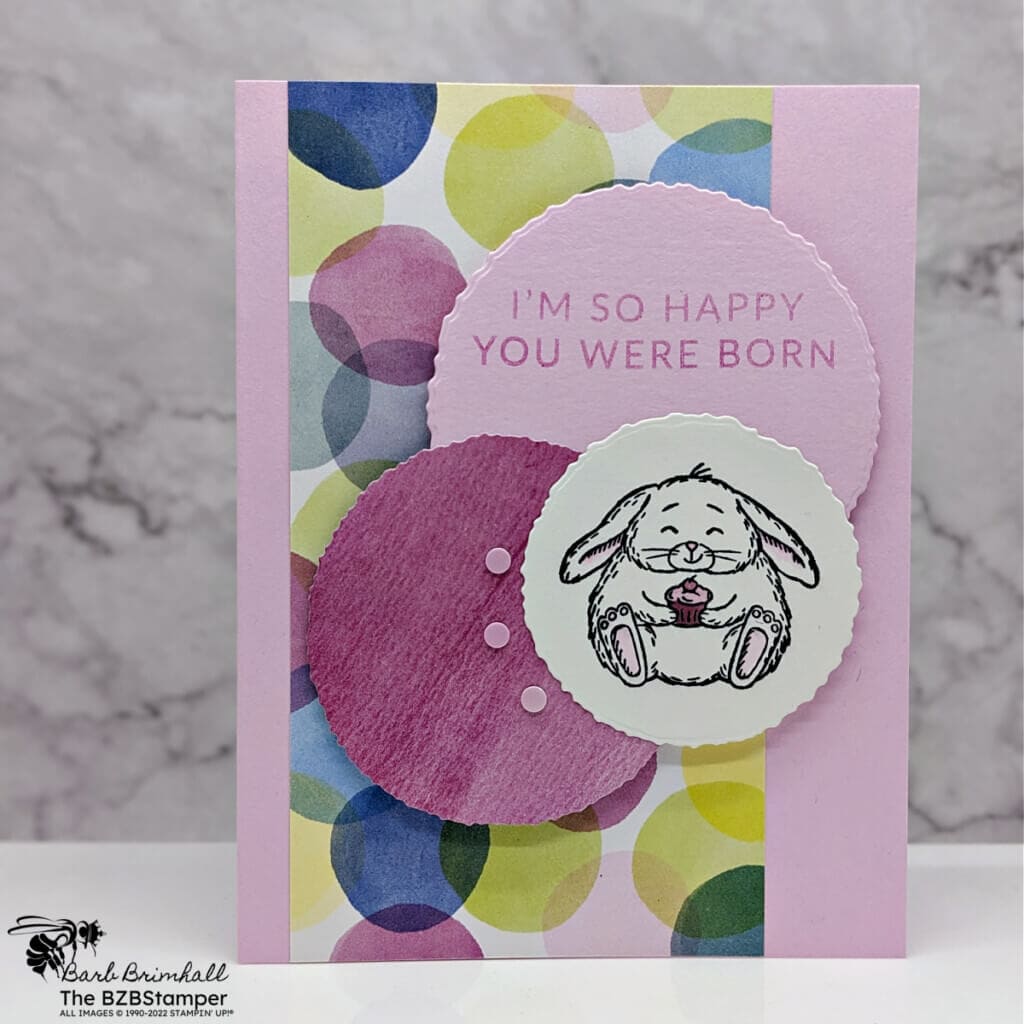
Hop into handmade cards & some bunny bliss with the Fluffiest Friends Bundle by Stampin’ Up! We have a treasure trove of ideas for using the Fluffiest Friends Bundle to its fullest. Imagine a bunny, as fluffy as can be, hopping right onto your next DIY project. With the quick and easy coordinating dies, creating an Easter card, a springtime scrapbook layout, or even bunny-themed party invitations has never been easier. It’s so fun to use your favorite coloring tools and techniques to bring these adorable creatures to life on any papercrafting project!
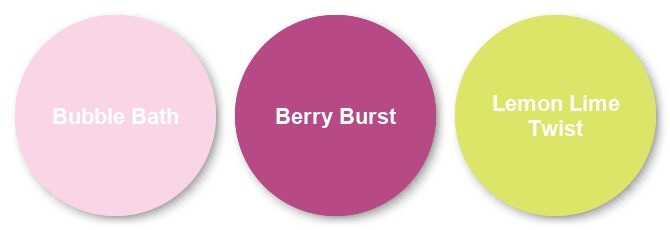
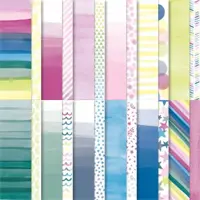
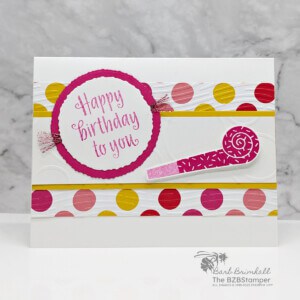
For this card, I went with the Bold & Bright Designer paper for a fun color palette. If you’d prefer something softer, make sure you check out my Color Combination Library which will give you lots of inspiration!
How To Make This Card
Project Skill Level: Worker Bee
Worker Bee projects are designed for the crafter who has a bit more time and enjoys creating a handmade card that features a technique or tool. In many cases, a Stampin’ Cut & Emboss Machine is required for die-cutting and/or embossing.
Cardstock Measurements:
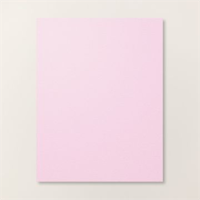
- Bubble Bath Cardstock: 5-1/2” x 8-1/2”, scored at 4-1/4”
- Basic White Cardstock: 4” x 5-1/4”
- Bright & Beautiful Paper, Pattern 1: 3” x 5-1/2”
- Bright & Beautiful Paper, Pattern 2: 2-3/4” x 2-3/4” (for die-cutting)
- Bubble Bath Cardstock: 3-1/4” x 3-1/4”
- Basic White Cardstock: 2-1/2” x 2-1/2”


Grab your Free copy
Get 5 Bee-utiful Exclusive
Card Sketches in Your Inbox
Join our newsletter and receive a honey of a package of five quick & simple cards guaranteed to make your creativity buzz! Sign up now and let the goodness flow straight to your inbox!
Step-by-Step Instructions:
- Fold 5-1/2” x 8-1/2” piece of Bubble Bath Cardstock in half at 4-1/4” score line.
- Adhere a 4” x 5-1/4” piece of Basic White cardstock inside the card.
- Adhere a 3” x 5-1/2” piece of Bright & Beautiful Paper to the front of the card, adhere 1/4” over from the left fold line.
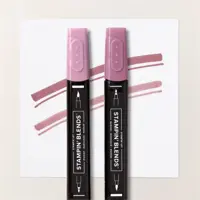
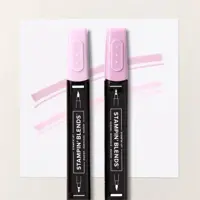
- Using the 2-1/2” x 2-1/2” piece of Basic White Cardstock, stamp the small bunny using Black Memento ink. Run through the Cut & Emboss Machine and cut out a circle using the 2-1/2” Deckled Circles Die. Color in the Bunny as shown in the sample using the Blends markers. Set aside.
- Using a 3-1/4” square of Bubble Bath cardstock and a 2-3/4” square of Bright & Beautiful paper, run through the Cut & Emboss Machine and cut a 2-7/8” circle from the Bubble Bath cardstock using the Deckled Circles Die, and a 2-1/2” Circle from the designer paper using the Deckled Circles Die.
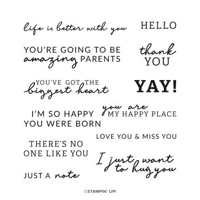
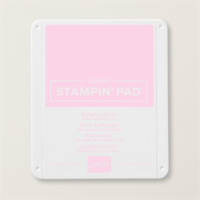
- Stamp the sentiment onto the Bubble Bath circle using Bubble Bath ink. Adhere the 2-1/2” circle to the bottom left of the Bubble Bath circle using adhesive. Adhere the Bunny from Step #4 to the other 2 circles (see sample for placement) and then adhere all 3 circles to the card using Stampin’ Dimensionals to finish.
A Tip from Barb
This is the perfect card sketch for whenever you have some pretty paper you’d like to use! Just grab 2-3 colors from the paper you want to use and pull your coordinating cardstock, inks and any embellishments you’d like! An easy peasy card without any stress – I love when my pretty paper can do the heavy lifting on my cards!😊
Thank you so much for stopping by! I hope you are inspired to make simple handmade cards for friends this week! If you’d like more detailed directions on how to make this card, feel free to email me. Give this papercrafting tutorial a try 🙂 Check back soon for more card making ideas!

Don’t forget to pin this project for later!
