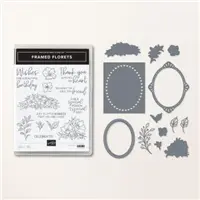
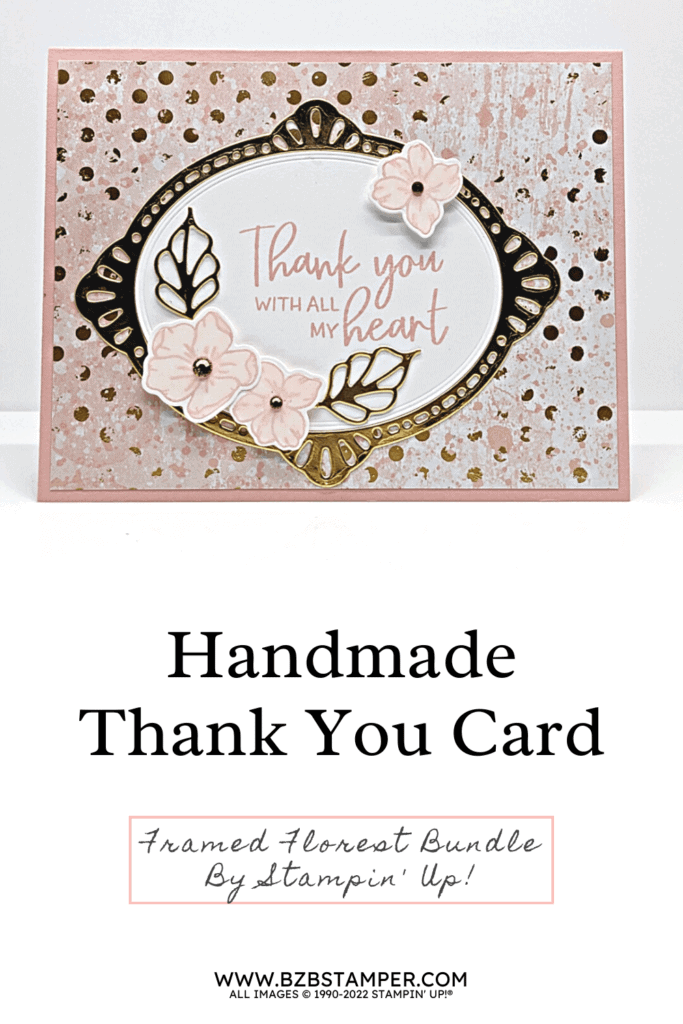
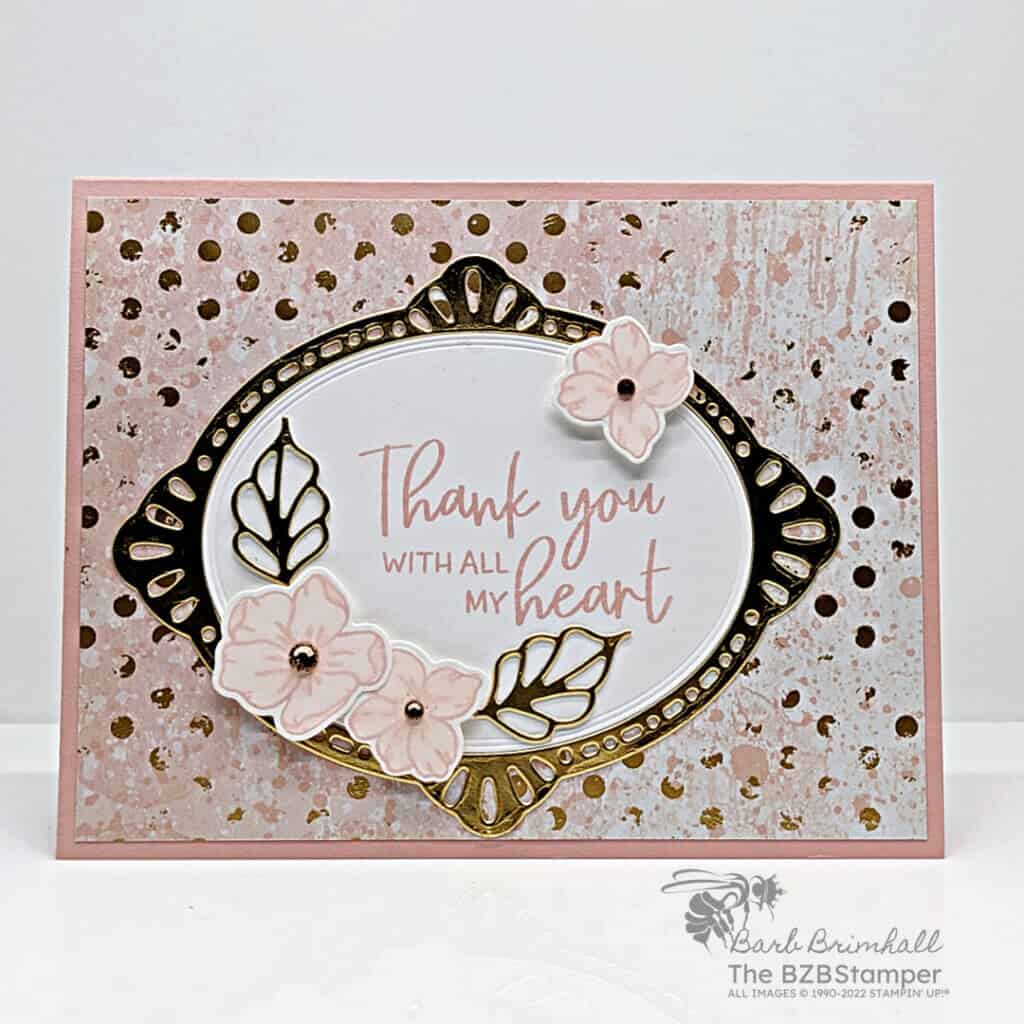
The Stampin’ Up! Framed Florets Bundle comes with everything you need to create handcrafted cards with detailed, elegant frames! Just die-cut the frame and the elegant stamped floral images. Finish off with a heartfelt sentiment and some color, and you have a card they’re sure to love!
View more stamped samples & inspiration here
Project Measurements
- Blushing Bride: 5-1/2″ x 8-1/2″, scored at 4-1/4″
- Basic White: 4″ x 5-1/4″ (x2)
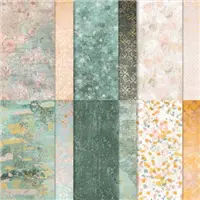
- Texture Chic paper: 4″ x 5-1/4″
- Gold Foil paper: 4″ x 6″
Instructions
- Fold the Blushing Bride cardstock in half at the score line and burnish well with your bone folder.
- Using one of the 4″ x 5-1/4″ pieces of Basic White cardstock, adhere to the inside of your card.
- Adhere the Texture Chic paper to the front of the card.
- Using the Cut & Emboss Machine and the Framed Floret dies that come in the bundle, cut out the large frame and 2 of the open leaves from the Gold Foil paper. Set aside.
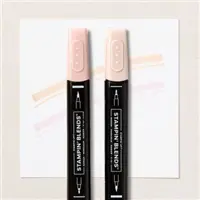
- Using the other 4″ x 5-1/4″ piece of Basic White cardstock, stamp 1 large and 2 small flowers using Blushing Bride ink. Color in the flowers using the SU 1000 Blend. Run through the Cut & Emboss Machine, using the Framed Floret dies that come in the bundle, and die-cut the 3 flowers, as well as the open oval.
- Stamp the sentiment onto the White oval using Blushing Bride ink.
- Adhere the white oval to the center of the card front. Adhere the Gold Foil oval frame over the top of the White oval.
- Adhere the 3 flowers onto the oval using Stampin’ Dimensionals, using the sample below as your guide.
- Add the 2 Gold Foil leaves around the bottom flowers using adhesive.
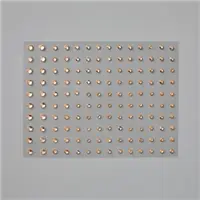
- To finish, adhere a Champagne Rhinestone in the center of each flower.
Supplies Used in this Project
Price: $15.00
Pin It For Later
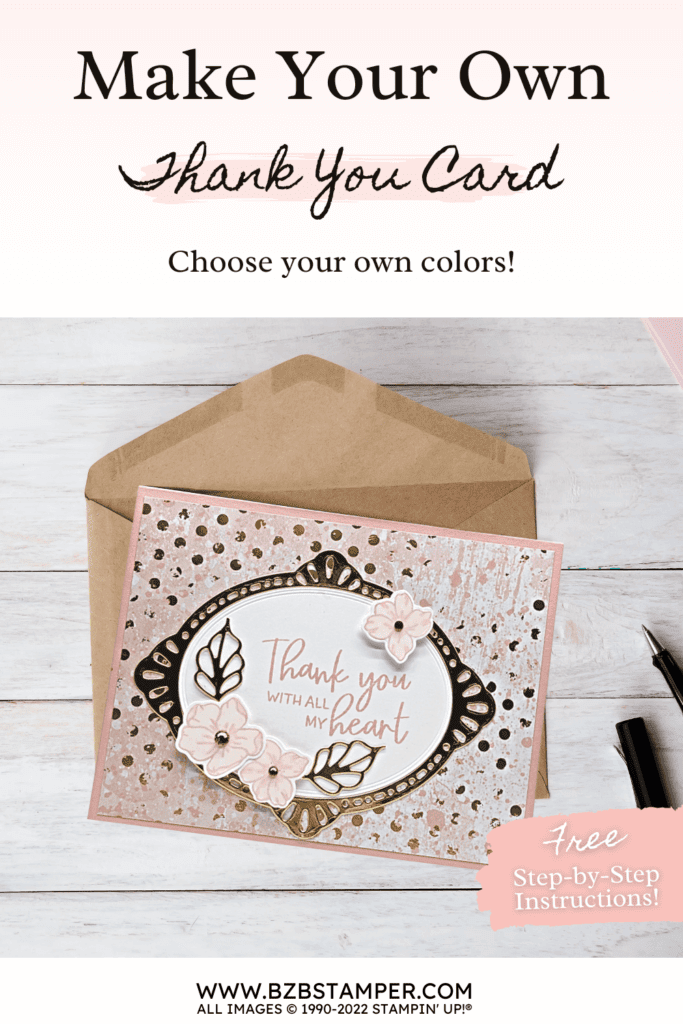
Now it’s your turn to make this project! Pin this to your favorite cardmaking Pinterest Board so you can find it quickly!
Thank you so much for stopping by today. I hope you are inspired to create today, whether it is this simple and cute handmade card or another cardmaking project. My goal is to help you carve out some creative joy! If you’d like more detailed directions on how to make this card, feel free to email me. Keep checking back for more projects.


