If you have graduations coming up soon, check out this Graduation Card Tutorial featuring the Island Vibes Stamp Set by Stampin’ Up!
View more stamped samples & inspiration here
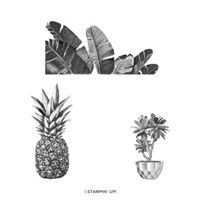
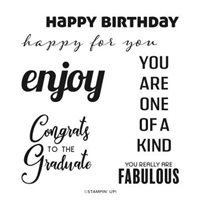
With spring coming, it’s time to start working on all of the Graduation cards you need! Today’s project features the Island Vibes Sale-A-Bration stamp set by Stampin’ Up! and is only available through February 28, 2022. (This set is free with a qualifying $50 order.)
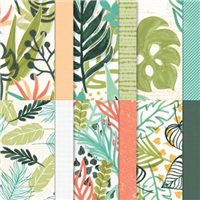
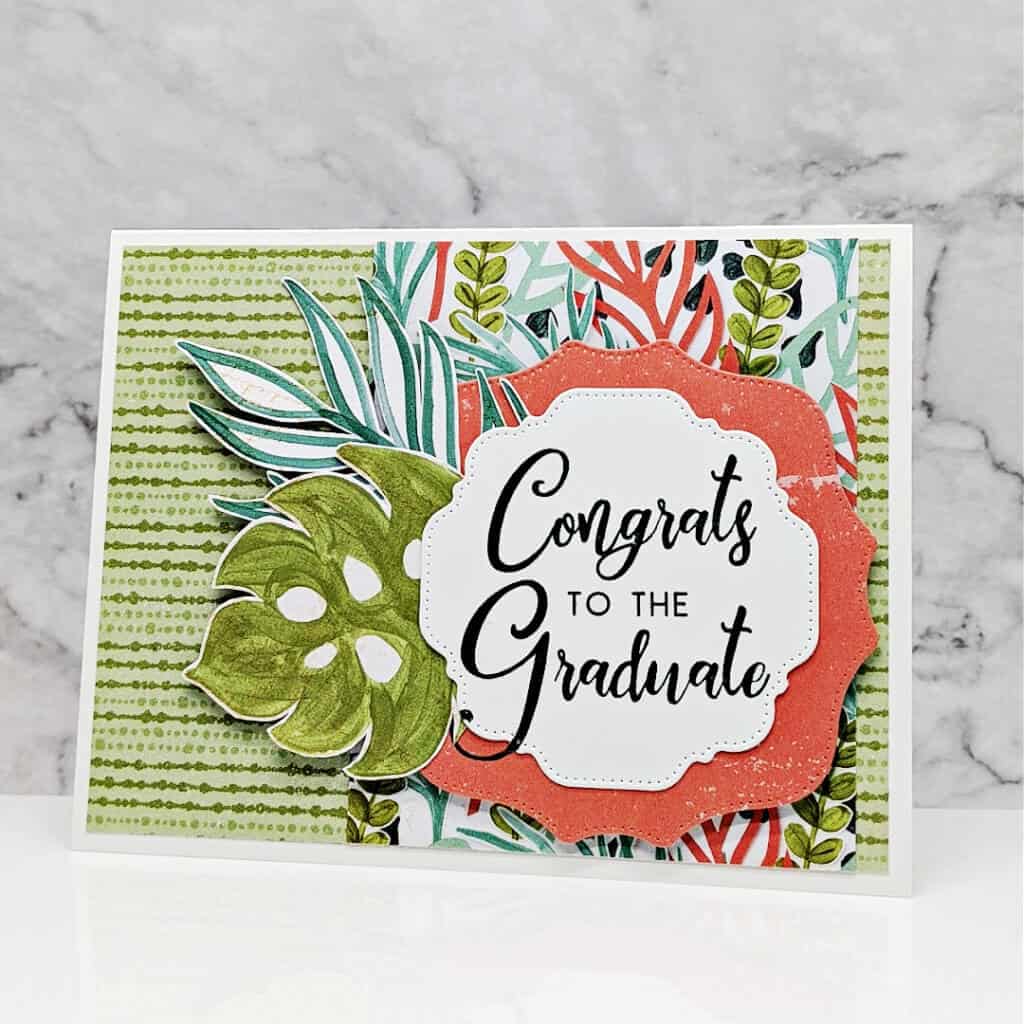
I think every college graduate should be able to dream of going somewhere tropical after all the hard work they put into their studies, so I used the Artfully Composed Designer Paper by Stampin’ Up! to give this card that island vibe. It was so easy to do – you can find a complete tutorial below. Don’t forget you can download the tutorial too and save it for later! Let’s get started.
Project Measurements
- Basic White: 5 ½” x 8 ½” scored at 4 ¼” and 3” x 3” for die-cutting
- Artfully Composed Paper:
- 4” x 5-1/4” (Pear Pizzazz)
- 3-1/4” x 4” (Mixed Leaf)
- 3-1/2” x 3-1/2” (Calypso Coral)
- 4” x 4” (Leaf Pattern)
Project Instructions
1. Fold the 5-1/2” x 8-1/2” piece of Basic White cardstock in half at the score line. Burnish well with your Bone Folder to create a crisp fold.
2. Adhere the 4” x 5-1/4” piece of Pear Pizzazz Artfully Composed Paper to the front of the card.
3. Adhere the Mixed Leaf Artfully Composed Paper to the card base, 1/4” over from the right side of the the Pear Pizzazz paper.
4. Using the Cut & Emboss Machine, cut out the 2 sizes of the Hippo & Friends dies from the White and Calypso Coral paper.
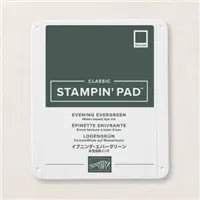
5. Line up the 2 pieces from the previous step (do not glue together yet) and stamp the sentiment onto the White die-cut using Evening Evergreen ink – it will slightly overlap onto the Calypso Coral Paper.
6. Using your Paper Snip Scissors, cut out 2 of the large ferns from the 4” Leaf pattern. Adhere both of these to the left side of the Calypso Coral paper.
7. Adhere the White sentiment die-cut onto the Calypso Coral/Fern paper using Stampin’ Dimensionals. Adhere this entire piece to the base card using Stampin’ Dimensionals to finish.

Supplies Used on this Project
Pin This
Pin the image below to your board for all those handmade graduation card ideas you have saved so when you have an opportunity for a fun cardmaking session you will be able to get right to the creative part!
- Get a Free Tutorial Every Week!
- Shop 24/7 in your PJ’s
- Queen Bee Rewards – Earn FREE Stamps!
- View the 2024-2025 Annual Catalog
- View NEW Online Products
- Monthly Crafting Kit
Thanks for stopping by today, I hope you enjoyed this papercrafting tutorial. If you have a question or if I can help you with anything, please leave me a comment. I’d love to hear from you!


