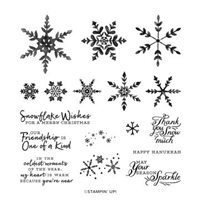
Create this beautiful Snowflake Wishes Thank You card to thank your family and friends for all of your holiday gifts. This project comes together quickly and easily with your Cut & Emboss Machine – I’ll show you how!
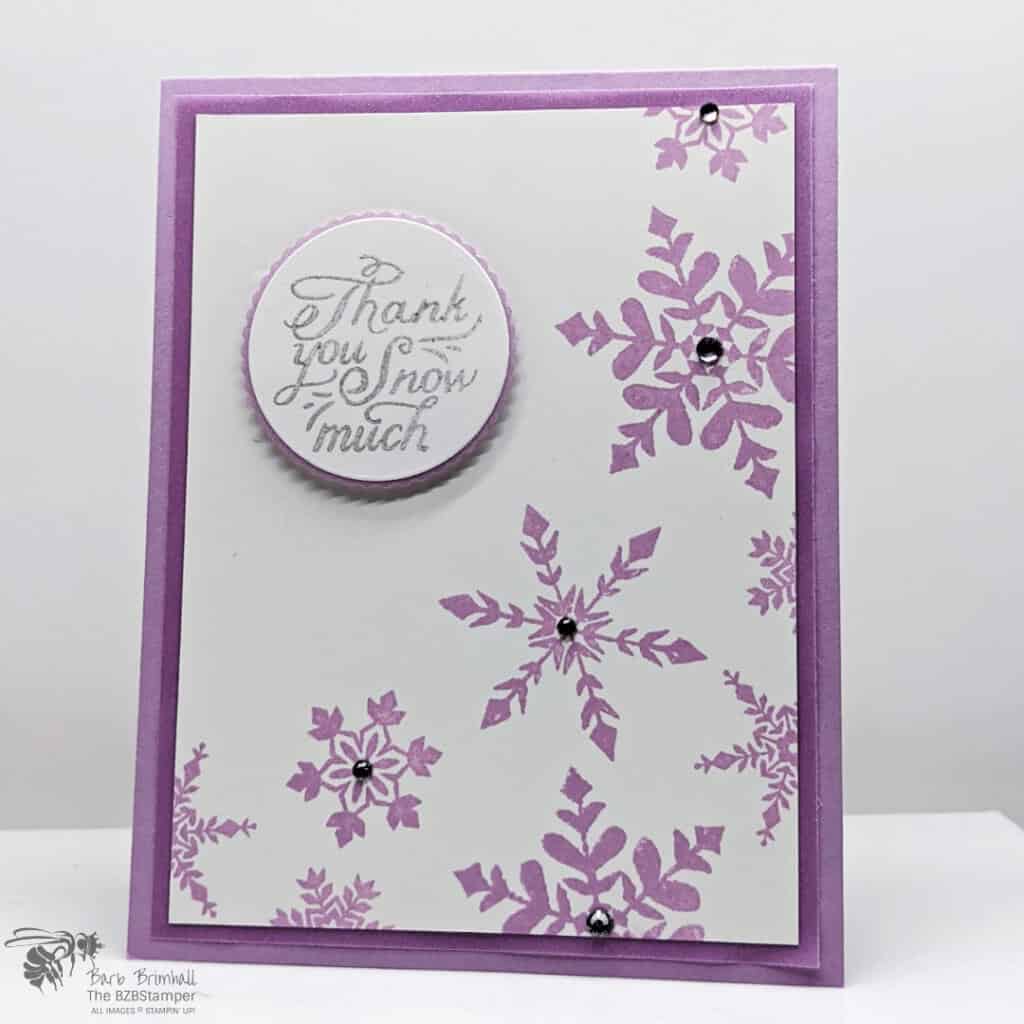
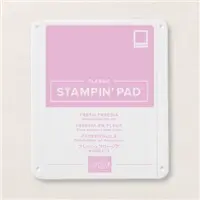
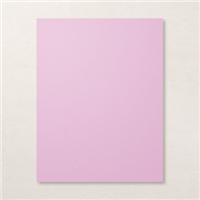
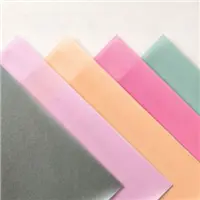
If you love purple, you’ll love this Winter Thank You card! Stamped in hues of Fresh Freesia, what makes this card so special is the Fresh Freesia Shimmer Vellum. (You can see more cards I made with the In Color Shimmer Vellum here.)
What also makes this card fun is the use of the Layering Circle Dies with the Stampin’ Up! Cut & Emboss Machine to create the sentiment circle. Super simple but it really adds to the design of this card. You can download the complete Tutorial via the link below – enjoy!
Supplies Used on this Project
Project Measurements
- Fresh Freesia Cardstock: 5-1/2” x 8-1/2, scored at 4-1/4”
- Fresh Freesia In Color Shimmer Vellum: 4” x 5-1/4”
- Basic White:
- 4” x 5-1/4”
- 3-3/4” x 5
- 2” scrap for die-cutting
Project Instructions
1. Fold the Fresh Freesia cardstock in half at the score line to create your base card.
2. Adhere the 4” x 5-1/4” piece of Basic White cardstock inside the card.
3. Using the Cut & Emboss Machine and the 1-3/4” Scalloped Circle die from the Layering Circles Dies, cut out a scalloped circle from the center of the 4” x 5-1/4” piece of Fresh Freesia Shimmer Vellum.
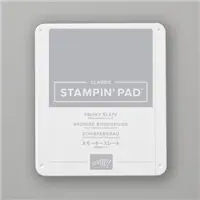
4. Using the 2” scrap of Basic White cardstock, stamp the sentiment in Smoky Slate ink directly in the center of the White cardstock. Cut out using the 1-5/8” circle die. Adhere the White circle onto the Fresh Freesia Scalloped Circle and set aside.
5. Using the 3-3/4” x 5” piece of Basic White cardstock, stamp different sizes of Snowflakes randomly over the right side & bottom of the cardstock, using Fresh Freesia ink.
6. Adhere the Fresh Freesia Shimmer Vellum from Step #3 to the base card; adhere the White stamped mat onto that using adhesive.
7. Adhere the sentiment circle from Step #4 onto the base card in the upper left corner using Stampin’ Dimensionals.
8. To finish, add different sizes of Rhinestones inside the center each Snowflake.

Save It!
Now it’s your turn to give this card a try. Order your supplies and plan a fun afternoon of papercrafting 🙂.
- Get a Free Tutorial Every Week!
- Shop 24/7 in your PJ’s
- Queen Bee Rewards – Earn FREE Stamps!
- View the 2024-2025 Annual Catalog
- View NEW Online Products
- Monthly Crafting Kit
Thank you so much for stopping by and checking out this papercrafting tutorial. I hope you are inspired to create and send cards. I love sharing how to make cards here on the BZBStamper blog and I can’t thank you enough for all of your support!


