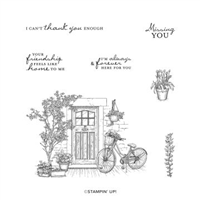
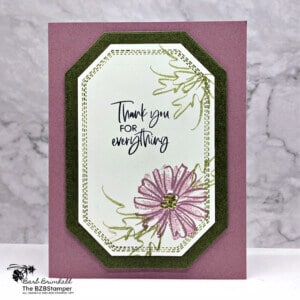
Today’s Card features the Stampin Up Feels Like Home stamp set and the Tailor Made Tag Dies. Let me show you how simple it is to put this special card together.
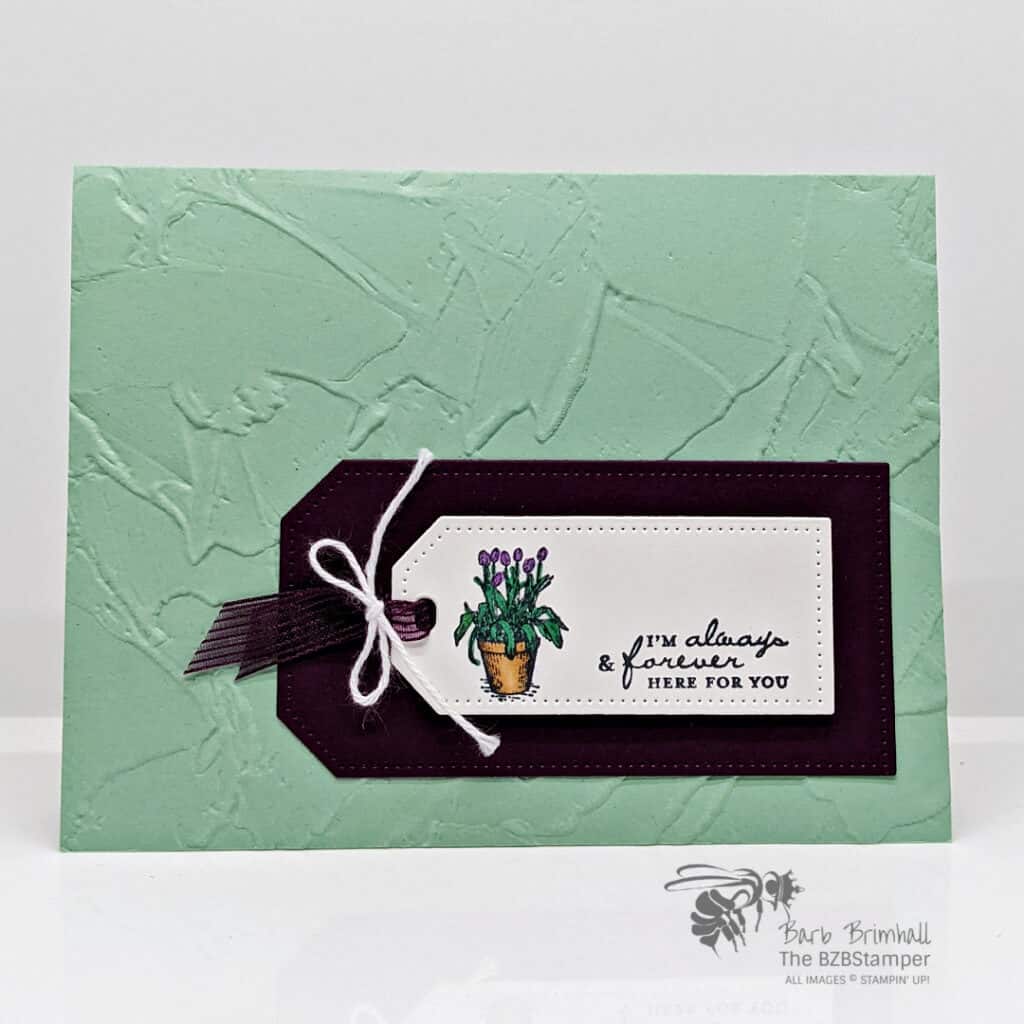
This is one of those cards that is simple to make thanks to the Stampin’ Up! Cut & Emboss Machine, but really packs a wow!
This card has a lot of what I like to call “drama” thanks to it’s gorgeous color combination:
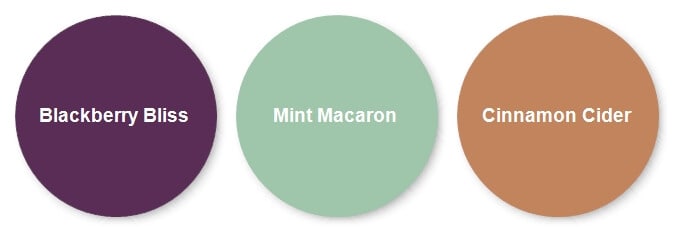
If these aren’t your colors, or if you’d prefer some a bit more pastel, check out my Color Combination Library and you’re sure to find something you’ll love. Here’s how I made this card:
Supplies Used on this Project
Project Measurements
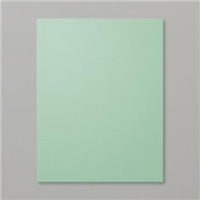
- Mint Macaron: 5-1/2” x 8-1/2” scored at 4-1/4”
- Basic White: 4” x 5-1/4” (inside card) and 2-1/2” x 4-1/4” for die-cutting
- Blackberry Bliss: 2-1/2” x 4” for die-cutting
Project Instructions
1. Fold the Mint Macaron cardstock in half at the score line.
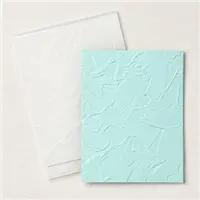
2. Open the Mint Macaron cardstock and using the fold line as your guide, place the front of the base card into the Painted Texture 3D Embossing Folder and run through the Cut & Emboss Machine. Refold your card and burnish well with your Bone Folder.
3. Adhere the 4” x 5-1/4” Basic White cardstock inside your card.
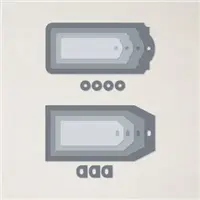
4. Using the Cut & Emboss Machine and the Tailor Made Tags dies, use the 1-7/8” x 3-7/8” Rectangle die to cut out the Blackberry Bliss Tag. Use the 1-1/4” x 2-3/4” die to cut out the White Tag.
5. Stamp the sentiment on the White tag in the right corner using Black Memento ink.
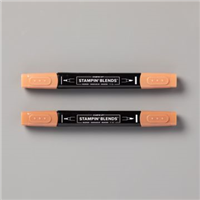
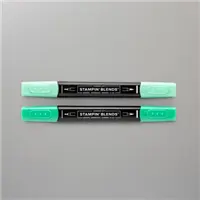
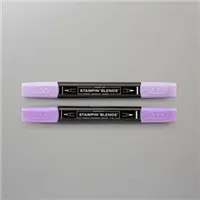
6. Stamp the flower pot to the left of the sentiment using Black Memento ink. Color in the flowerpot using the Light Cinnamon Cider Blend; the leaves using the Dark Shaded Spruce Blend, and the tulip flowers using the Dark Highland Heather Blend.
7. In the sample, I used a retired Blackberry Bliss Ribbon but you can either leave this off *or* take any White ribbon and ink it up with the Blackberry Bliss ink pad (let dry for at least an hour.) Cut 4” of ribbon and insert through the hold of the White tag. Tie the end using the White Baker’s Twine from the Essentials pack. Trim ends of both the Ribbon and Twine using your Paper Snips to finish.

Pin It For Later
Now it’s your turn to make this project! Get your supplies and think of who you can make and send these cards to. Showing that you noticed something someone else did or achieved is priceless! Pin this image below to easily find it again.
- Get a Free Tutorial Every Week!
- Shop 24/7 in your PJ’s
- Queen Bee Rewards – Earn FREE Stamps!
- View the 2024-2025 Annual Catalog
- View NEW Online Products
- Monthly Crafting Kit
Thanks for stopping by today, I hope you enjoyed this papercrafting tutorial. If you have a question or if I can help you with anything, please leave me a comment. I’d love to hear from you!


