Does your favorite guy have a birthday coming up? How about making a handmade Birthday Card for him? This colorful project will make him smile!
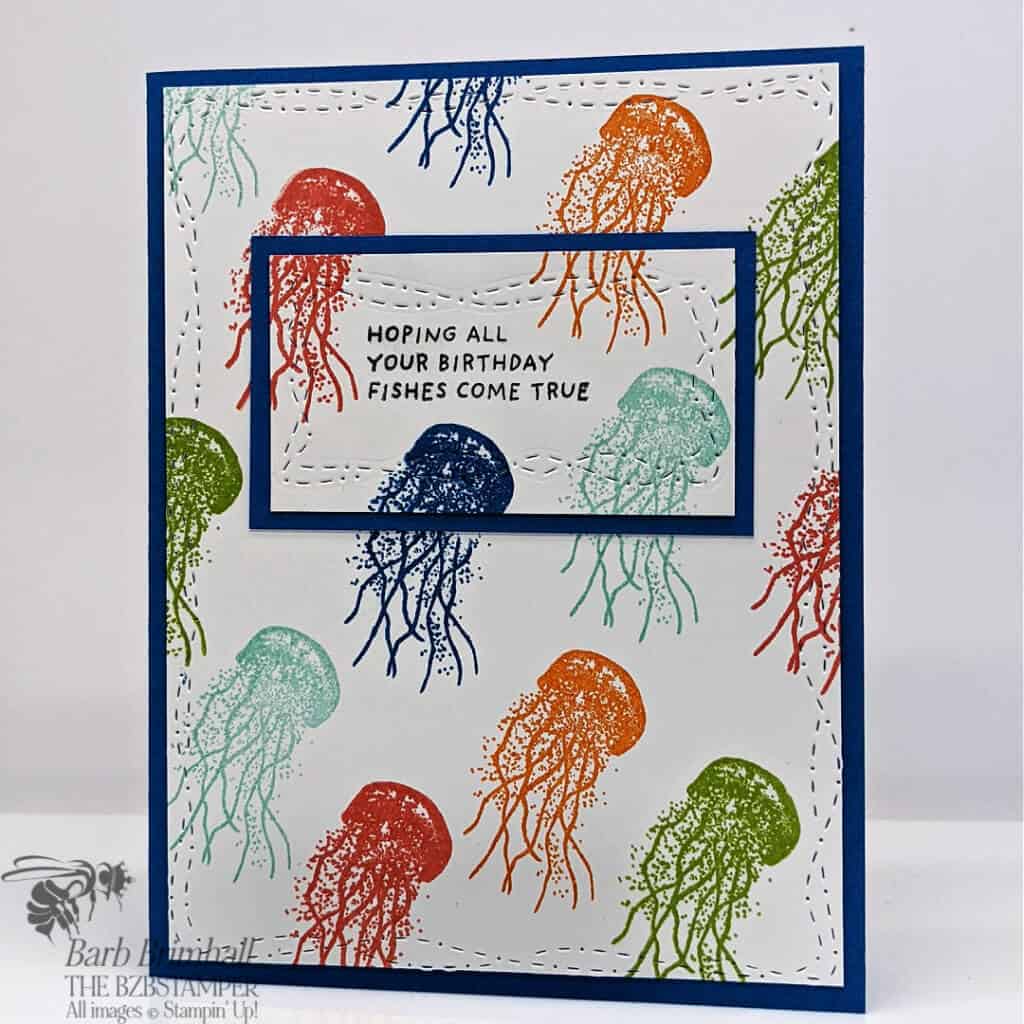
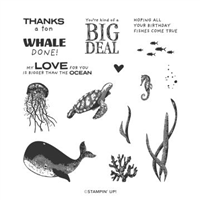
The bright and cheery card will make the perfect card for any guy in your life – no matter his age! I used the Whale Done Stamp Set by Stampin’ Up! to create this card, which has fun ocean-themed images for all ages!
To add a bit of whimsy to this card, I did use the Cut & Emboss machine with some Dies to create the stitching, but this is totally optional if you don’t have a die-cutting machine.
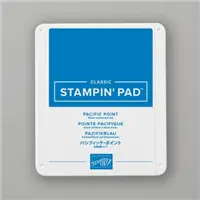
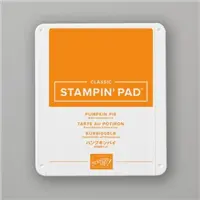
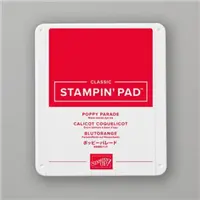
And I love the color combination I used on this card! Here are the colors I used:

Aren’t those colors fun? Ok, so let me show you how easy it is to make this card!
Supplies Used on This Project
Project Measurements
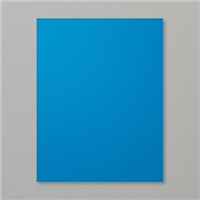
- Pacific Point Cardstock: 5-1/2″ x 8-1/2″ and 1-3/4″ x 3″
- Basic White Cardstock: 4″ x 5-1/4″ (2) and 1-1/2″ x 2-3/4″
Project Instructions
- Cut a piece of Pacific Point Cardstock to 5-1/2” x 8-1/2”, score at 4-1/4” and fold at score line to create your base card.
- Cut 2 pieces of 4” x 5-1/4” Basic White Cardstock and adhere one piece to the inside of the card.
- Using the 2nd piece of Basic White cardstock, run it through the Cut & Emboss Machine using the Stitched With Whimsy die.
- Cut a 1-1/2” x 2-3/4” piece of Basic White Cardstock. Run this piece through the Cut & Emboss machine and the Stitched With Whimsy dies. Stamp the sentiment using the Black Tuxedo ink.
- Place the piece from Step #4 onto the White mat from Step #3 – DO NOT GLUE. Using the different colors of ink pads, randomly stamp the jelly fish image, cleaning your stamp well in-between color changes. Tip: in the places where you’re stamping over the small piece of white, there’ll be a “halo” around where you stamped. This will be hidden by the Pacific Point cardstock in next step.
- Remove the smaller white stamped piece and layer onto a 1-3/4” x 3” piece of Pacific Point cardstock. Layer onto the larger White mat using Adhesive so that it matches up with the stamped images on the large White mat. Adhere this piece to your base card to finish.

Pin It!
Pin away, my friends, pin away!

- Get a Free Tutorial Every Week!
- Shop 24/7 in your PJ’s
- Queen Bee Rewards – Earn FREE Stamps!
- View the 2024-2025 Annual Catalog
- View NEW Online Products
- Monthly Crafting Kit
Thanks so much for stopping by today! Be sure to give this card sketch idea a try and mail it to a friend that is celebrating something! It’s so fun to make a card but it’s even more fun to send! #makeacardsendacard


