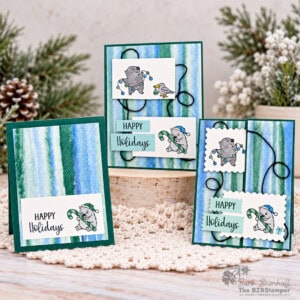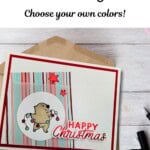
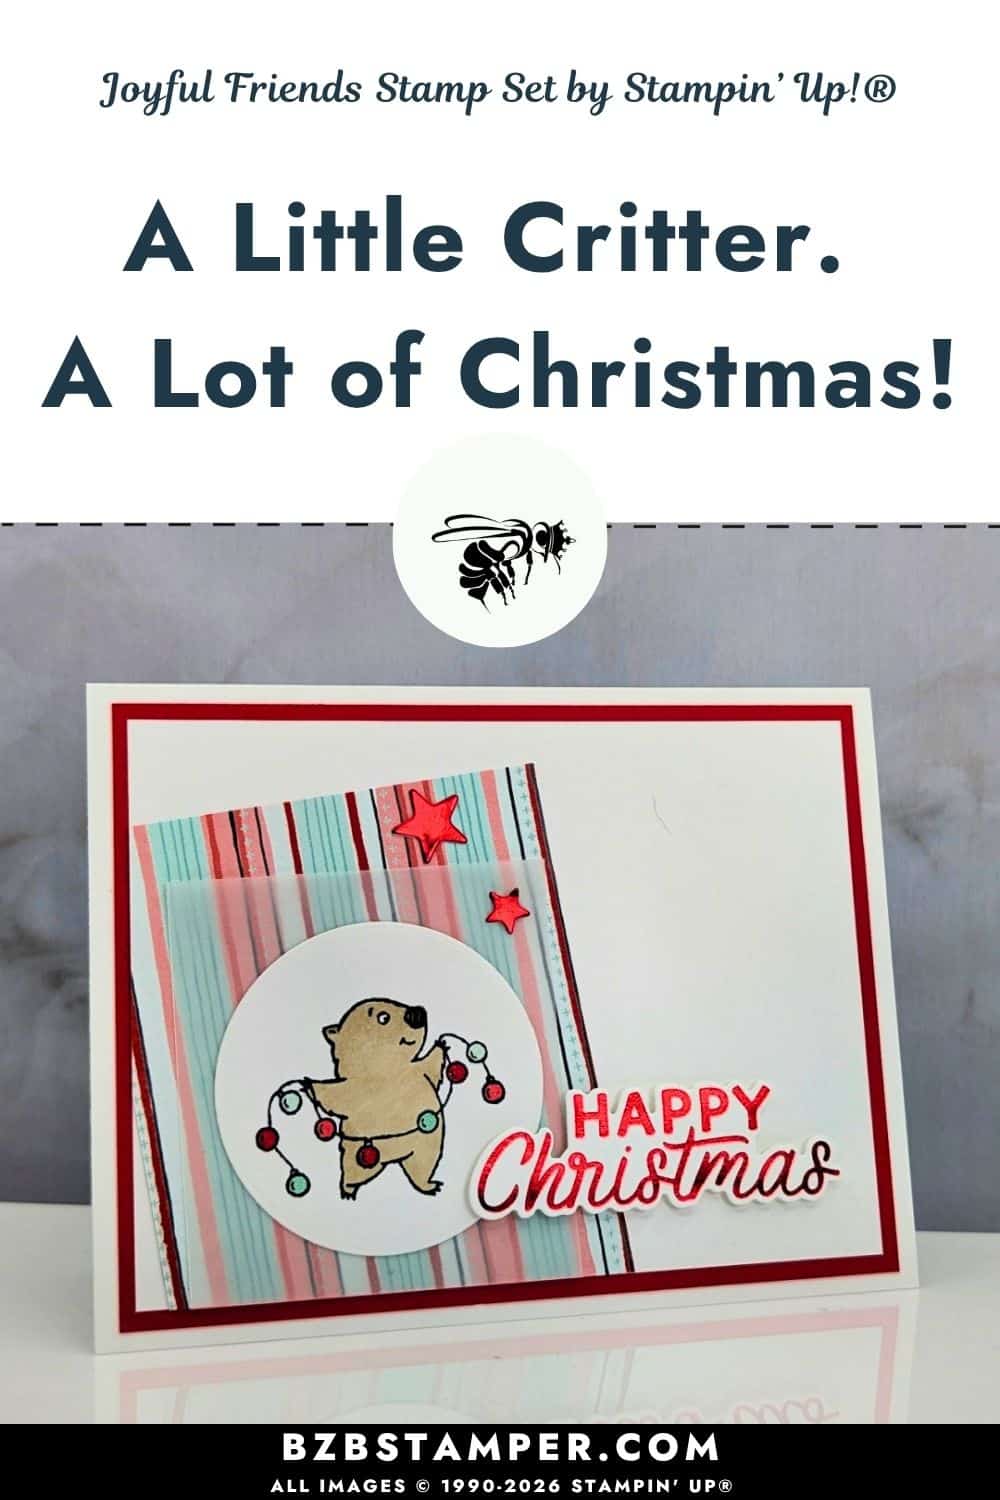
I think somebody got a little carried away decorating for Christmas! This little critter wrapped in colorful Christmas lights is the star of a playful Christmas Card with Joyful Friends, and I couldn’t resist giving him a shiny red greeting to go with all that holiday excitement.
For this card, I combined the Stampin’ Up!® Joyful Friends Stamp Set with the Magical Christmas Hot Foil Dies, Painted Patch Designer Series Paper, and a little vellum. There are several fun details in this design, but they all work together to make one cheerful Christmas card!
october ordering Bonus
A Bonus for You!
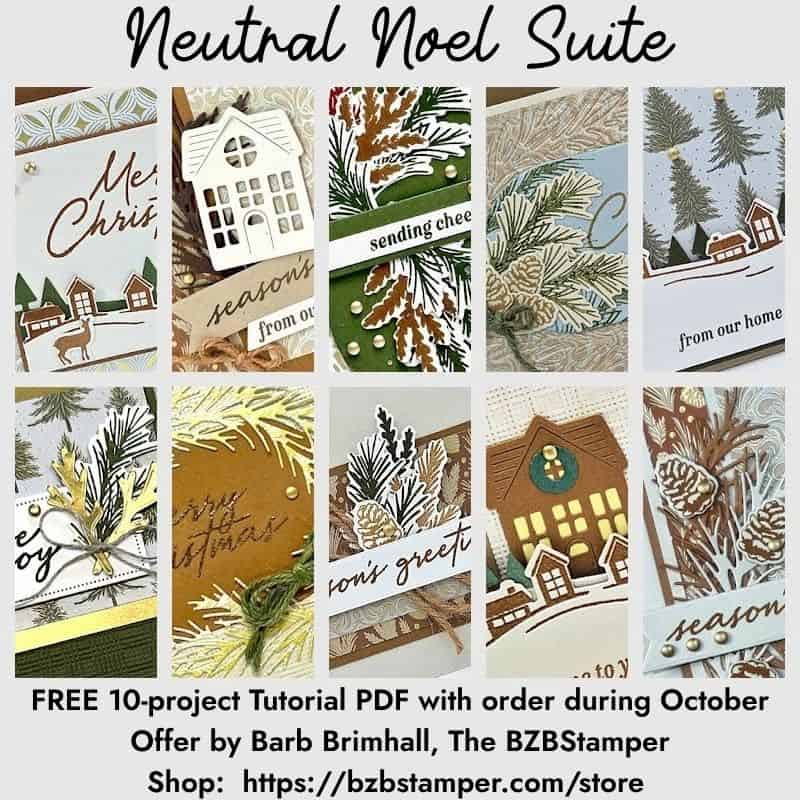
Any order you place in October includes a free 10-project tutorial featuring the Neutral Noel Suite that you can use with any Bundle in your stamp stash.
It’s filled with cozy, step-by-step card ideas to spark your creativity when your order arrives — so you’re not staring at supplies wondering where to start.
Have you ever started decorating for Christmas and somehow ended up with more lights tangled around you than on the tree? That’s exactly what this little fellow reminds me of!
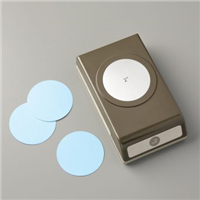
I stamped the critter from the Joyful Friends Stamp Set, colored him with Stampin’ Blends, and used my 2″ Circle Punch to give him his own little spotlight. I especially like how the colorful Christmas lights add personality without needing a lot of extra decorations.
Behind him, I layered striped Painted Patch Designer Series Paper with vellum. The vellum softens the busy pattern just enough to help the stamped image stand out.
And then I used the Stampin’ Up! Hot Foil System® to add a fun sentiment and a couple of shiny red stars to finish off that side of the card.
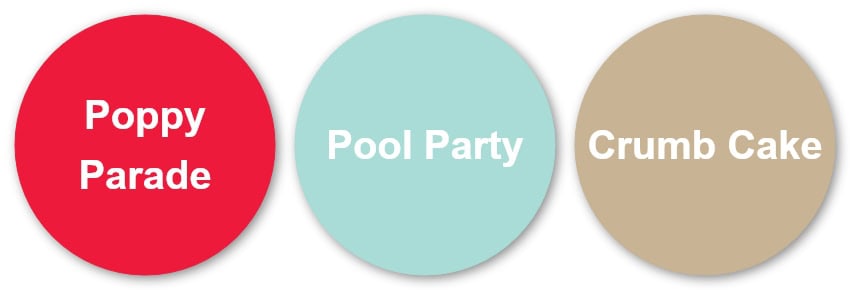
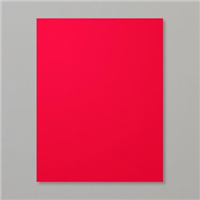
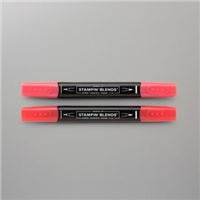
For this card, I chose Poppy Parade, Pool Party, and Crumb Cake. Poppy Parade brings that bright Christmas red we all love. It’s cheerful, festive, and works especially well with the shiny red foil.
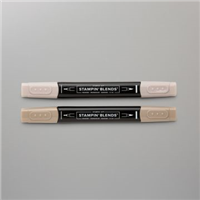
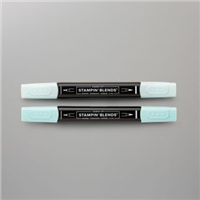
Pool Party adds a soft, cool blue that gives the card a fresh winter feeling. It also keeps all that red from becoming overwhelming. Crumb Cake is the quiet color that ties everything together. It’s a warm, natural brown that works beautifully for coloring our little critter.
What I like most about this combination is the balance. Poppy Parade brings the excitement, Pool Party softens things, and Crumb Cake adds a little warmth. It’s a playful Christmas palette that feels different from traditional red and green!
How To Make This Card
You’ll find the full supply list and step-by-step instructions below.
A Playful Christmas Card With Joyful Friends
Supplies Needed
- Basic White Cardstock: 5-1/2" x 8-1/2" (scored at 4-1/4")
- Poppy Parade Cardstock: 4" x 5-1/4"
- Basic White Cardstock: 3-3/4" x 5"
- Painted Patch Designer Paper: 3" x 3-3/4"
- Very Vellum Cardstock: 2-1/2" x 3"
- Basic White Cardstock: 2-1/2" x 2-1/2" (for circle punch)
- Basic White Cardstock: 4-1/4" x 5-1/2" (for hot foiling)
Instructions
- Fold the Basic White cardstock in half at the score line to create your card base. Decorate the inside of the card as desired.
- Adhere the Painted Patch Designer Paper to the 3-3/4" x 5" Basic White Cardstock at an angle so that it goes off the left edge and bottom of the Basic White Cardstock. See sample for placement.
- Adhere the vellum to the Painted Patch paper as shown on the sample, placing glue in the center only where it will be covered by the punched circle. Using scissors or your paper trimmer, cut off the overhang of the Designer Paper and Vellum so that it's flush with the Basic White cardstock. Adhere to the Poppy Parade cardstock and then to the card front.
- Stamp the critter onto the 2-1/2" scrap of Basic White cardstock using Black ink. Color in using the Stampin' Blends as desired. Punch out the image using the 2" circle punch and adhere onto the vellum so that it covers where the glue is. If desired, add Wink of Stella to the lights.
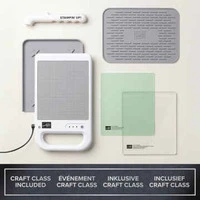
- Follow the instructions to set up your Hot Foil Machine. (View a video on how to use your Machine here.)
- Cut a piece of Red Foil so that it's a little bit larger than the Magical Christmas Hot Foil die. Heat the Hot Foil die with the flat side down. When ready, place the Hot Foil shiny side down onto the die, then place the Basic White cardstock, then the Green Shim and acrylic plate.
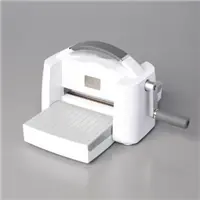
- Unplug the Machine and run the Hot Foil Machine slowly through the Cut & Emboss Machine. Remove the Red Foil liner for the reveal! (My favorite part.)
- Line up the Magical Christmas Cutting dies by lining up the 3 squares in the die. Run through the Cut & Emboss Machine and carefully save all the little pieces.
- Adhere the 2 Red Foil dies to the card front; adhere the sentiment to the card front using Stampin' Dimensionals to finish.
Notes
Now, let’s talk about that greeting! I used the Magical Christmas Hot Foil Dies with red foil to create the shiny “Happy Christmas” sentiment. The foil catches the light and gives the card a special finishing touch. And because the greeting is fairly large, it balances the stamped critter and patterned paper on the other side.
This card does have a few more steps than some of my quick-and-easy projects, especially with the hot foiling, coloring, and layering. But if you enjoy spending a little extra time on a special Christmas card, those details are part of the fun!
We all know someone who could use a little laughter during the holidays. Maybe it’s a friend who’s been running around trying to get everything done, a family member who loves decorating, or someone who’s had a difficult year.
Imagine them opening the envelope and seeing this little critter tangled up in Christmas lights. I think they’d smile before they even read what you wrote inside!
And that’s the wonderful thing about handmade cards. They give us a chance to send something more personal than a quick text or email
Sometimes a little Christmas silliness is exactly what someone needs.
Love this color combo? Pin it for later!
Supplies Used:






One more little perk while you’re shopping. Each month there’s a Product of the Month you can add for just $5 when your order reaches $75. It’s a fun surprise that’s not in the catalog and only available while supplies last. Click To Learn More
If you enjoy simple, cozy cardmaking like this, you’d love the creative support we share inside the Creative Living Room. If you have questions about today’s tutorial, please email me for detailed steps. Inspire your craft with more ideas—join me over on Pinterest!

Grab your Free copy
Get 5 Bee-utiful Exclusive
Card Sketches in Your Inbox
Join our newsletter and receive a honey of a package of five quick & simple cards guaranteed to make your creativity buzz! Sign up now and let the goodness flow straight to your inbox!