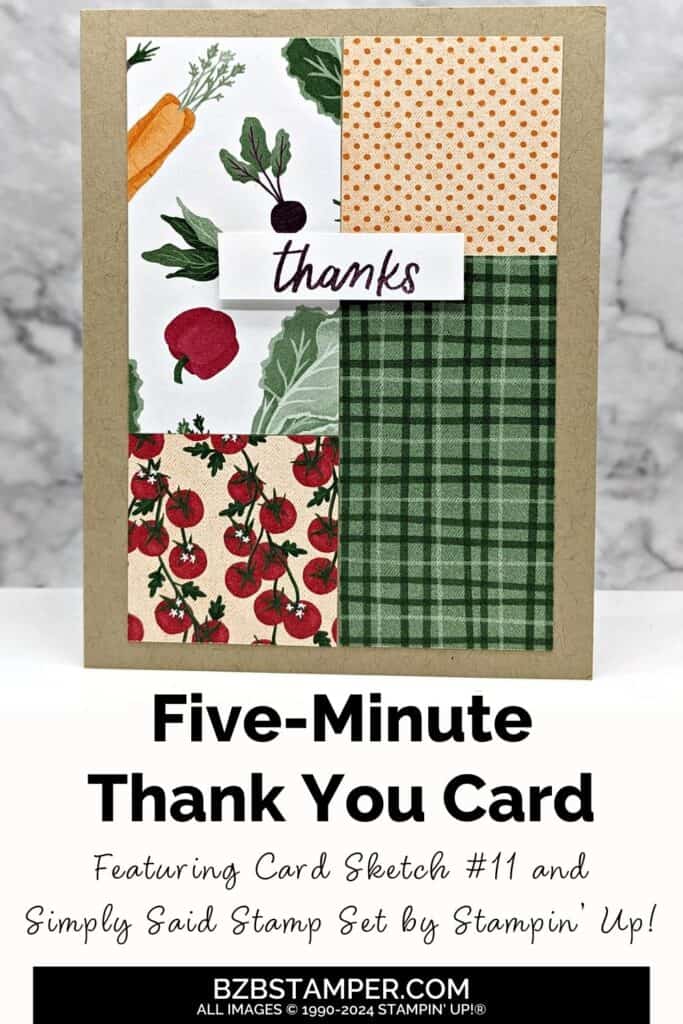
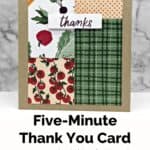
Short on time but love to craft? Make this 5 Minute Thank You Card Using Card Sketch 11. If you’re anything like me, your days are packed but your love for crafting never wanes. Today, I’m thrilled to share a perfect solution for busy women who want to infuse a bit of creativity into their hectic schedules.I’ll show you how to whip up quick note cards that look anything but rushed.
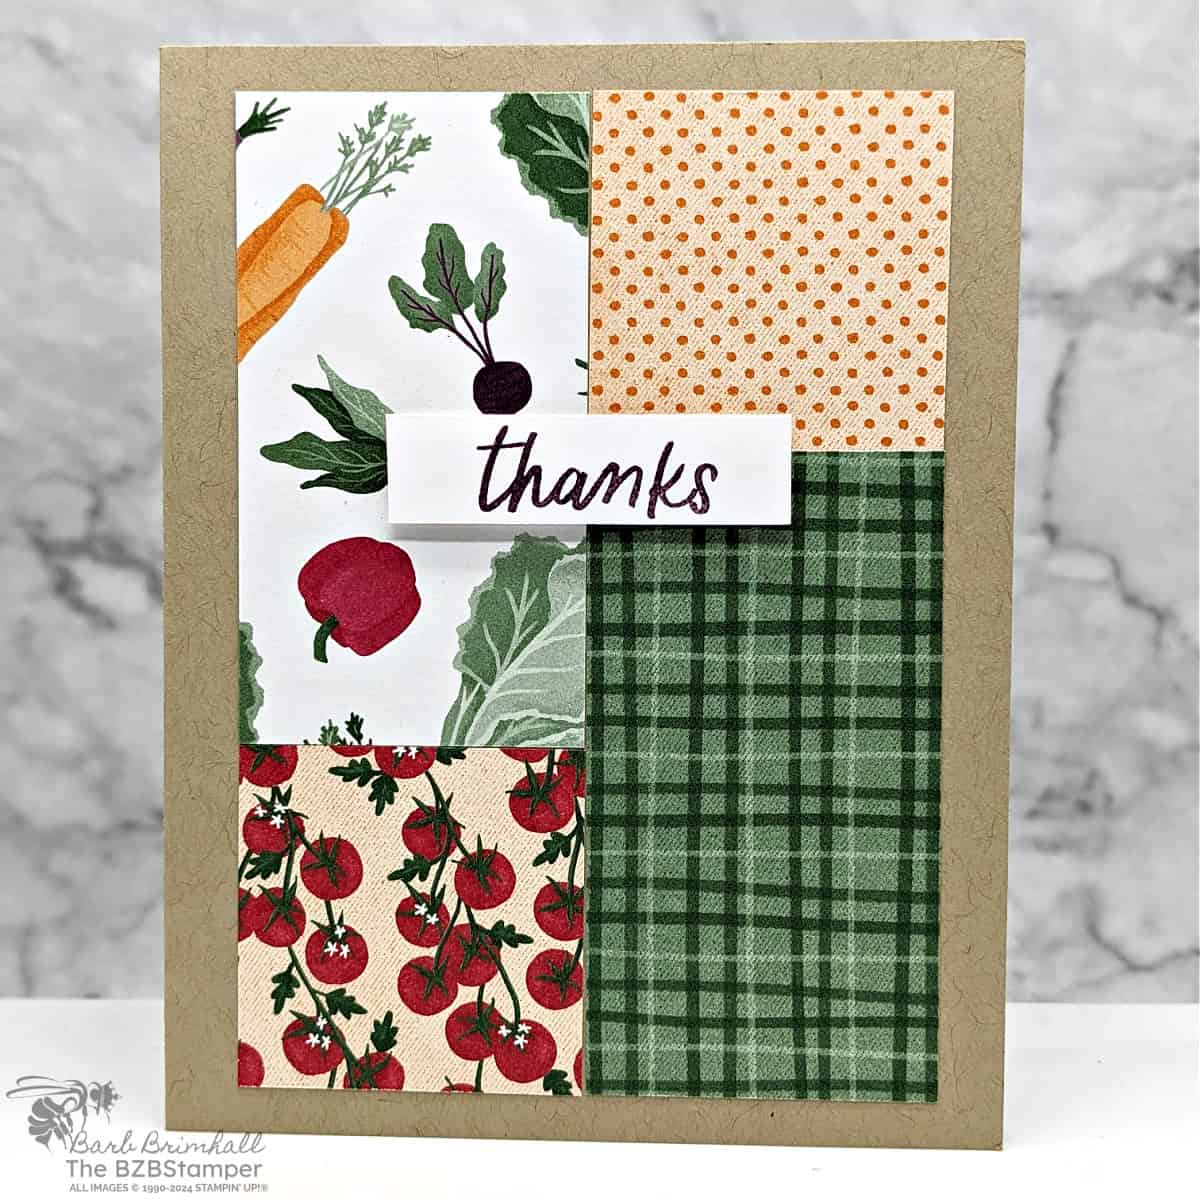
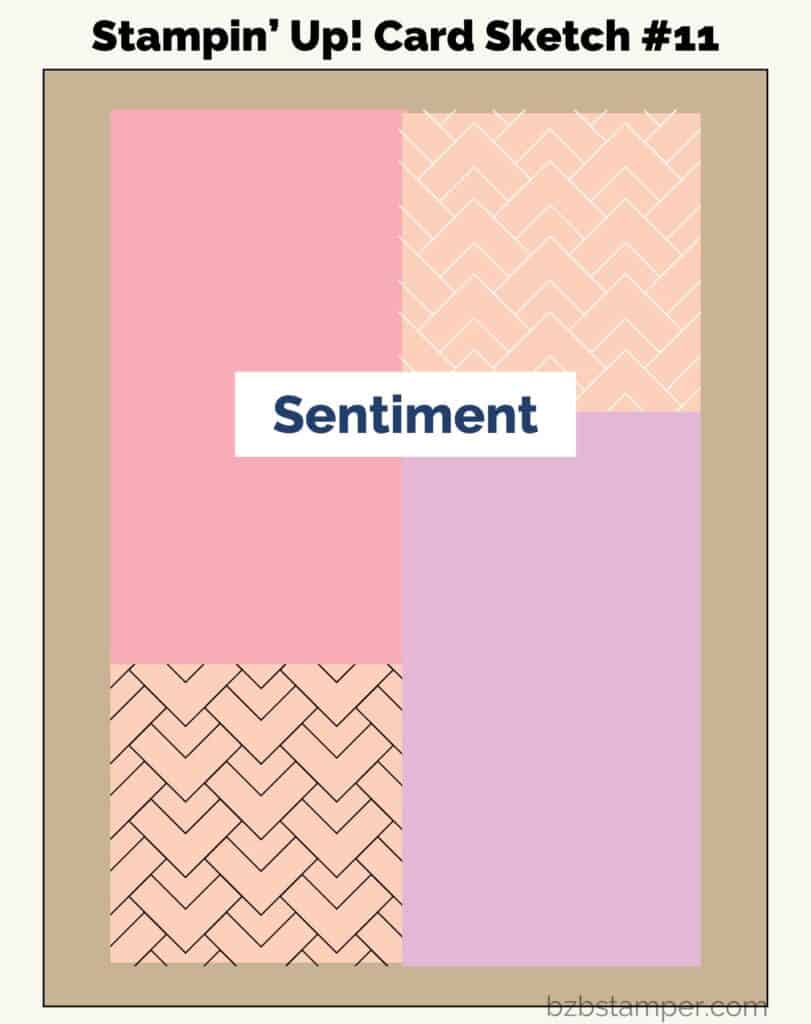
Today, I’m thrilled to share a perfect solution for busy women who want to infuse a bit of creativity into their hectic schedules. I’ll show you how to whip up quick and elegant handmade cards that look anything but rushed. This card uses Card Sketch 11, which is showcased in our Stampin’ Up! 2024-2025 Annual Catalog on page 22. (View our digital catalog here.)
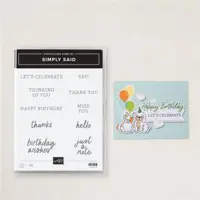
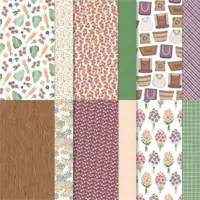
To make this handmade card even easier to create, I used the whimsical To Market Designer Paper. These fun product designs add to the whimsical nature of the card and then I just finished it out with a sentiment from the Simply Said Stamp Set. Let me show you how easy it is to create this Thank You card!
How To Make This Card
Project Skill Level: Busy Bee
Busy Bee projects are designed for the beginner or busy papercrafter. This is a basic cardmaking project that can be achieved by someone who has never made a handmade card before. You can view more Busy Bee cards here.
Cardstock Measurements:
- Crumb Cake Cardstock: 5-1/2″ x 8-1/2″, scored at 4-1/4″
- Basic White Cardstock: 4″ x 5-1/4″
- Basic White Cardstock: 1/2” x 2”
- To Market Designer Paper:
- Pattern 1: 1-3/4” x 3-1/4”
- Pattern 2: 1-3/4” x 1-3/4”
- Pattern 3: 1-3/4” x 1-3/4”
- Pattern 4: 1-3/4” x 3-1/4”


Grab your Free copy
Get 5 Bee-utiful Exclusive
Card Sketches in Your Inbox
Join our newsletter and receive a honey of a package of five quick & simple cards guaranteed to make your creativity buzz! Sign up now and let the goodness flow straight to your inbox!
Step-by-Step Instructions:
- Fold the Crumb Cake cardstock in half at the score line to create your card base. Adhere the 4” x 5-1/4” Basic White cardstock inside the card.
- Adhere the 4 pieces of To Marker Paper to the front of the card, starting in the upper left corner with Pattern #1; adhere Pattern #2 below that. Adhere Pattern #3 to the right of Pattern #1 and adhere Pattern #4 below pattern #3.
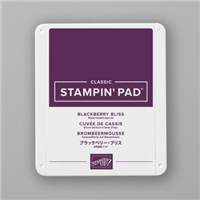
- Stamp the sentiment onto the 1/2” strip of Basic White cardstock using the Blackberry Bliss ink pad and adhere to the card as desired using Stampin’ Dimensionals.
A Tip from Barb
This is a fun card sketch that can be altered in many different ways. If the Designer Paper you’re using doesn’t have a 4 different patterns that work well together, choose only 2 and repeat them. This Sketch is very versatile – experiment and enjoy!
Thank you so much for stopping by today. I hope you are inspired to create today, whether it is this simple and cute handmade card or another cardmaking project. My goal is to help you carve out some creative joy! If you’d like more detailed directions on how to make this card, feel free to email me. Keep checking back for more projects.

Don’t forget to pin this for later!
