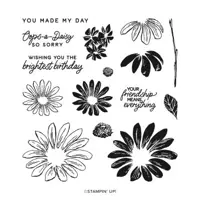
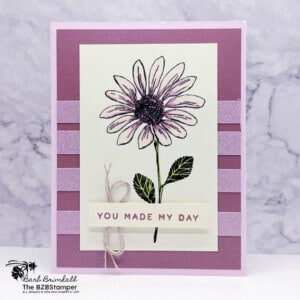
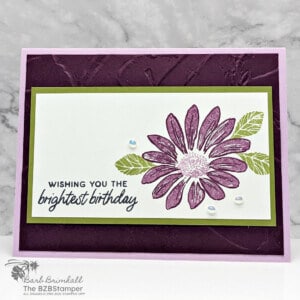
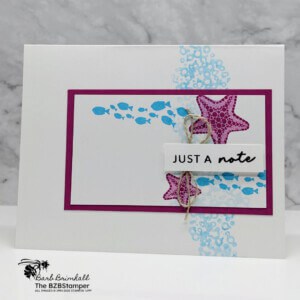
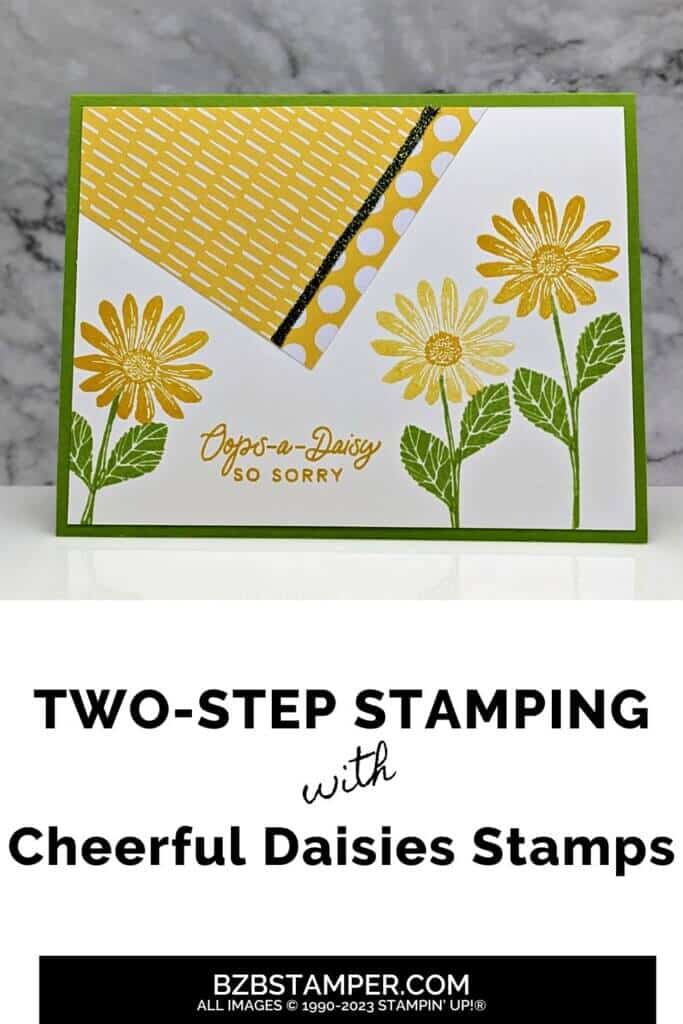
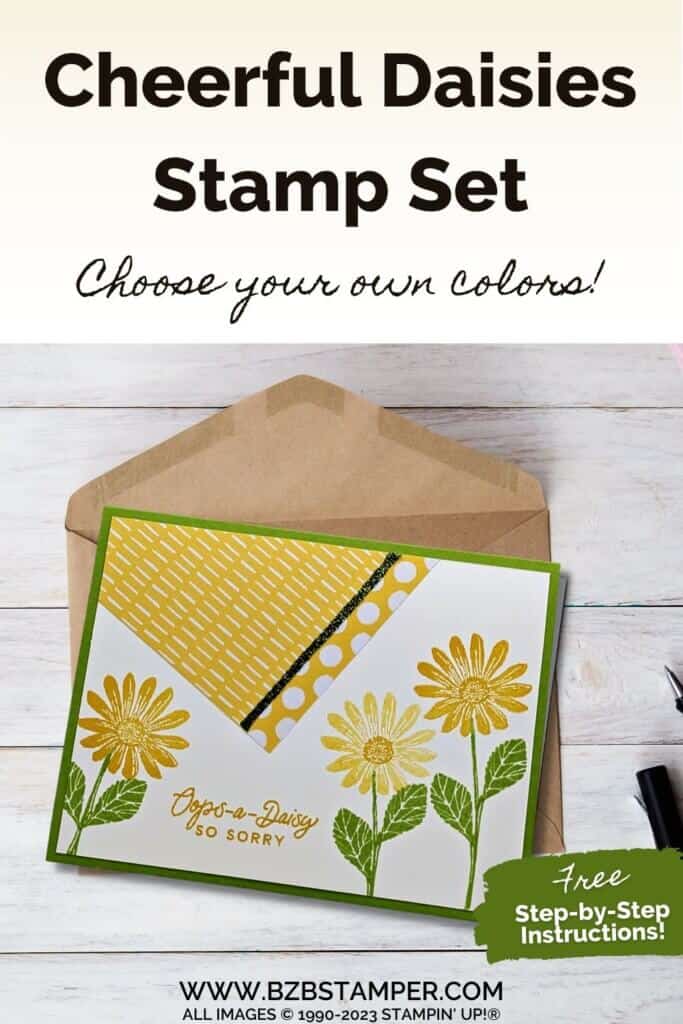
Two-Step Stamping with the Cheerful Daisies Stamp Set is your ticket to stamping fun! We’ll dive into stamping so bold, your cards might need sunglasses! You might even want to put on your dancing shoes because we’re going to tango with daisies! The Cheerful Daisies Stamp Set is perfect for two-step stamping, allowing you to layer colors and designs like a pro. And remember, in the world of stamping, bold is always gold, so don’t be shy to apply that ink! Let me show you how!
View more stamped samples & inspiration here
Project Measurements
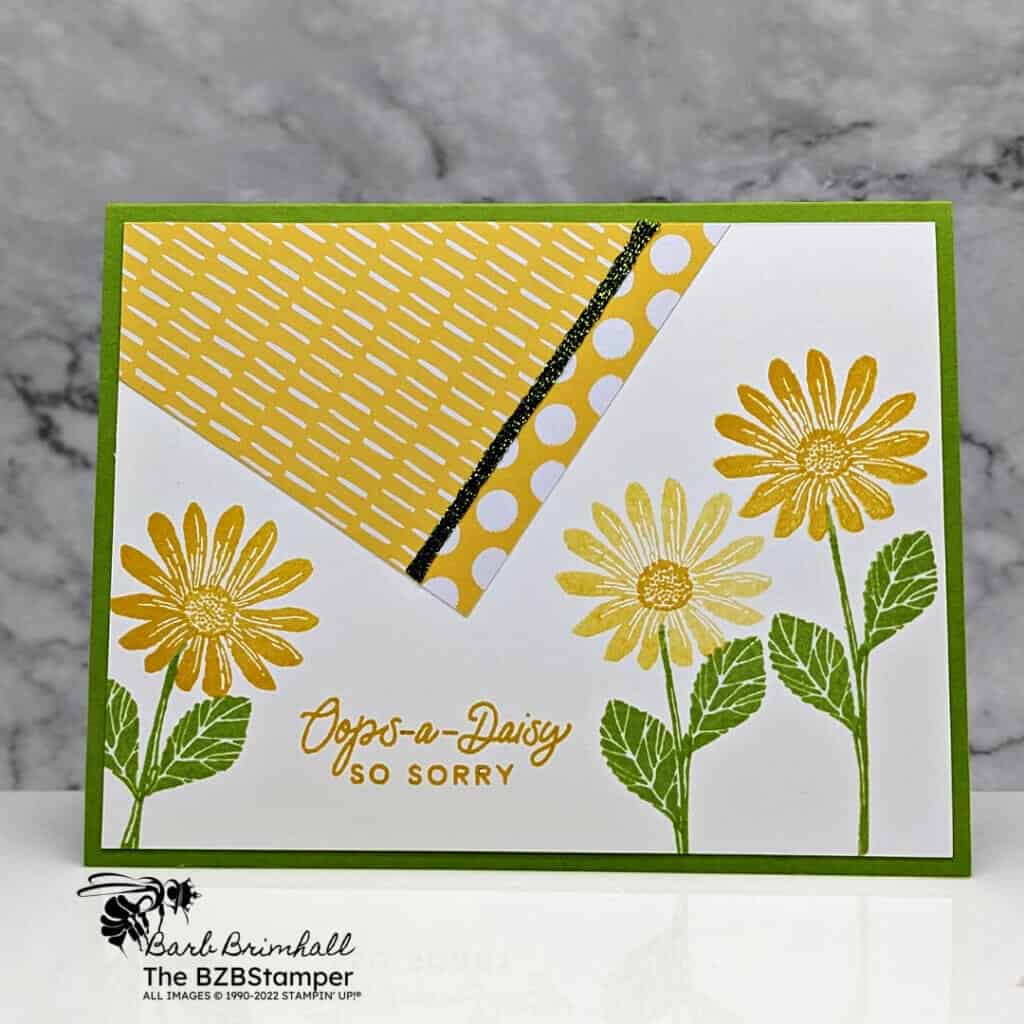
- Granny Apple Green Cardstock: 5-1/2″ x 8-1/2″, scored at 4-1/4″
- Basic White: 4″ x 5-1/4″ (x2)
- Brights Designer Paper (Daffodil Delight): 3″ x 3-1/2″ (pattern 1) and 1/2″ x 3″ (pattern 2)
Instructions
- Fold the Granny Apple Green cardstock in half at the score line and burnish well with the Bone Folder to create your card base.
- Adhere one of the pieces of Basic White cardstock inside your card.
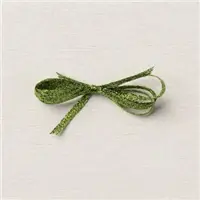
- Adhere the 2 pieces of Daffodil Delight Brights Designer Paper along the 3″ side. Wrap approximately 3″ of the Parakeet Party Ribbon to cover the seam where both papers meet and adhere to the back of the Designer Paper on one end of the paper only. Leave the other end “loose”.
- Adhere the paper at an angle onto the upper left of the White cardstock (see sample for placement) with the side that has the “loose” Ribbon at the top and trim the Designer Paper that hangs over on the left side and top, being careful to not trim off the “loose” ribbon. Adhere the loose ribbon to the back of the White cardstock and secure it well.
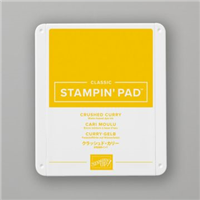
- Using the small bold daisy, stamp on the left side using Crushed Curry ink. Ink the stamp again and stamp on the right side. Without reinking the daisy stamp, stamp again just below and to the left of the first daisy, making sure you’re still to the right of the Designer Paper.
- Stamp the sentiment just under the corner of the Designer Paper, between the 2 flowers, using Crushed Curry ink. Stamp the center of all 3 flowers using Crushed Curry ink.
- Stamp the stem under all 3 flowers using Granny Apple Green ink. Stamp the bold leaf onto each stem as desired.
- Adhere the White cardstock to the card base to finish.
Supplies Used in this Project
Pin It!
Now it’s your turn to give this card a try. Order your supplies and plan a fun afternoon of papercrafting 🙂.
Thank you so much for stopping by! I hope you feel inspired to create and that you also feel you have all the info you need to make this card with these instructions. If you aren’t sure about something or would like more detailed directions on how to make this card, feel free to email me. I’m here to help!


