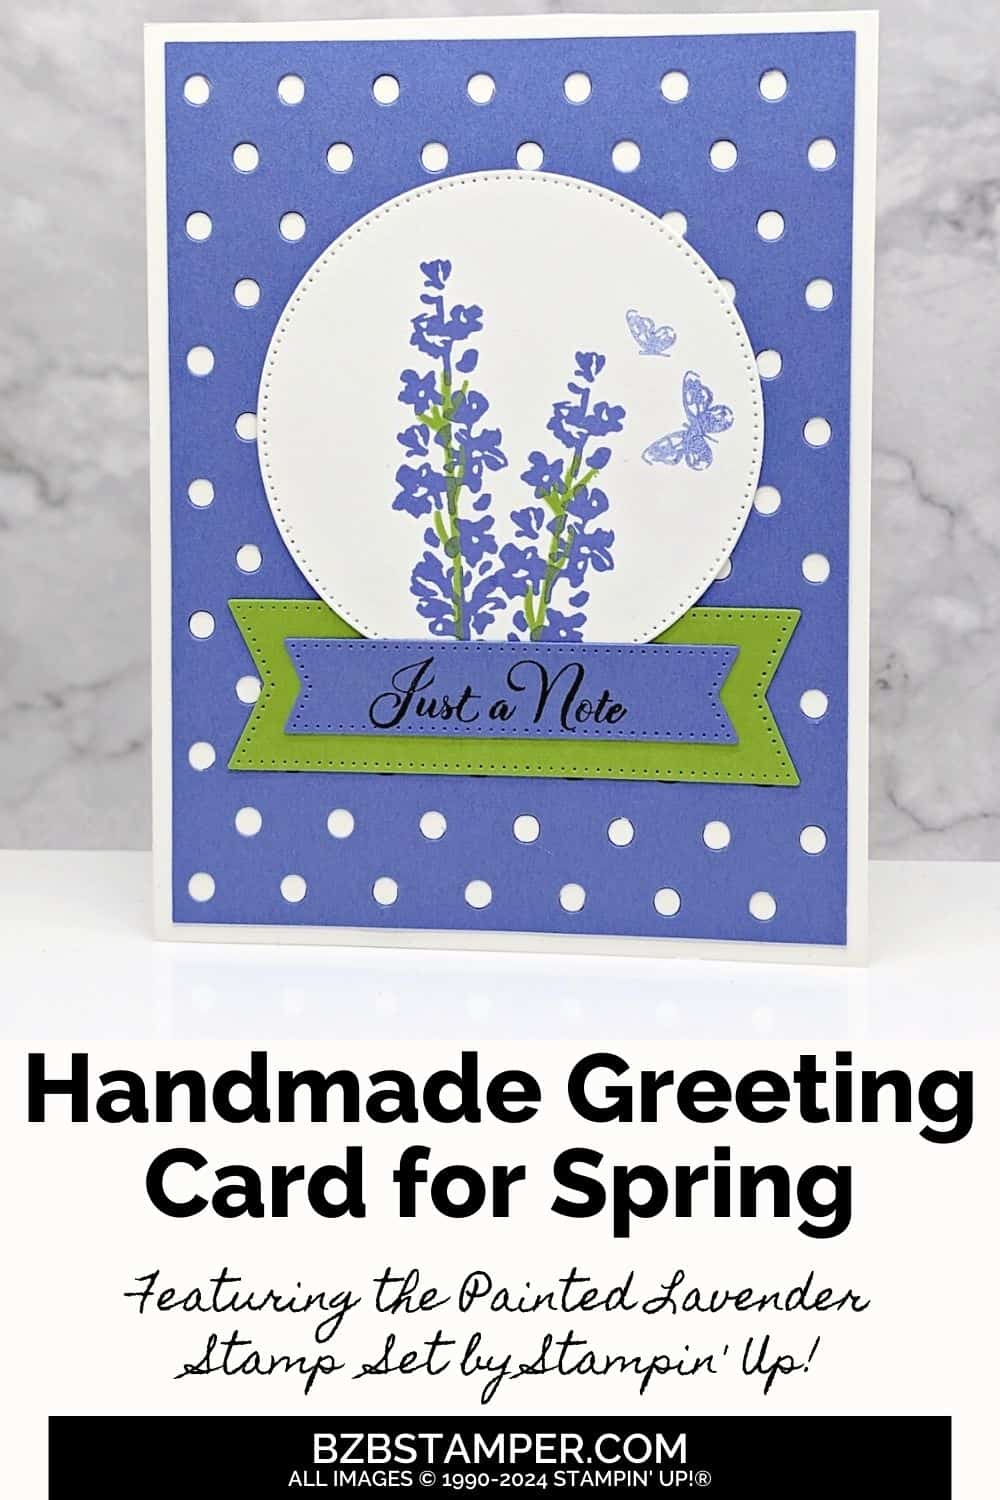
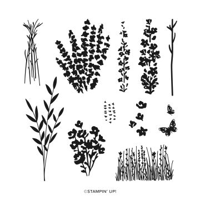
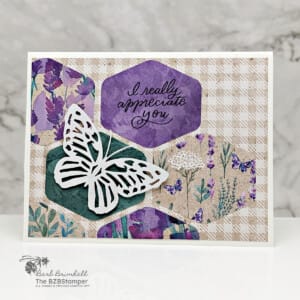
Unleash your creativity and make this beautiful floral card using the Painted Lavender Stamp Set by Stampin’ Up! This set is perfect for designing cards for any event, from birthdays to anniversaries, all adorned with the timeless beauty of lavender. Dive into techniques that add a personal touch to every celebration.
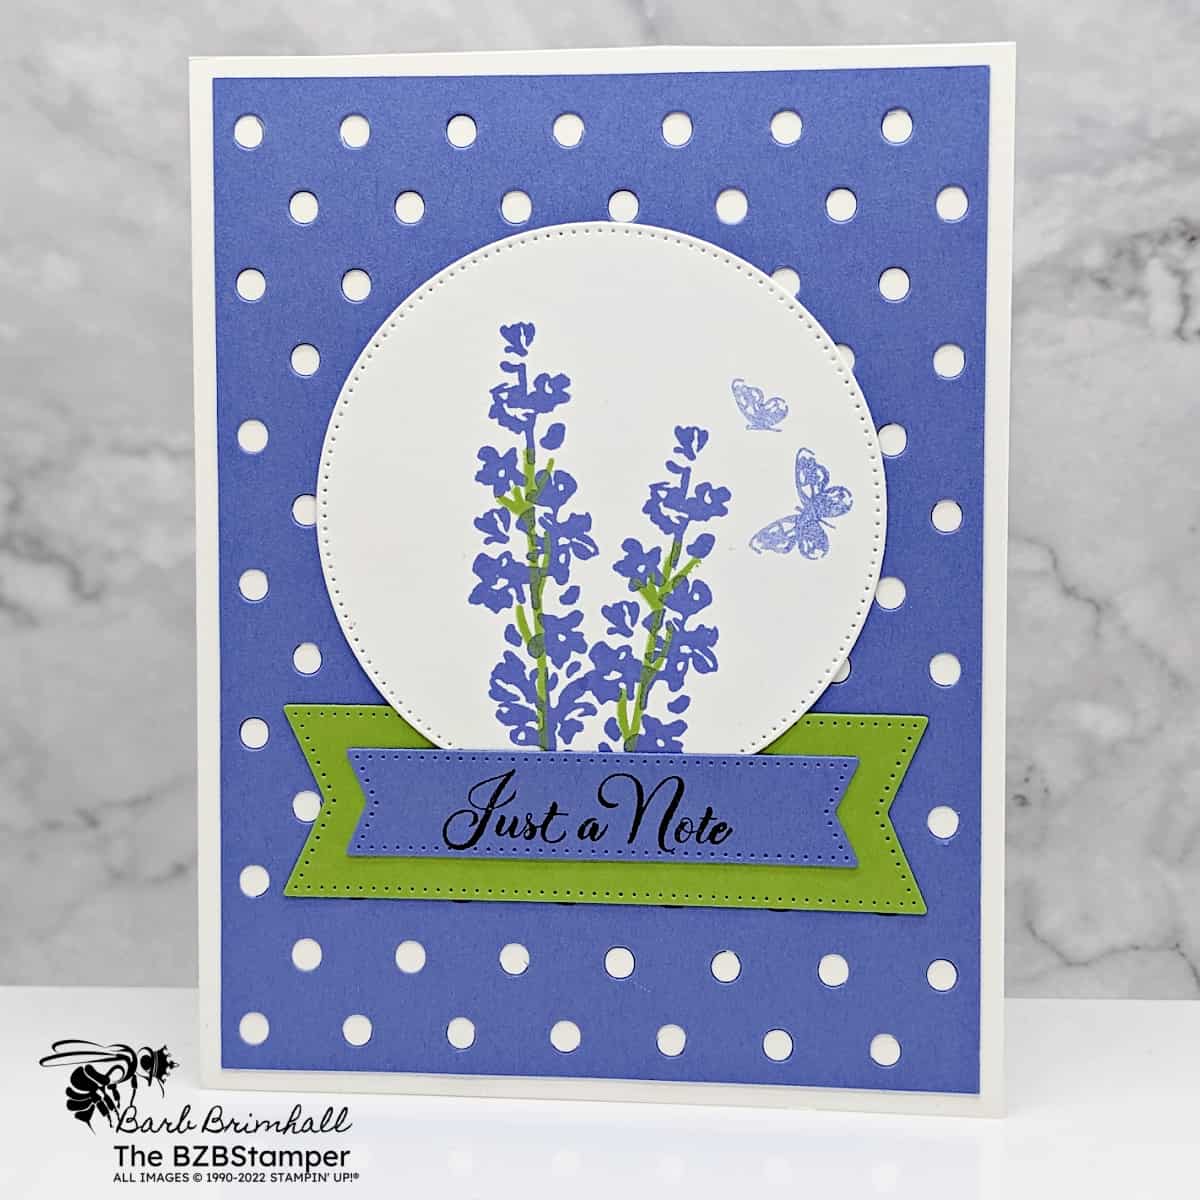
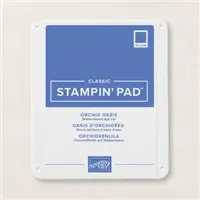
This is a Two-Step Stamping set, one of my favorite type of sets. It allows you to layer two or more images to create one final image with extra texture and dimension in the colors you want. For this card, I wanted something clean but bright, so I went with one of my favorite color combinations – Orchid Oasis and Granny Apple Green. I think they pair together so beautifully! I decided to do the sentiment in black to add a bit of drama. 😃
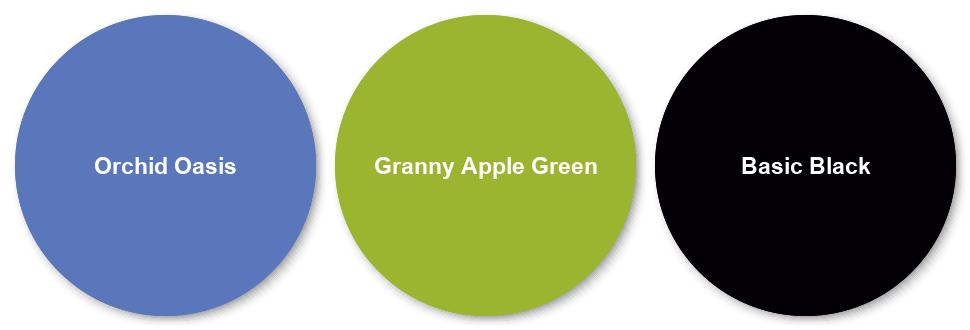
If these colors aren’t quite what you’re looking for, make sure you check out my Color Combination library, where you’re sure to find something you’ll love!
How To Make This Card
Project Skill Level: Worker Bee
Worker Bee projects are designed for the crafter who has a bit more time and enjoys creating a handmade card that features a technique or tool. In many cases, a Stampin’ Cut & Emboss Machine is required for die-cutting and/or embossing.
Cardstock Measurements:
- Basic White Cardstock: 5-1/2″ x 8-1/2″, scored at 4-1/4″
- Orchid Oasis Cardstock: 4″ x 5-1/4″
- Basic White Cardstock: 3-1/2″ x 3-1/2″ (for die-cutting)
- Orchid Oasis Cardstock: 1″ x 3″ (for die-cutting)
- Granny Apple Green CardstocK: 1-2/” x 4″ (for die-cutting)


Grab your Free copy
Get 5 Bee-utiful Exclusive
Card Sketches in Your Inbox
Join our newsletter and receive a honey of a package of five quick & simple cards guaranteed to make your creativity buzz! Sign up now and let the goodness flow straight to your inbox!
Step-by-Step Instructions:
- Fold the Basic White cardstock in half at the score line to create your card base.
- Run the 4″ x 5-1/4″ piece of Orchid Oasis cardstock through the Cut & Emboss Machine using the Dots & Spots Die. Adhere to front of card.
- Using the remaining scraps of Basic White, Orchid Oasis, and Granny Apple Green cardstock, run through the Cut & Emboss Machine and using the Stylish Shapes dies, cut out the 3″ Basic White circle, the 1″ x 3-3/8″ Granny Apple Green sentiment tag, and the 1/2″ x 2-3/4″ Orchid Oasis sentiment tag.
- Using the 3″ Basic White circle, stamp the “stem” at the bottom of the circle using Granny Apple Green ink. Ink the stamp again and stamp a second stem.
- Ink up the lavender flower stamp using Orchid Oasis ink and stamp over the 1st stem. Repeat on second stem.
- Ink up the Butterfly stamp using Orchid Oasis ink and stamp off once on your scratch paper. Stamp onto the circle as desired.
- Adhere the Granny Apple Green sentiment tag towards the bottom of the card. Adhere the stamped Circle so that the bottom of the circle slightly overlaps the top of the Granny Apple Green tag.
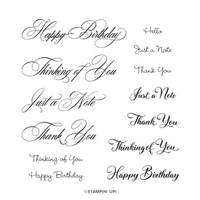
- Stamp the sentiment onto the Orchid Oasis sentiment tag using Black Memento ink pad. Adhere onto the center of the Granny Apple Green tag so that it slightly covers the bottom of the White circle to finish.
A Tip from Barb
This card is actually very easy to make, thanks to the Two-Step Stamping Painted Lavender Stamp set, but the dies used on this card did take it up a notch. If you don’t have a die-cutting machine, but do have a large circle punch, you can use that for the focal image and just cut rectangles in the same size for the sentiment banners.
Thanks for stopping by for today’s card tutorial! My goal is to help you make quick & easy greeting cards for all occasions. If you’d like more detailed directions on how to make this card, feel free to email me. I hope you’ll join me again for more card-making ideas!

Don’t forget to pin this for later!
