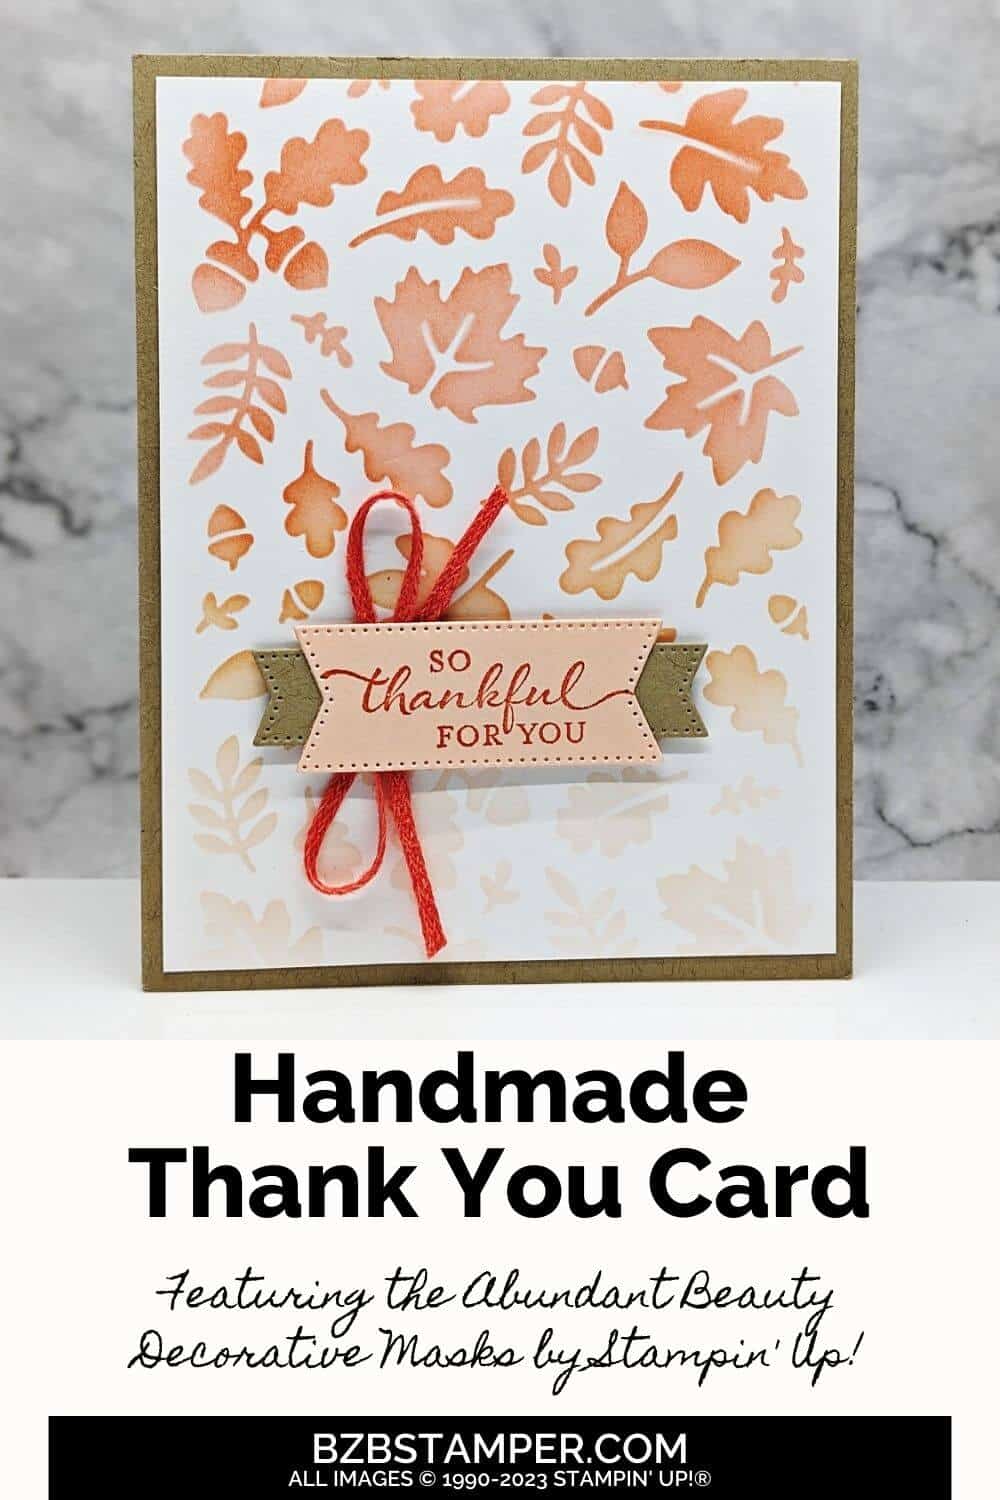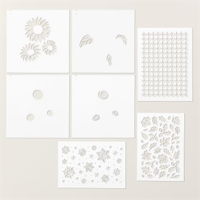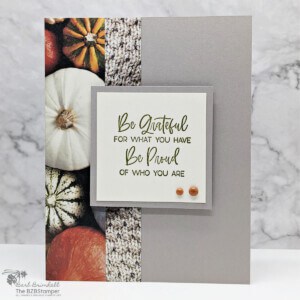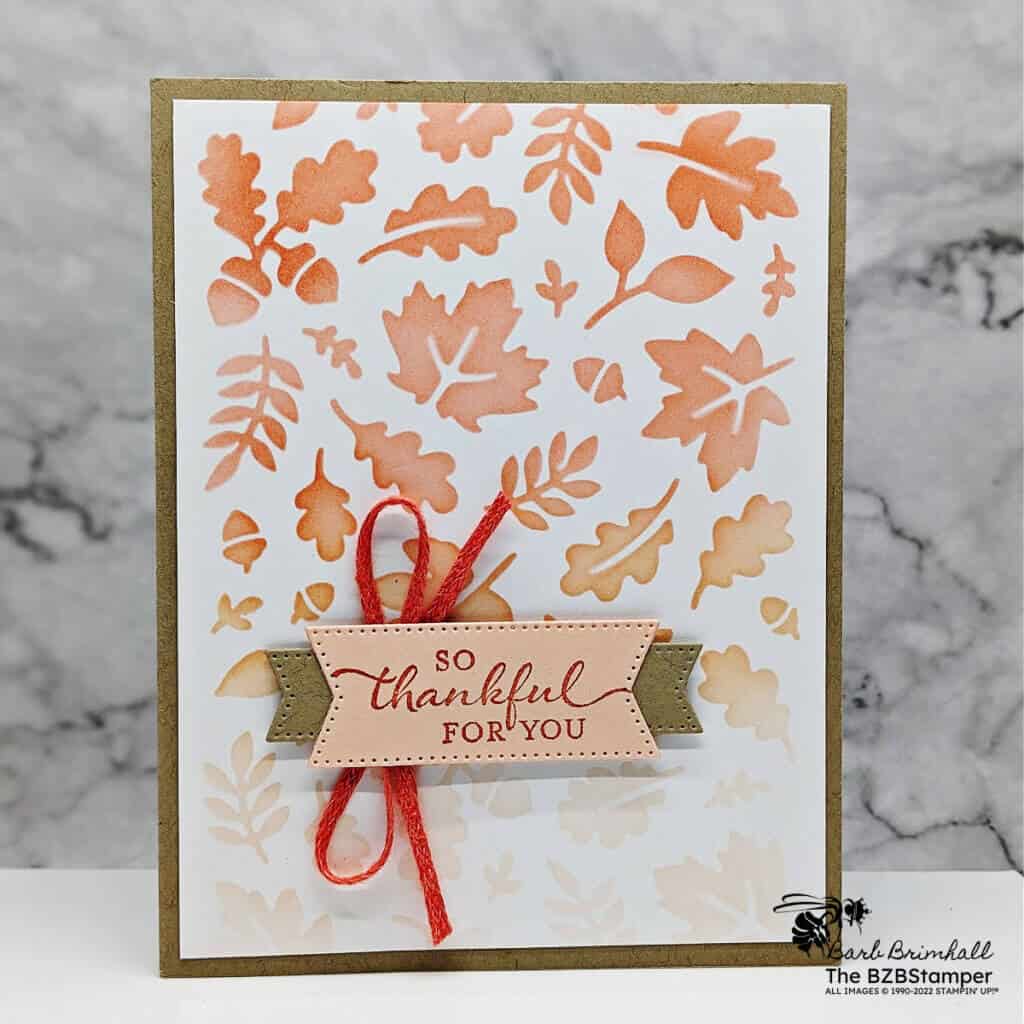
Hey there! I can’t wait to share with you how easy it is to make this Autumn Thank You Card Using the Abundant Beauty Decorative Masks by Stampin’ Up!
We’ve all been there, scouring through the aisles, looking for the perfect Thank You card, but nothing seems quite right. That’s where the Abundant Beauty Decorative Masks come into play. They’re easy to use, can be personalized in any color for any occasion, and can make gorgeous cards in just minutes!
Prepare to get your creative juices flowing, and make your thank you wishes come alive with textures and colors that are as unique and special as the person you’re celebrating!
How To Make This Card
Project Skill Level: Worker Bee
Worker Bee projects are designed for the crafter who has a bit more time and enjoys creating a handmade card that features a technique or tool. In many cases, a Stampin’ Cut & Emboss Machine is required for die-cutting and/or embossing.
Cardstock Measurements:
- Crumb Cake Cardstock: 5-1/2” x 8-1/2”, scored at 4-1/4”
- Basic White Cardstock: 4” x 5-1/4” (2 pieces)
- Petal Pink Cardstock: 1-1/2” x 3” (for die-cutting)
- Crumb Cake Cardstock: 1” x 3” (for die-cutting)


Grab your Free copy
Get 5 Bee-utiful Exclusive
Card Sketches in Your Inbox
Join our newsletter and receive a honey of a package of five quick & simple cards guaranteed to make your creativity buzz! Sign up now and let the goodness flow straight to your inbox!
Step-by-Step Instructions:
- Fold the Crumb Cake Cardstock in half to create your base card.
- Adhere the 4” x 5-1/4” piece of Basic White cardstock inside your card.
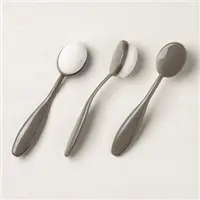
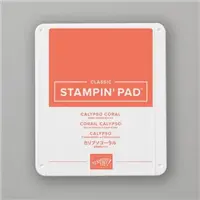
- Using the other piece of Basic White Cardstock, use a Blending Brush to sponge Calypso Coral ink over the leaf mask, starting at the top and going halfway down the cardstock.
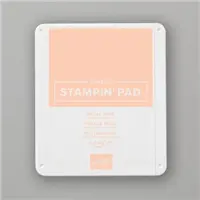
- Using a second Blending Brush and sponge Petal Pink ink on the bottom half of the Basic White cardstock. Adhere the White cardstock to the front of the card.
- Using the Crumb Cake and Petal Pink cardstocks, run through the Stampin’ Cut & Emboss Machine and cut out the banners using the appropriate Stylish Shape dies.
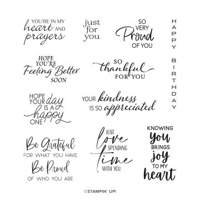
- Stamp the sentiment onto the Petal Pink banner using Calypso Coral ink. Adhere the Petal Pink label onto the Crumb Cake label.
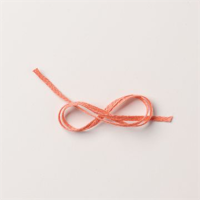
- Tie the Calypso Coral Braided Trim into a bow and adhere to the card as shown in the sample.
- Adhere the sentiment banners over the middle of the bow using Stampin’ Dimensionals to finish.
A Tip from Barb
Honestly, this should be rated as a Busy Bee project because creating this card is so darn easy! Because I used the Cut & Emboss Machine and Stylish Dies for the sentiment tags, I upgraded it to a Worker Bee card but only because you have to pull out your Machine! 🤣
If you don’t have a die-cut machine, or just don’t want to be bothered, cut your sentiment tags as follows and then “flag notch” each end: Crumb Cake cardstock to 1/2″ x 2-3/4″ and the Petal Pink cardstock to 1″ x 2-1/4″. You’re all set!
Thank you so much for stopping by and checking out this papercrafting tutorial. I hope you are inspired to create and send cards. If you’d like more detailed directions on how to make this card, feel free to email me. I love sharing how to make cards here on the BZBStamper blog, and I can’t thank you enough for all of your support!

Don’t forget to pin this for later!
