Take to the Sky Designer Paper
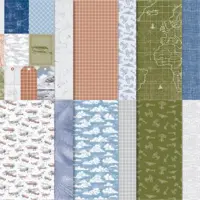
Create numerous masculine cards using the Take to the Sky Designer Paper by Stampin’ Up! Whether you’re making cards for Father’s Day, adventure-seekers, veterans, or outdoor enthusiasts, this is great paper to have on hand!
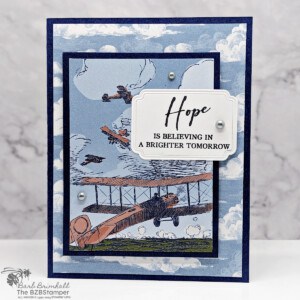
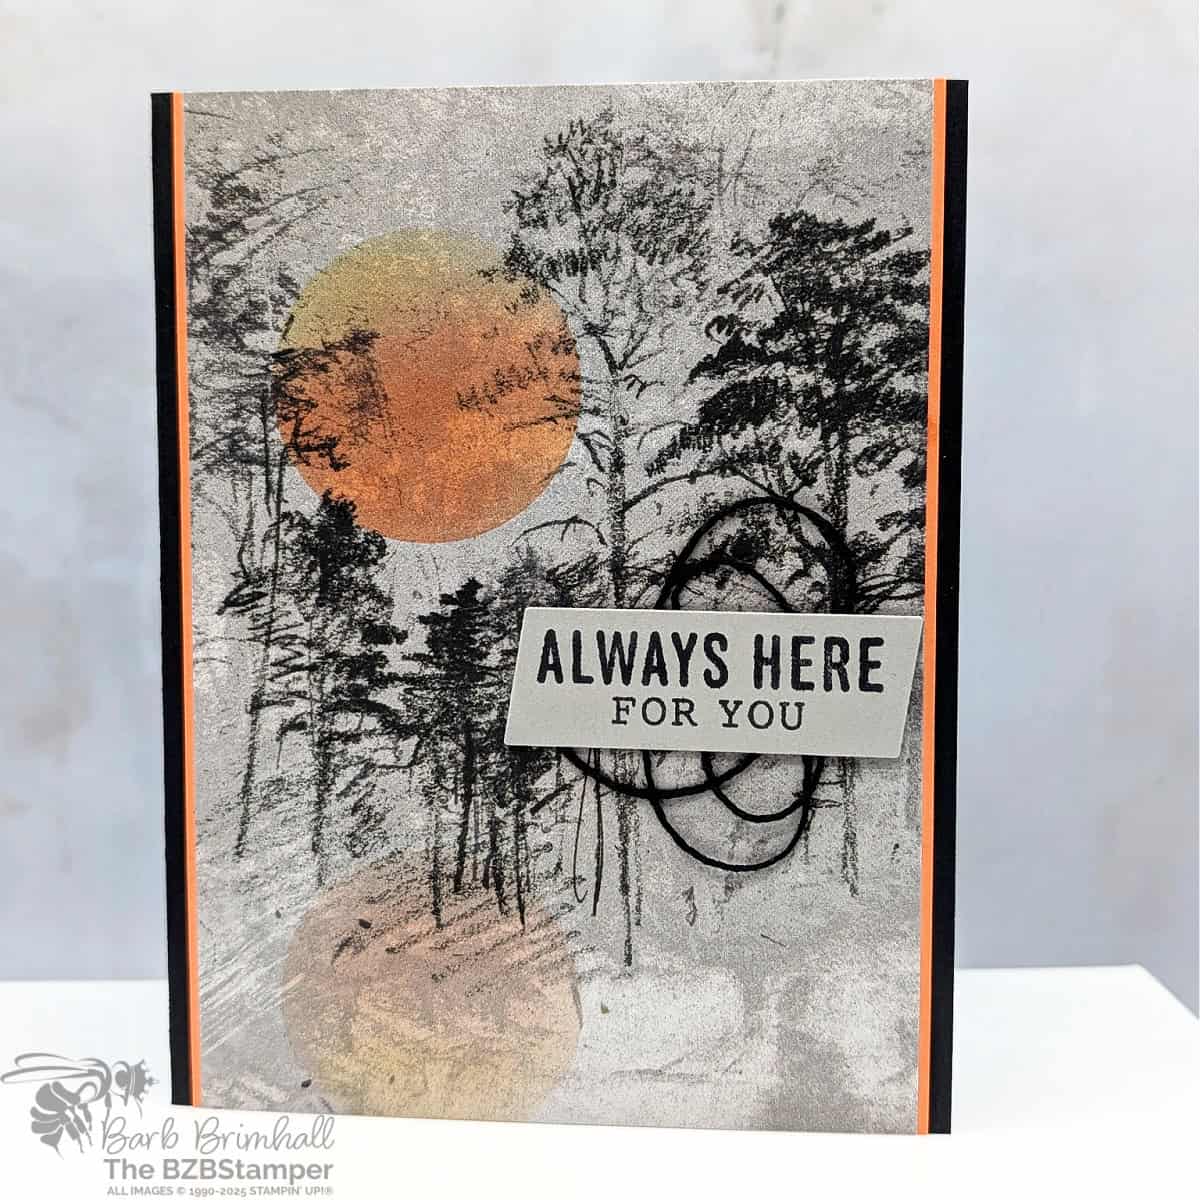
The images in this 12″ x 12″ Designer Series Paper are perfect for all occasions. The maps, blueprints, textured clouds, and sketched planes are fitting for aviation, military, outdoor, or adventure-themed cards and crafts. Use the planes and clouds as backgrounds, or fussy cut around the topographical map lines and plane blueprints for a fun focal point.
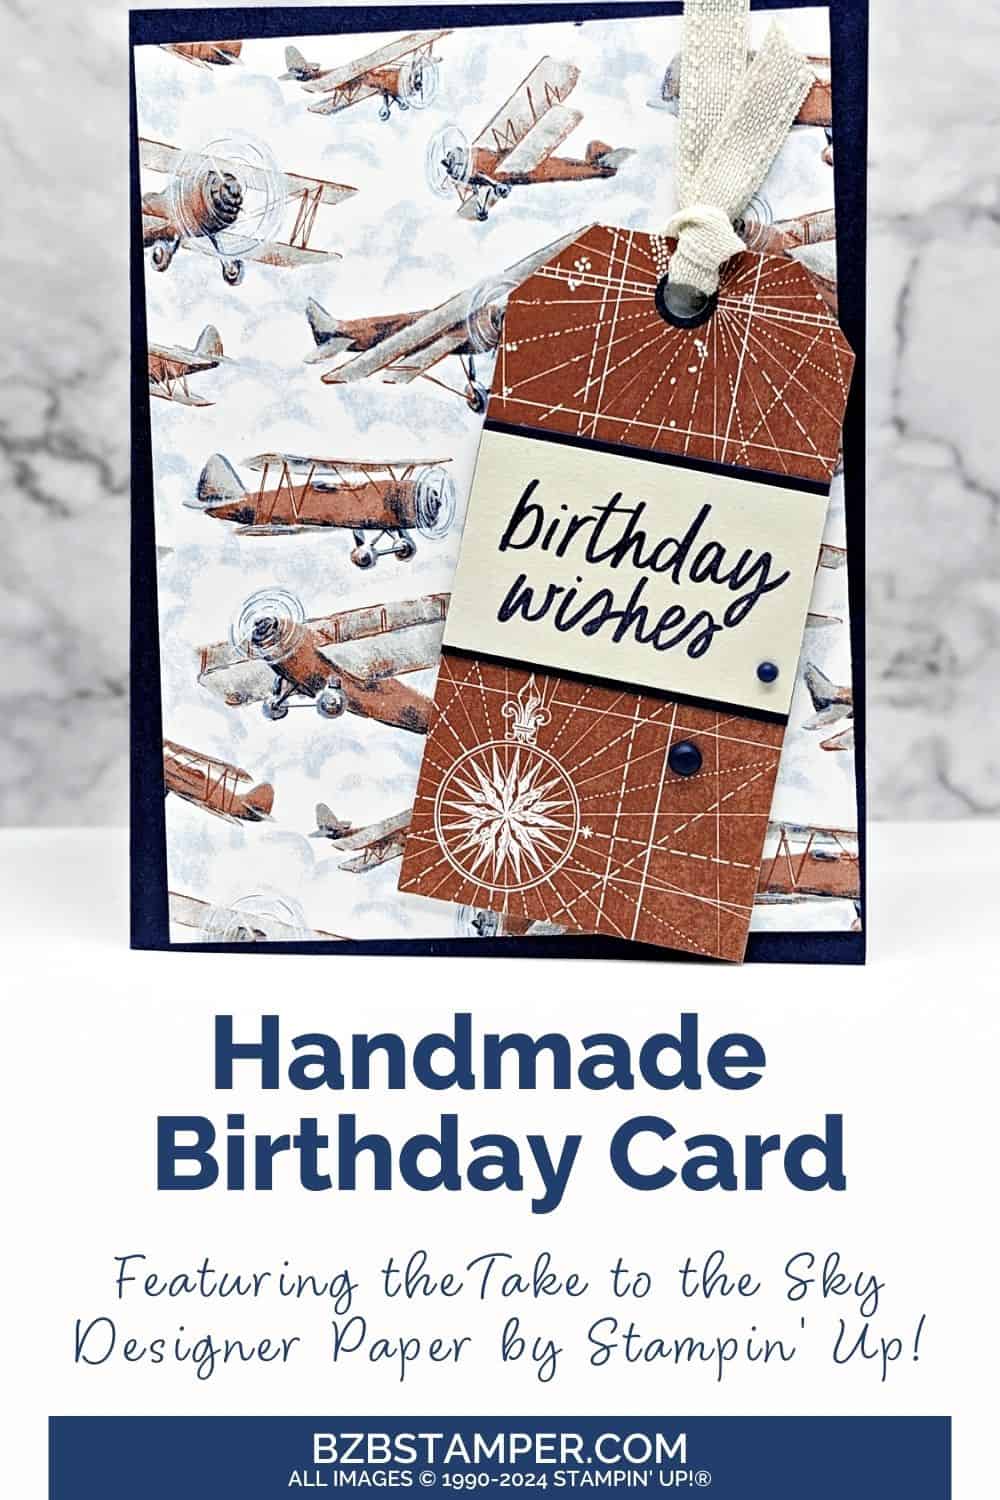
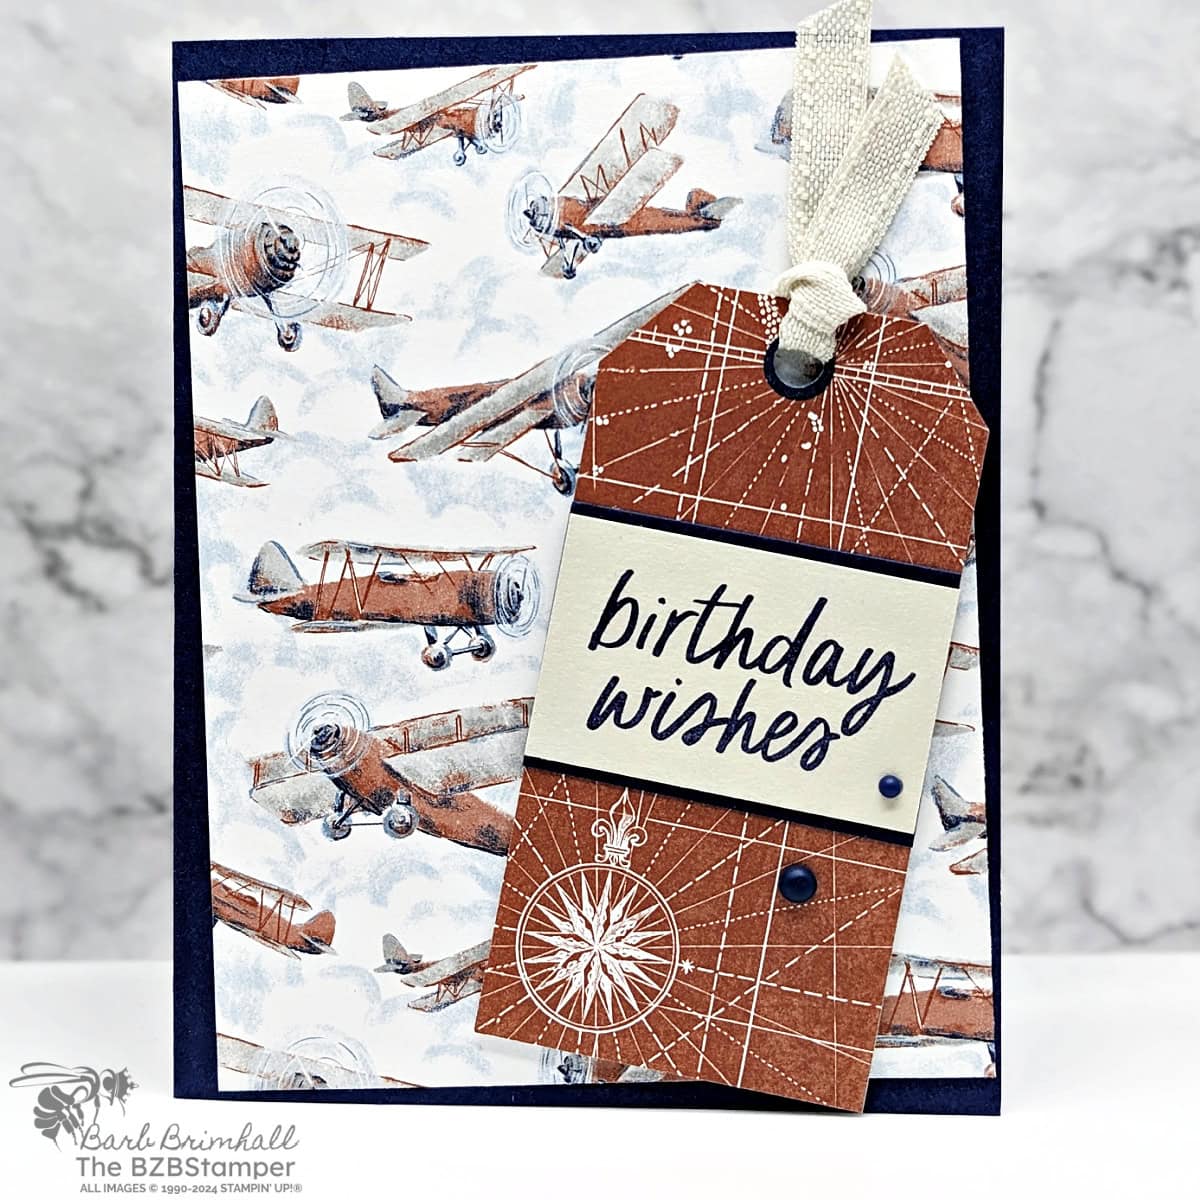
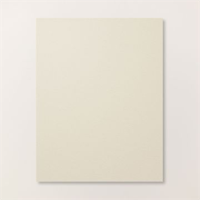
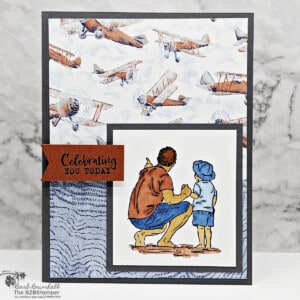
In this case, I decided to use the plane images for a generic birthday card. By using these images as my focal point, the card together quickly and easily. My color palette came directly from the paper: Night of Navy, Copper Clay and the new Basic Beige. These colors worked together to create the perfect masculine color combination. If you’d prefer something brighter, make sure you check out my Color Combination Library.
How To Make This Card
Project Skill Level: Busy Bee
Busy Bee projects are designed for the beginner or busy papercrafter. This is a basic cardmaking project that can be achieved by someone who has never made a handmade card before. You can view more Busy Bee cards here.
Cardstock Measurements:
- Night of Navy Cardstock: 5-1/2″ x 8-1/2″, scored at 4-1/4″
- Basic Beige Cardstock: 4″ x 5-1/4″
- Take To The Sky Designer Paper, Pattern 1: 4″ x 5-1/4″
- Take To The Sky Designer Paper, Pre-Cut Tag: 2″ x 4″
- Night of Navy Cardstock: 1-3/8″ x 2″
- Basic Beige Cardstock: 1-1/4″ x 2″


Grab your Free copy
Get 5 Bee-utiful Exclusive
Card Sketches in Your Inbox
Join our newsletter and receive a honey of a package of five quick & simple cards guaranteed to make your creativity buzz! Sign up now and let the goodness flow straight to your inbox!
Step-by-Step Instructions:
- Fold the Night of Navy cardstock in half at the score line to create your card base.
- Adhere the 4″ x 5-1/4″ piece of Basic Beige cardstock inside your card.
- Layer the Take To The Sky Paper, Pattern 1, to the front of the card at an angle.
- Carefully remove one of the tags from the Designer Paper.
- Stamp the sentiment onto the 1-1/4″ x 2″ piece of Basic Beige cardstock using Night of Navy ink. Adhere to the 1-3/8″ piece of Night of Navy cardstock and adhere both to the tag.
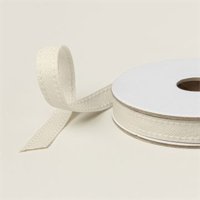
- Using 8″ of ribbon, tie through the hole in the tag and tie into a double knot; trim edges of the ribbon as needed.
- Adhere the tag to the card front at an angle using Stampin’ Dimensionals.
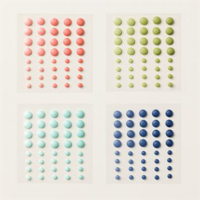
- To finish, add 2 of the Night of Navy Ombre Matte Decorative Dots.
Thank you so much for stopping by today. I hope you are inspired to create today, whether it is this simple and cute handmade card or another cardmaking project. My goal is to help you carve out some creative joy! If you’d like more detailed directions on how to make this card, feel free to email me. Keep checking back for more projects.

Don’t forget to pin this for later!
