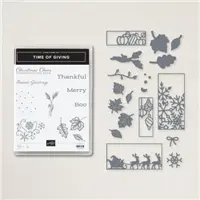
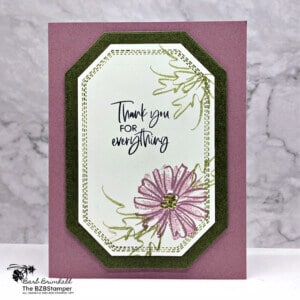
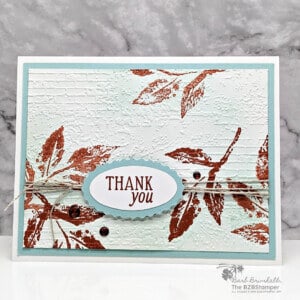
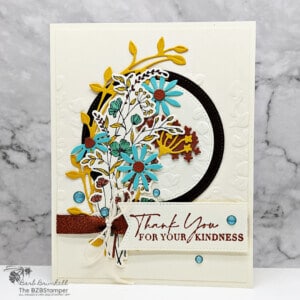
The Stampin Up Time Of Giving Bundle is so versatile! Designed primarily to make tags, it can be used for all sorts of projects! Why settle for mass-produced gift tags when you can create customized tags in minutes?
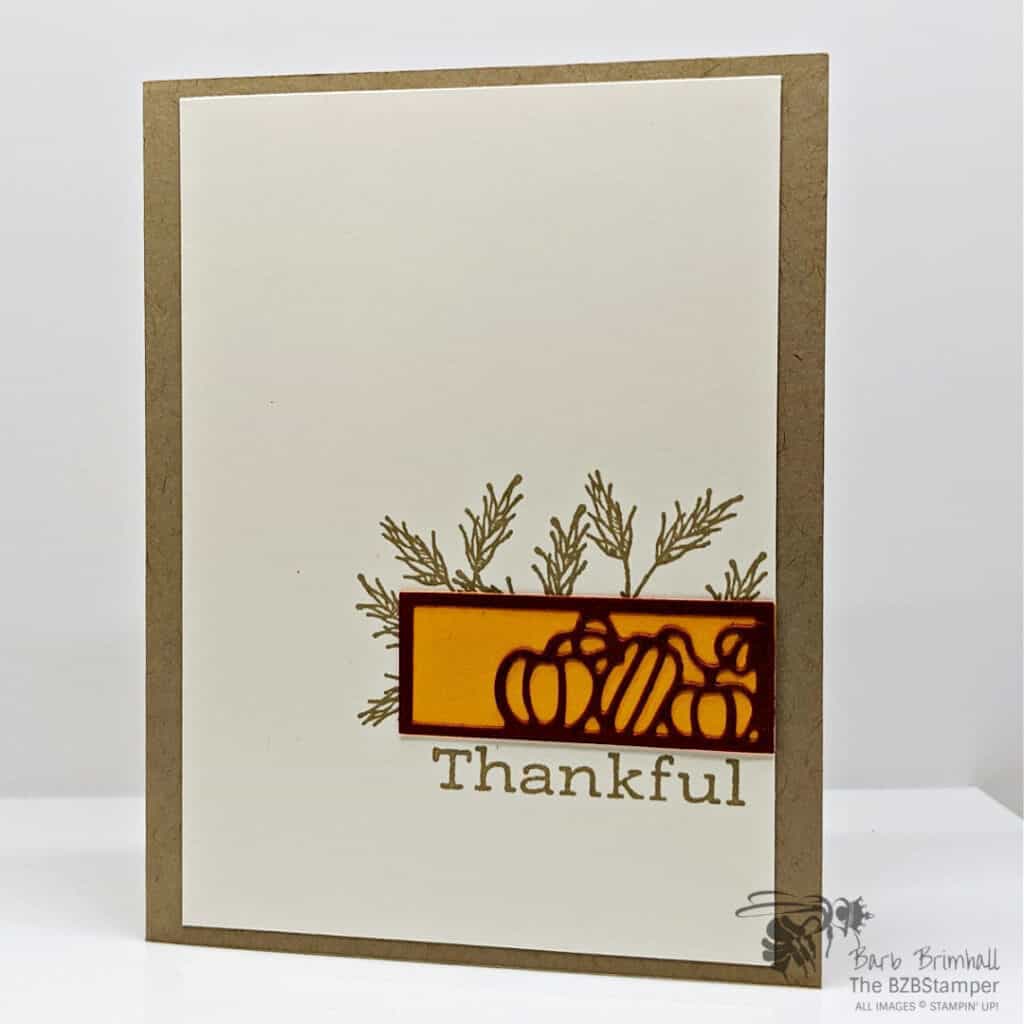
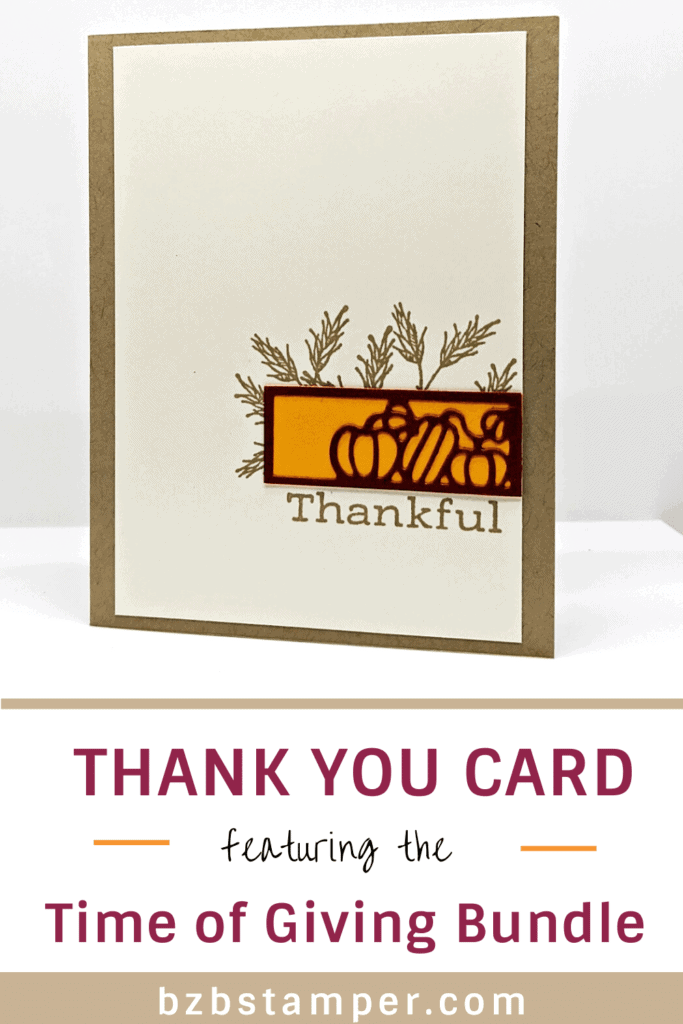
When you use the Time of Giving Bundle, crafting custom gift tags is quick and easy. Stamp the images you want in your favorite colors, then cut out the tags and layer them over stamped images for a fun peek-through effect. I love how the pumpkin images on this Fall tag were highlighted with the backing cardstock and then added to the card. So easy to do – but with quite the impact!
To keep the focus on the pumpkin tag, I kept this card design very simple and instead went with an eye-catching color combination:
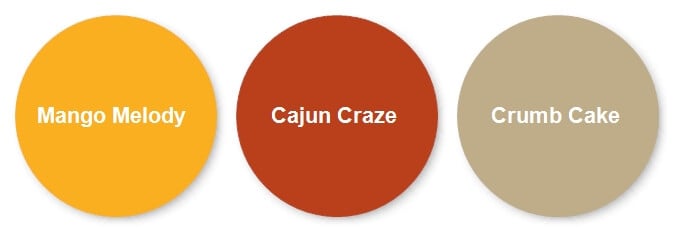
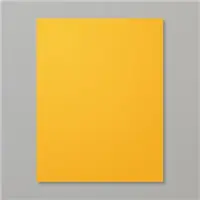
The Mango Melody gave just the right pop of color! You could create this card in so many different color combinations – check out some different ideas in my Color Combination Library. Here’s how I made this card:
Supplies Used on this Project
Project Measurements
- Crumb Cake: 5-1/2” x 8-1/2” scored at 4-1/4”
- Very Vanilla: 3-3/4” x 5” and 4” x 5-1/4” (inside of card)
- Mango Melody: 7/8” x 2-1/4”
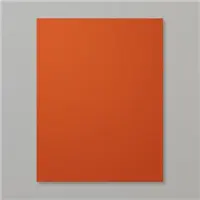
- Cajun Craze: 2” x 3”
Project Instructions
1. Fold the Crumb Cake cardstock in half and burnish with your Bone Folder for a crisp crease.
2. Adhere the 4” x 5-1/4” pieces of Very Vanilla cardstock inside the base card.
3. Using the Mango Melody Cardstock as a Guide, stamp the sentiment below the cardstock using Crumb Cake ink.
4. Remove the Mango Melody cardstock and stamp the “grain” image several times above the sentiment. Don’t worry if it looks a mess just above the sentiment, this will be covered up with the Mango Melody cardstock.
5. Using the Cut & Emboss Machine and the Cajun Craze cardstock, cut ou the Pumpkin Tag. Adhere to the Mango Melody cardstock using small dots of glue. Let dry and trim if any of the Mango Melody cardstock peeks out around the edges of the tag.
6. Using Adhesive, adhere the tag from previous step so it lines up with the right of the Very Vanilla cardstock and just above the stamped sentiment.
7. Adhere the Very Vanilla cardstock to the base card to finish.

Pin It
Go ahead and pin this image in your “favorites” board so you can find this when you need it!
- Get a Free Tutorial Every Week!
- Shop 24/7 in your PJ’s
- Queen Bee Rewards – Earn FREE Stamps!
- View the 2024-2025 Annual Catalog
- View NEW Online Products
- Monthly Crafting Kit
Thanks so much for stopping by today! Be sure to give this card sketch idea a try and mail it to a friend that is celebrating something! It’s so fun to make a card but it’s even more fun to send! #makeacardsendacard


