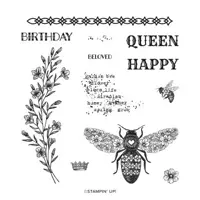
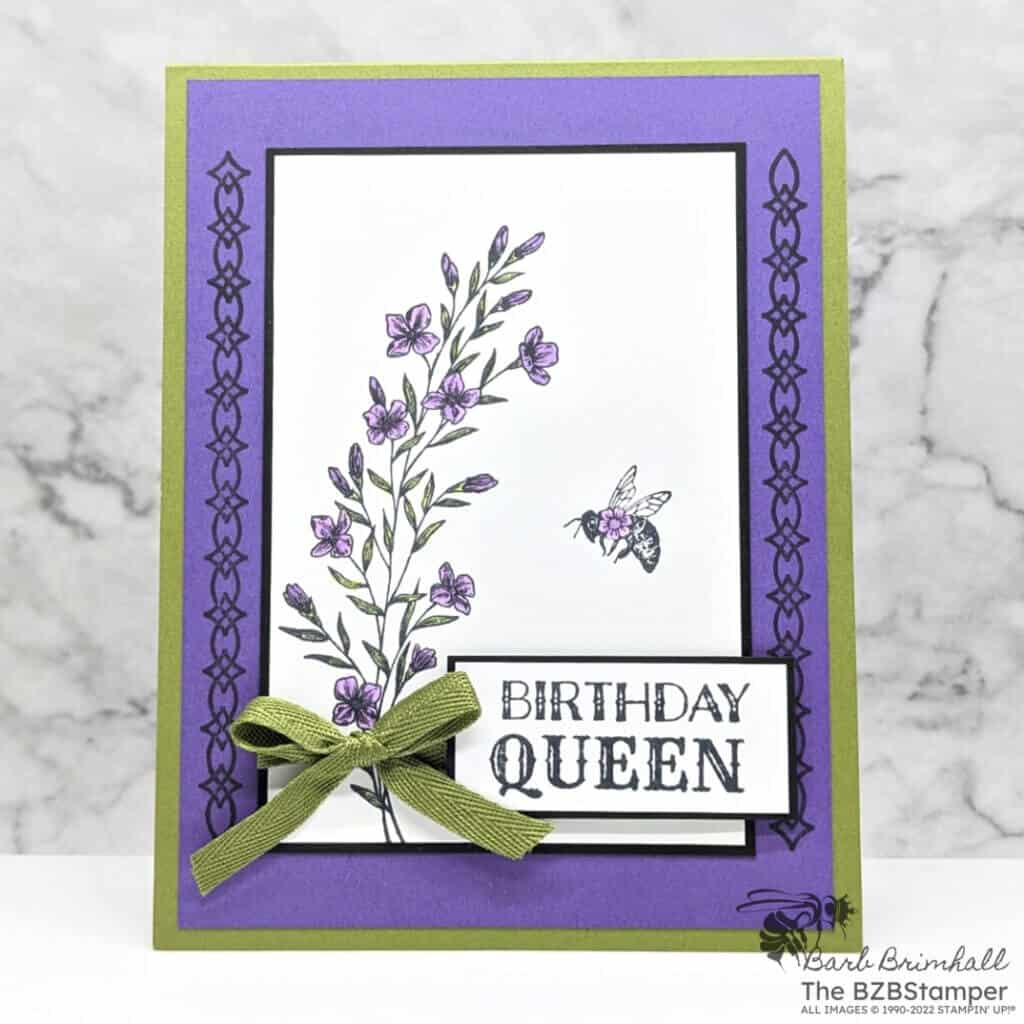
Create stunning handmade cards using the Stampin’ Up! Queen Bee Stamp Set. This stamp set has detailed bee images with a fun and unique pattern on the wings. This stamp set is so fun, it works for all ages! Pair the images with soft pastels for a baby or youth project or add some sass with bold regal tones. Make cards for all the queen bees in your life with the Queen Bee Stamp Set!
View more stamped samples & inspiration here
Project Measurements
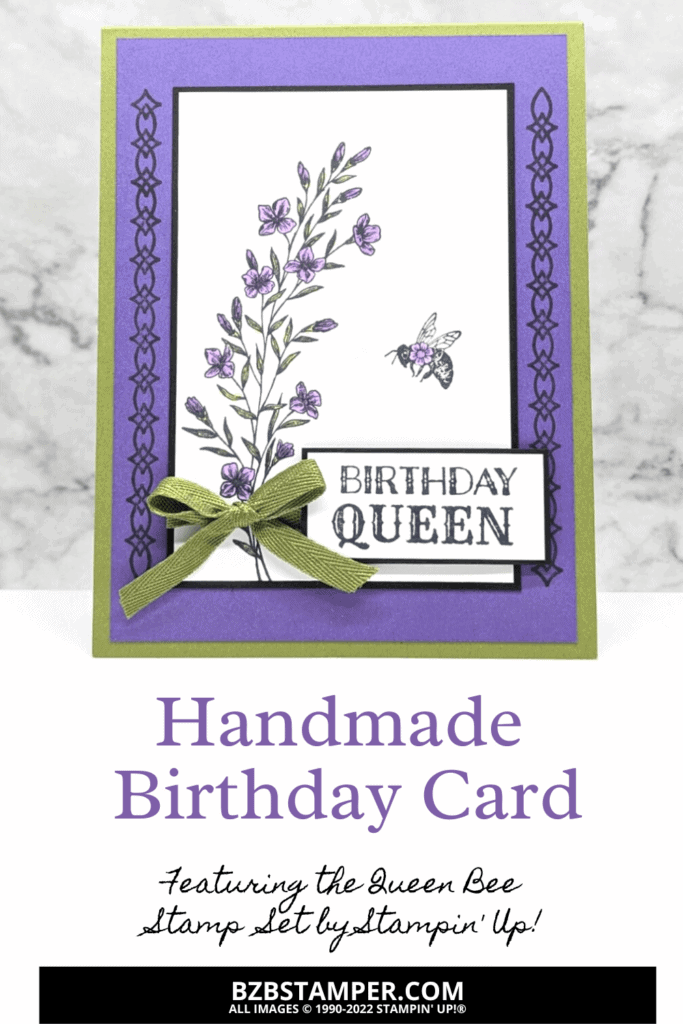
- Old Olive: 4-1/4″ x 11″, scored at 5-1/2″
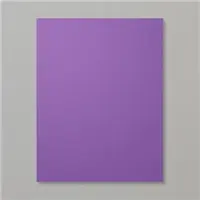
- Gorgeous Grape: 4″ x 5-1/4″
- Basic Black: 3″ x 4-1/4″ and 1″ x 2-1/8″
- Basic White:
- 4″ x 5-1/4″
- 2-7/8″ x 4-1/8″
- 7/8″ x 2″
Instructions
- Fold the Old Olive cardstock in half at the score line and burnish well with your Bone Folder.
- Adhere the 4″ x 5-1/4″ piece of Basic White cardstock inside the card.
- Stamp the long border stamp on both sides of the Gorgeous Grape paper using Black Memento ink. Adhere the Gorgeous Grape cardstock to the front of the card.
- Using the 2-7/8″ x 4-1/8″ Basic White cardstock, stamp the floral image on the left side of the cardstock using Black Memento ink. Stamp the small bee to the right of the floral image using the same ink.
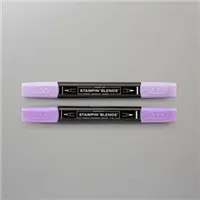
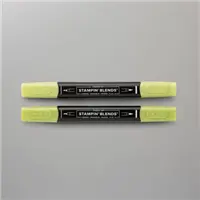
- Color the flowers on the floral image and bee using the Highland Heather Blends. Color in the leaves using the Light Granny Apple Blend.
- Adhere the White cardstock to the Black cardstock mat and adhere to the front of the card.
- Stamp the sentiment onto the 7/8″ x 2″ Basic White cardstock using Black Memento ink. Adhere to the 1/8″ large Basic Black mat and then adhere to the card using Stampin’ Dimensionals.
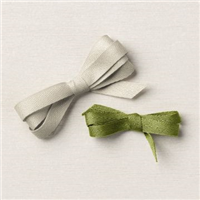
- Tie a bow using the Old Olive Twill Ribbon and adhere to the left of the sentiment tag using a Glue Dot to finish.
Supplies Used in this Project
Pin It!
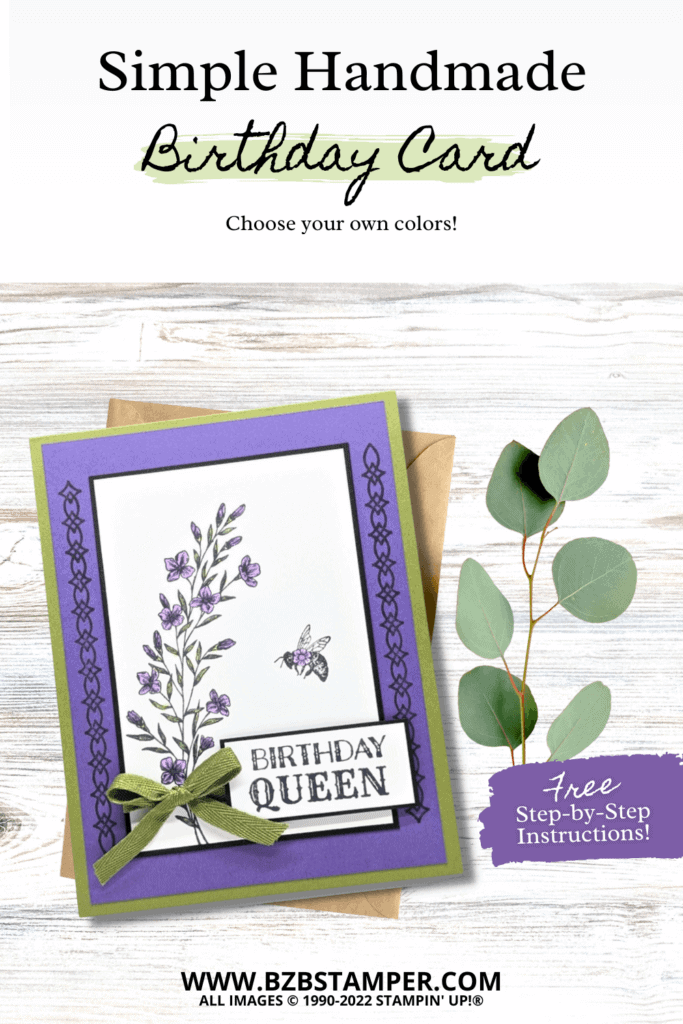
Now it’s your turn to make this project! Pin this to your favorite cardmaking Pinterest Board so you can find it quickly!
Thank you so much for stopping by today. I hope you are inspired to create today, whether it is this simple and cute handmade card or another cardmaking project. My goal is to help you carve out some creative joy! If you’d like more detailed directions on how to make this card, feel free to email me. Keep checking back for more projects.


