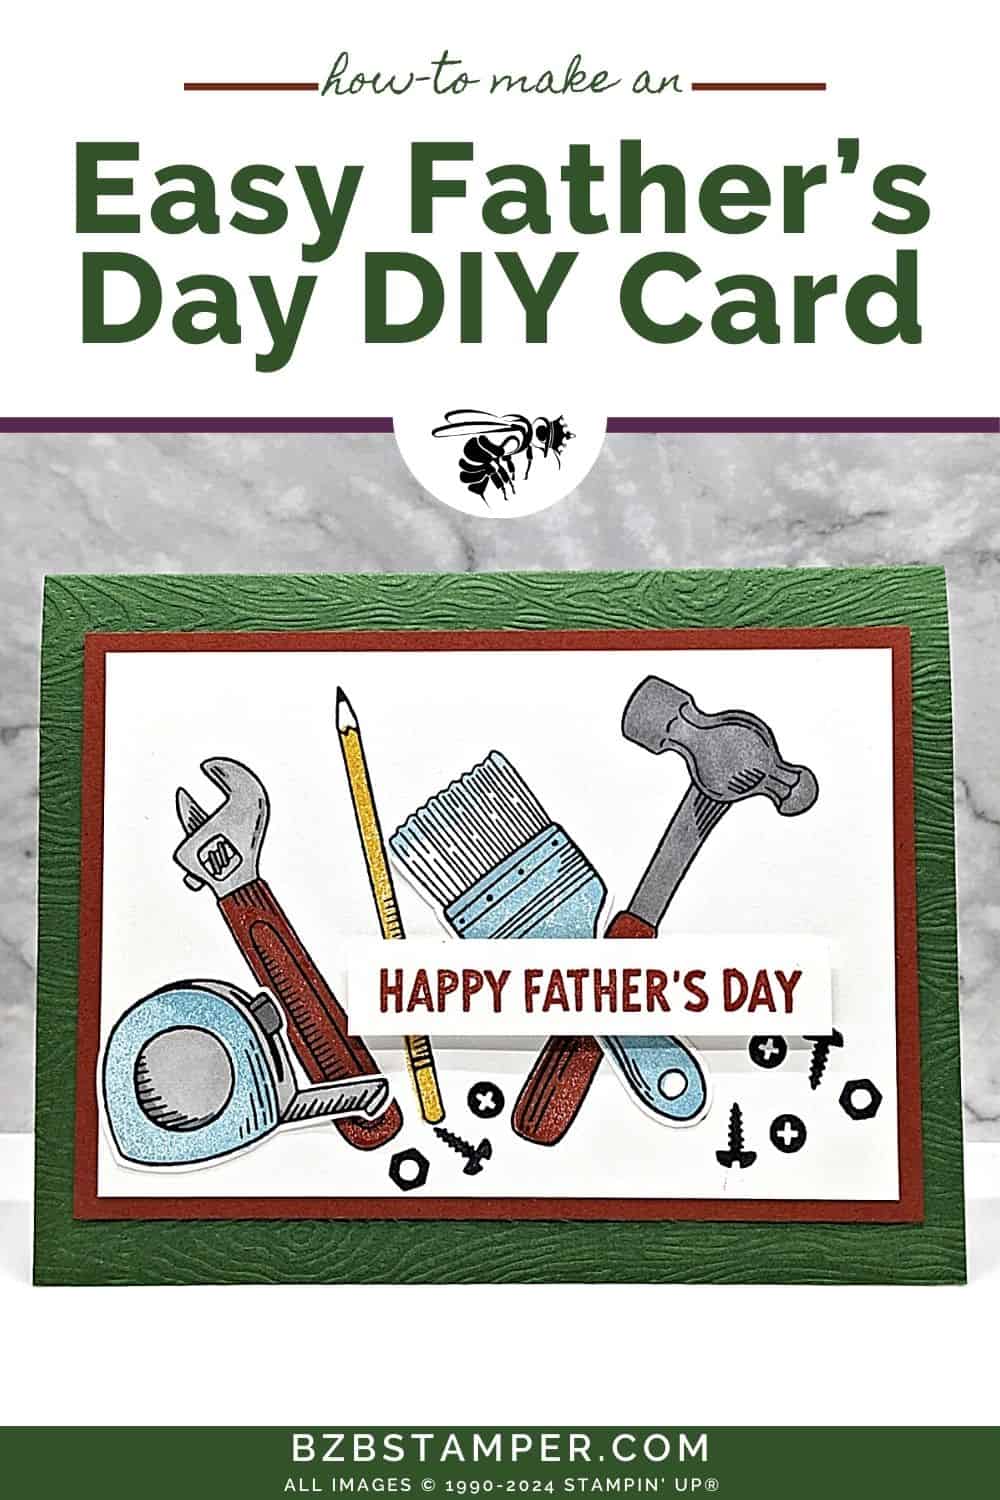
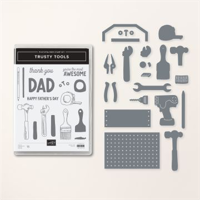
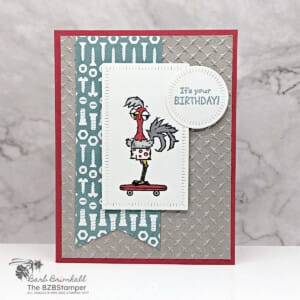
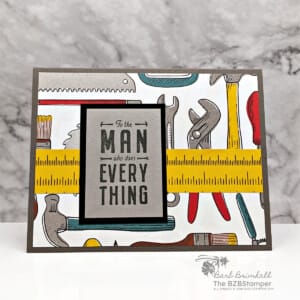
Celebrate the favorite dad in your life with this quick and easy Father’s Day Card made with the Trusty Tools Bundle by Stampin’ Up! Father’s Day is a perfect opportunity to show appreciation to your dad and this Bundle will help you craft something that truly speaks to his heart.
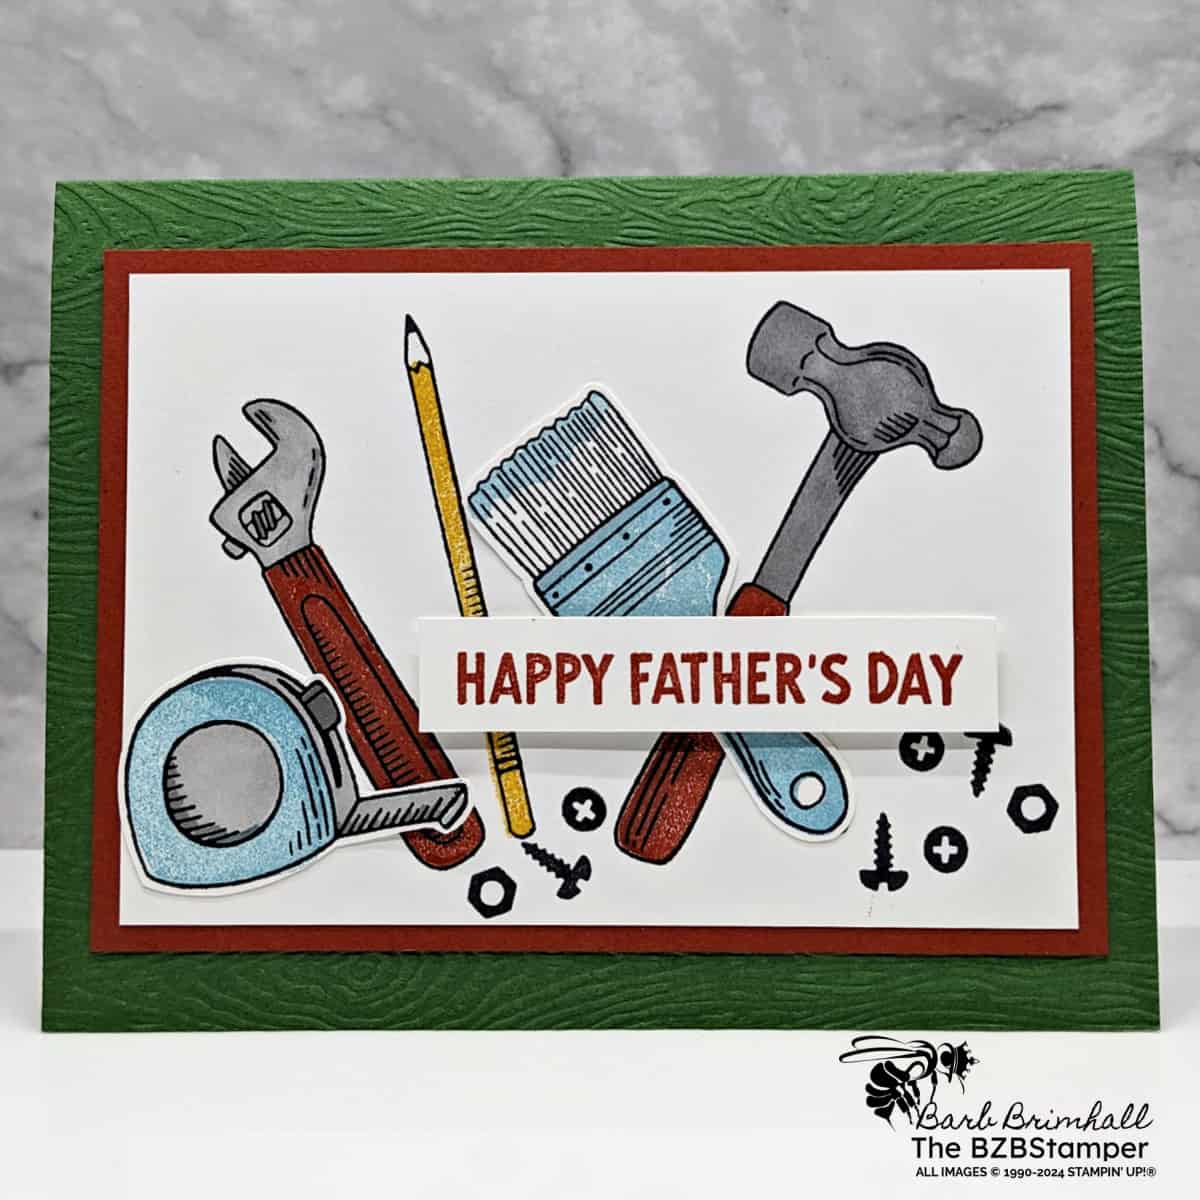
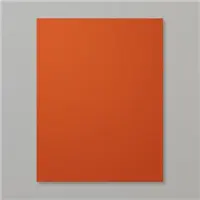
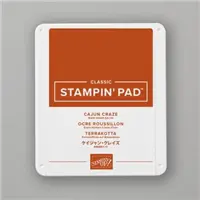
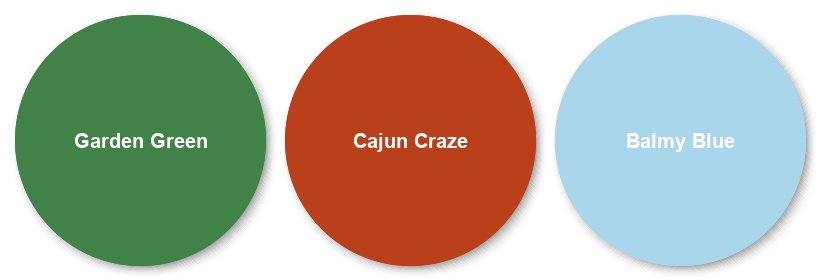
For this card, I wanted to use standard masculine colors: Garden Green, Cajun Craze, and then I threw in some Balmy Blue for a pop of whimsy. If you’d prefer something a bit more traditional, check out my Color Combination Library which will provide you with lots of color inspiration.
The Trusty Tools Bundle, featuring both the Stamp Set and Dies, offers endless possibilities to create memorable, tool-themed Father’s Day cards. Whether it’s for your dad, grandfather, or a father figure, these cards will surely touch their hearts.
How To Make This Card
Project Skill Level: Worker Bee
Worker Bee projects are designed for the crafter who has a bit more time and enjoys creating a handmade card that features a technique or tool. In many cases, a Stampin’ Cut & Emboss Machine is required for die-cutting and/or embossing.
Cardstock Measurements:
- Garden Green Cardstock: 5-1/2” x 8-1/2”, scored at 4-1/4”
- Basic White Cardstock: 4” x 5-1/4”
- Cajun Craze Cardstock: 3-1/2” x 5”
- Basic White Cardstock: 3-1/4” x 4-3/4”
- Basic White Cardstock: 3” x 4”
- Basic White Cardstock: 1/2” x 2-3/4”


Grab your Free copy
Get 5 Bee-utiful Exclusive
Card Sketches in Your Inbox
Join our newsletter and receive a honey of a package of five quick & simple cards guaranteed to make your creativity buzz! Sign up now and let the goodness flow straight to your inbox!
Step-by-Step Instructions:
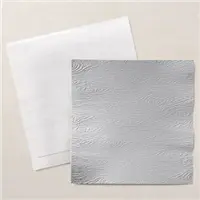
- Fold the Garden Green Cardstock in half at the scoreline. Open up and run only the front of the cardstock through the Cut & Emboss Machine using the Timber 3D Embossing Folder.
- Adhere the 4” x 5-1/4” piece of Basic White cardstock inside the card.
- Using the 3-1/4” x 4-3/4” piece of Basic White cardstock, stamp the wrench, pencil, and hammer onto the cardstock using Black Memento ink. Stamp the nuts & bolts around the bottom of the pencil and hammer. (See sample photo for placement.)
- Using the 3” x 4” piece of Basic White cardstock, stamp the tape measure and paintbrush using the Black Memento ink pad. Stamp the inside of the paintbrush, the “paint” on the paintbrush bristles, and the inside of the tape measure using Balmy Blue ink.
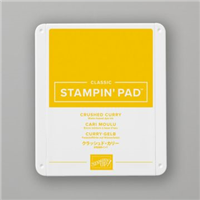
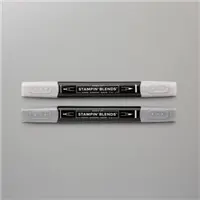
- Using the Cajun Craze ink pad, stamp the “handles” onto the images. Using the Crushed Curry ink pad, stamp the inside of the pencil. Use the Smoky Slate Blends to color in the metal sections of all the tools.
- Adhere the 3-1/4” x 4-3/4” piece of Basic White cardstock, adhere to the Cajun Craze cardstock and adhere to the front of the card.
- Using the 3” x 4” piece of Basic White cardstock, either fussy cut out the tape measure and paintbrush *or* run through the Cut & Emboss Machine and cut out using the Dies from the Bundle. Adhere the 2 tools to the card front as shown in the sample.
- Using the 1/2” strip of Basic White cardstock, stamp the sentiment using Cajun Craze ink. Adhere to the card front using Stampin’ Dimensionals to finish.
A Tip from Barb
Thanks to the fact that this is a Two-Step Stamping Stamp Set, you can add a lot of color to this card quickly and easily. If you don’t have the coordinating Dies, the images are fairly easy to cut out using your scissors. And if you don’t have a Cut & Emboss Machine or the Timber 3D Embossing Folder, simply leave that off of your main card base.
Thank you so much for stopping by! I hope you are inspired to make simple handmade cards for friends this week! If you’d like more detailed directions on how to make this card, feel free to email me. Give this papercrafting tutorial a try 🙂 Check back soon for more card making ideas!

Don’t forget to pin this for later!
