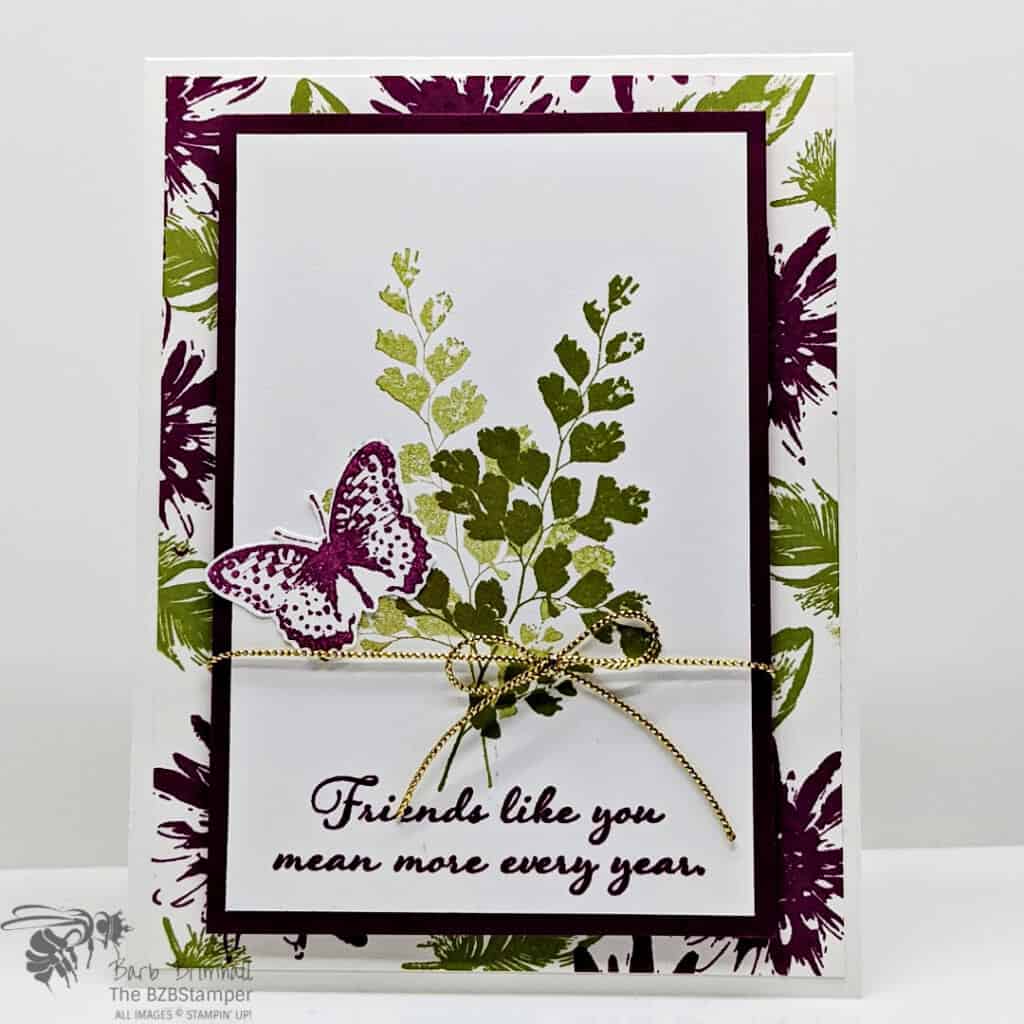
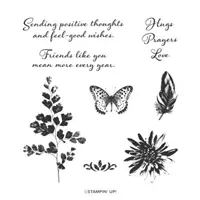
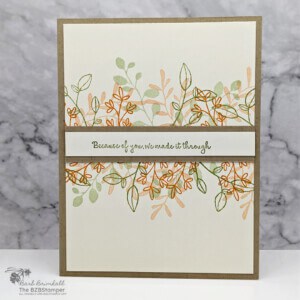
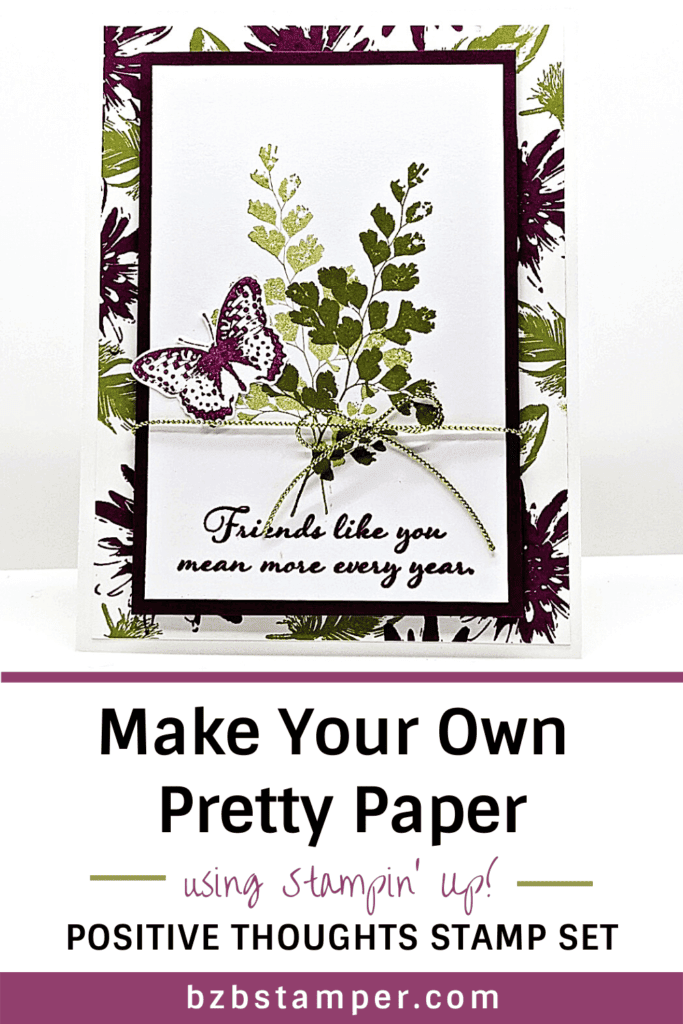
Make your own pretty paper for handmade cards using the Positive Thoughts Stamp Set by Stampin’ Up! Positive thoughts are exactly what you get in this set. Use the images and phrases in this set to create a bouquet of affirmation for someone you love.
I just love how this card turned out! The Positive Thoughts stamp set was the true focal point of this card. I used it not only as a sentiment focal point, but I also created my own “background paper” using only stamps and ink. Now that’s what I call versatile!
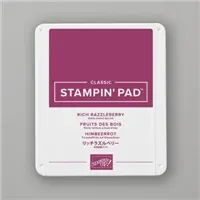
For the Color Combination, I went with 2 of my favorite colors – Rich Razzlebery and Old Olive, but and color combination would work on this card! You can find complete instructions on how to make this card below.
Supplies Used on this Project
Project Measurements
- Whisper White Cardstock:
- 5-1/2” x 8-1/2, scored at 4-1/4”
- 4” x 5-1/4”
- 3” x 4-1/2”
- 2” x 2” scrap
- Rich Razzleberry Cardstock: 3-1/4” x 4-3/4”
Project Instructions
1. Fold the Basic White cardstock in half at the score line to create your base card.
2. Using the 4” x 5-1/4” Basic White Mat, randomly stamp the flower image using the Rich Razzleberry ink and the feather image using Old Olive ink to create a background. Adhere to the base card.
3. Stamp the sentiment at the bottom of the 3” x 4-1/2” Basic White cardstock mat using Rich Razzleberry ink.
4. Ink up the large fern stamp using Old Olive ink. Stamp above the sentiment at a slight angle, then stamp again – without reinking – slightly to the left.
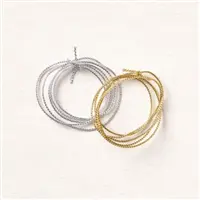
5. Adhere White mat to the Rich Razzleberry mat. Using about 12” of Gold Trim, tie around the image mat and tie into a bow. Adhere to the base card using Stampin’ Dimensionals.
6. Using the 2” scrap of Basic White cardstock, ink up the butterfly, stamp off once on your scrap paper and stamp again onto the scrap of white cardstock.
7. Fussy cut out using your Paper Snip Scissors and adhere to the base as desired to finish.

Pin It
Go ahead and pin this image in your “favorites” board so you can find this when you need it!
- Get a Free Tutorial Every Week!
- Shop 24/7 in your PJ’s
- Queen Bee Rewards – Earn FREE Stamps!
- View the 2024-2025 Annual Catalog
- View NEW Online Products
- Monthly Crafting Kit
Thanks so much for stopping by today! Be sure to give this card idea a try and mail it to a friend who is celebrating something! It’s so fun to make a card but it’s even more fun to send! #makeacardsendacard


