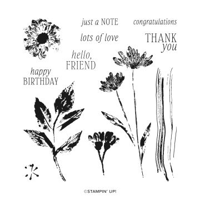
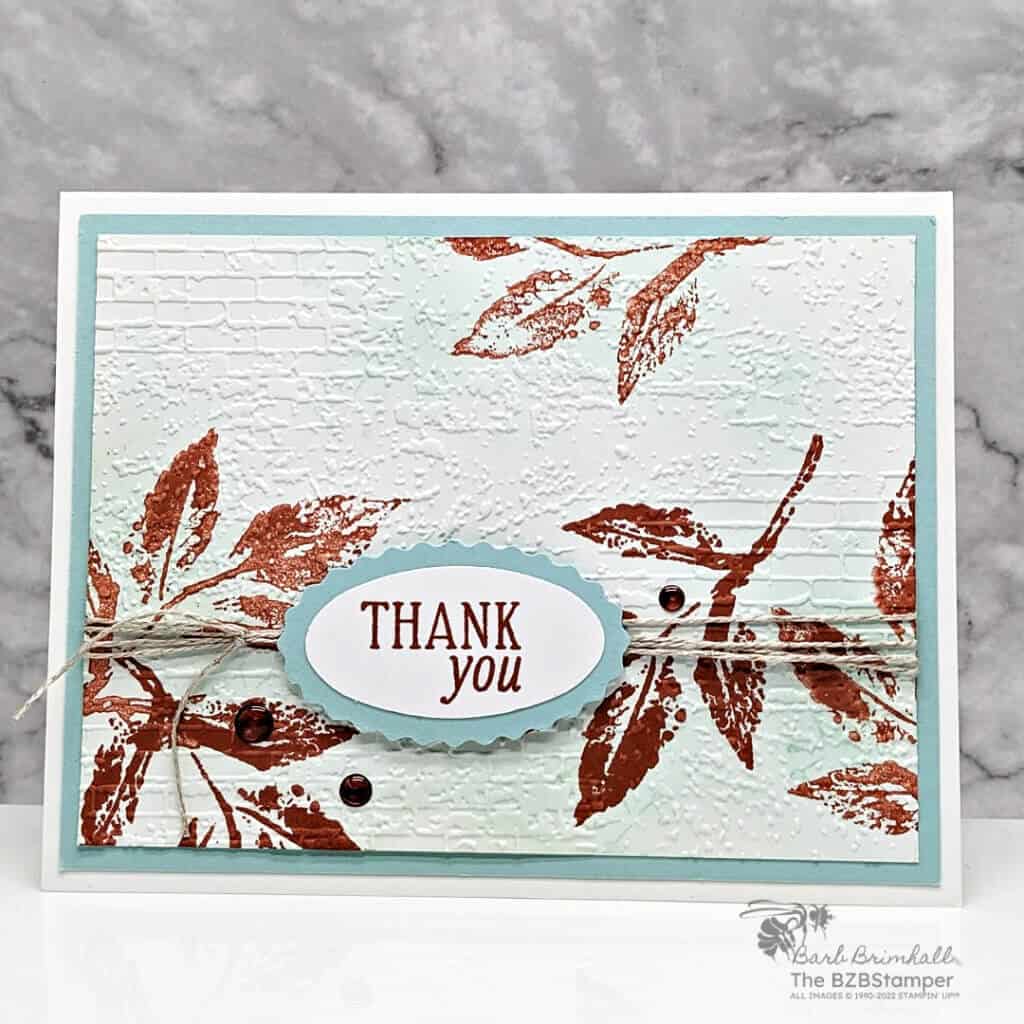
Elevate your papercrafting game with this elegant Thank You card using the Ink and Tiled Stamp Set by Stampin’ Up! This gorgeous stamp set is designed to bring a touch of nature and elegance to your artistic endeavors. With its breathtaking botanical motifs and pressed look, the Inked & Tiled Stamp Set opens up a world of possibilities for delicate and captivating designs. Whether you’re a seasoned crafter or just starting your creative journey, this set is a must-have for your collection. Join us as we explore the enchanting features and endless inspiration that the Inked & Tiled Stamp Set has to offer.
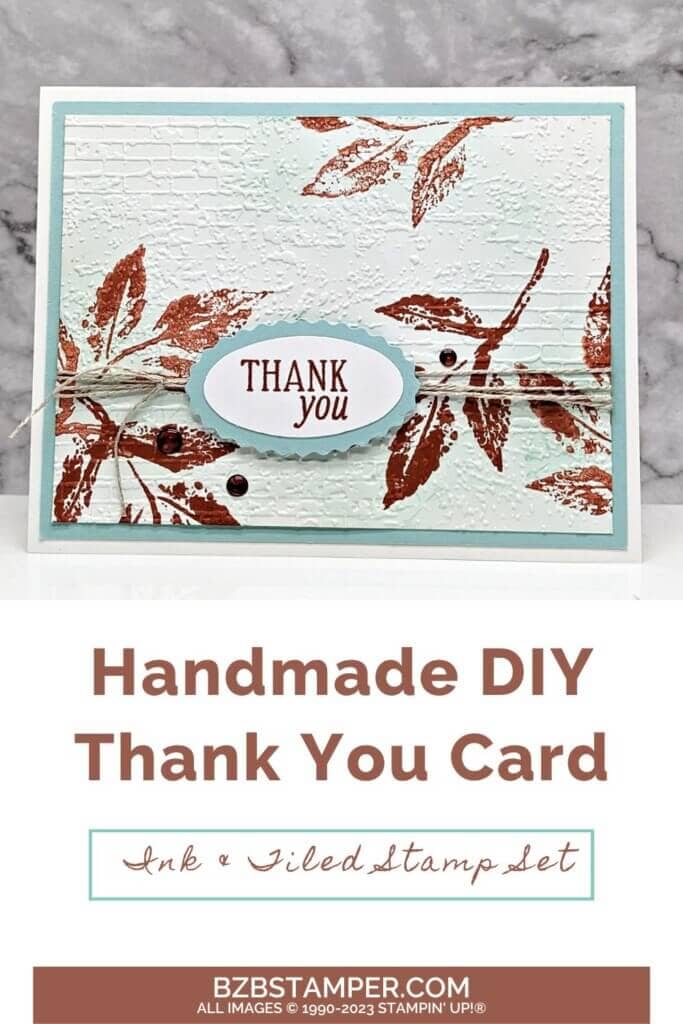
View more stamped samples & inspiration here
Project Measurements
- Basic White: 5-1/2″ x 8-1/2″, scored at 4-1/4″
- Pool Party: 4″ x 5-1/4″ and scrap for punching
- Basic White: 3-3/4″ x 5″ and scrap for punching
Instructions
- Fold the Basic White cardstock in half at the score line and burnish well with the Bone Folder to create your card base.
- Adhere the Pool Party cardstock to the front of the card.
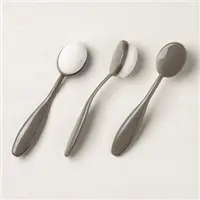
- Using the 3-3/4″ x 5″ piece of Basic White cardstock, use the Blending Brush to lightly sponge Pool Party ink all over the cardstock, leaving some areas lighter than others.
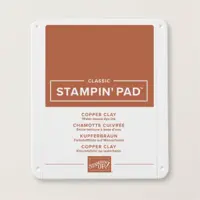
- Using the Copper Clay ink pad, stamp the large leaf from the stamp set randomly over the cardstock, leaving some open space.
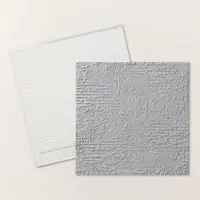
- Run the cardstock through the Cut & Emboss Machine using the Exposed Brick 3D Embossing Folder.
- Wrap the Linen Thread around the lower portion of the card 3 times and tie into a knot on the left side. Adhere the stamped & embossed cardstock to the front of the card.
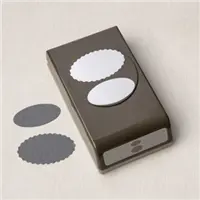
- Using the scrap of Basic White cardstock, stamp the sentiment onto the cardstock using Copper Clay ink and punch out using the smaller oval of the Double Oval Punch.
- Punch out the larger scallop oval from the Pool Party scrap using the Double Oval Punch.
- Adhere the sentiment Oval to the Pool Party oval and adhere to the cardstock using Stampin’ Dimensionals.
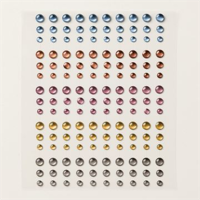
- To finish, add 2-3 of the Copper Clay In Color Dots in various sizes as desired.
Supplies Used in this Project
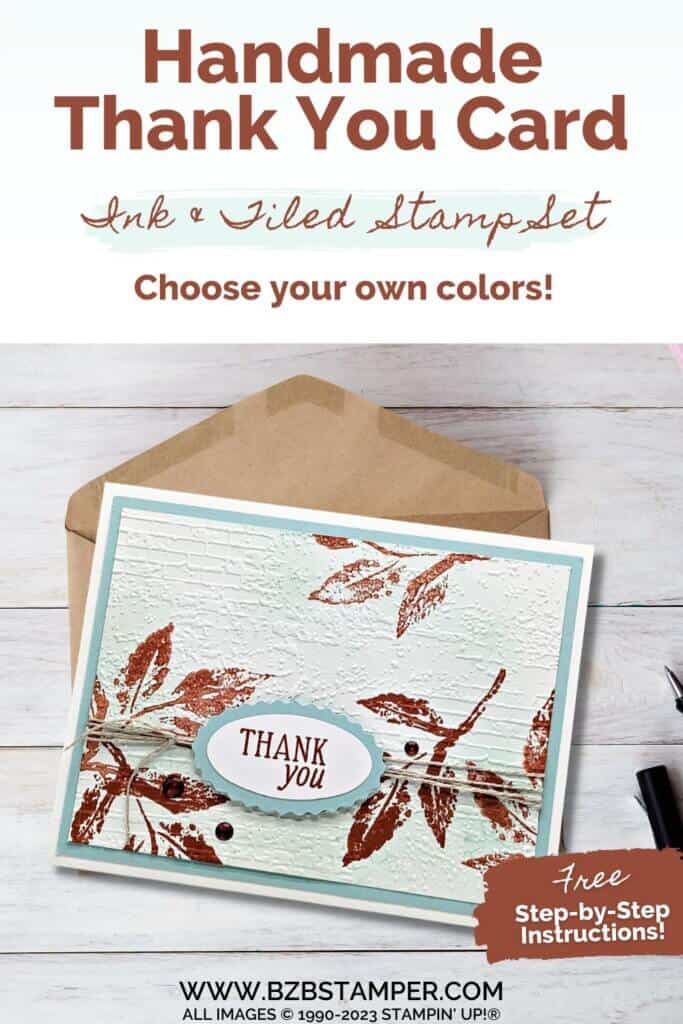
Pin It!
Now it’s your turn to make this project! Pin this to your favorite cardmaking Pinterest Board so you can find it quickly!
Thank you so much for stopping by today. I hope you are inspired to create today, whether it is this simple and cute handmade card or another cardmaking project. My goal is to help you carve out some creative joy! If you’d like more detailed directions on how to make this card, feel free to email me. Keep checking back for more projects.


