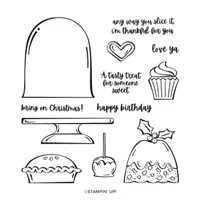
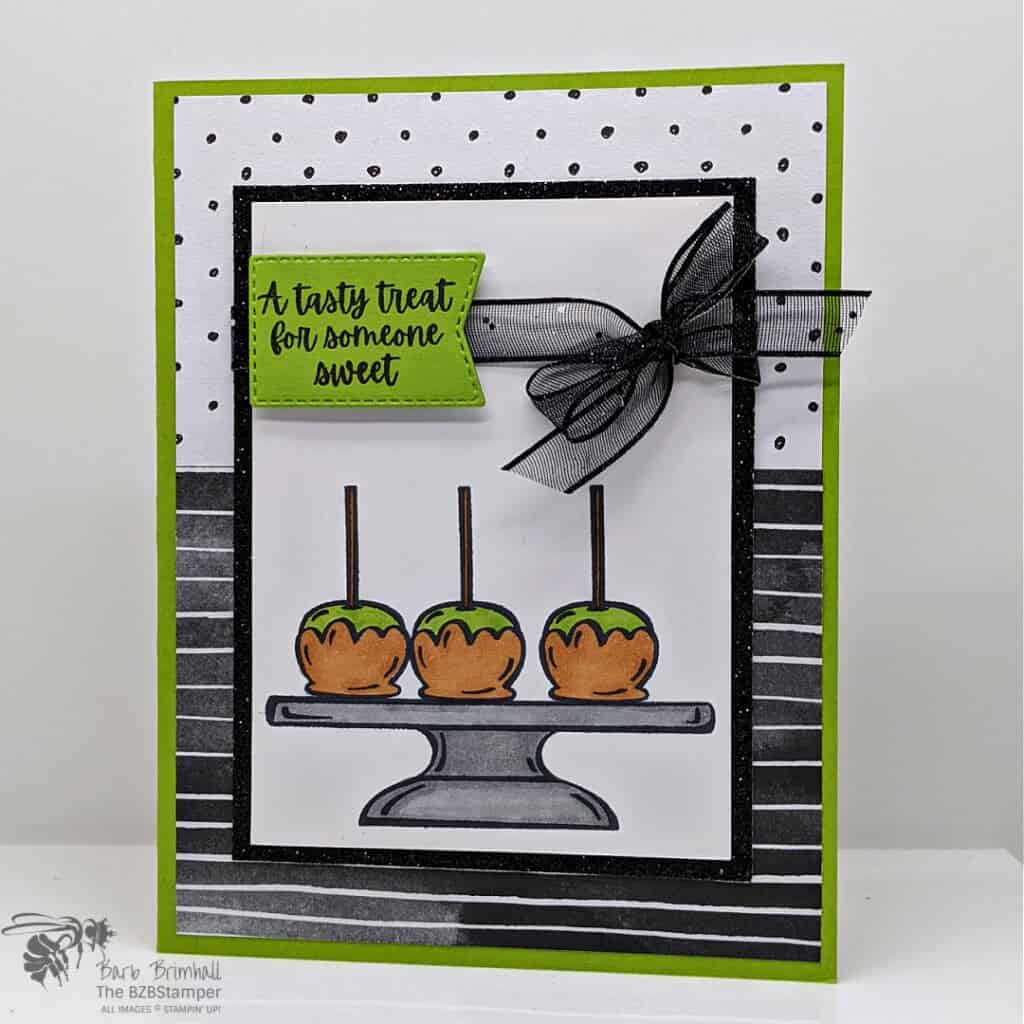
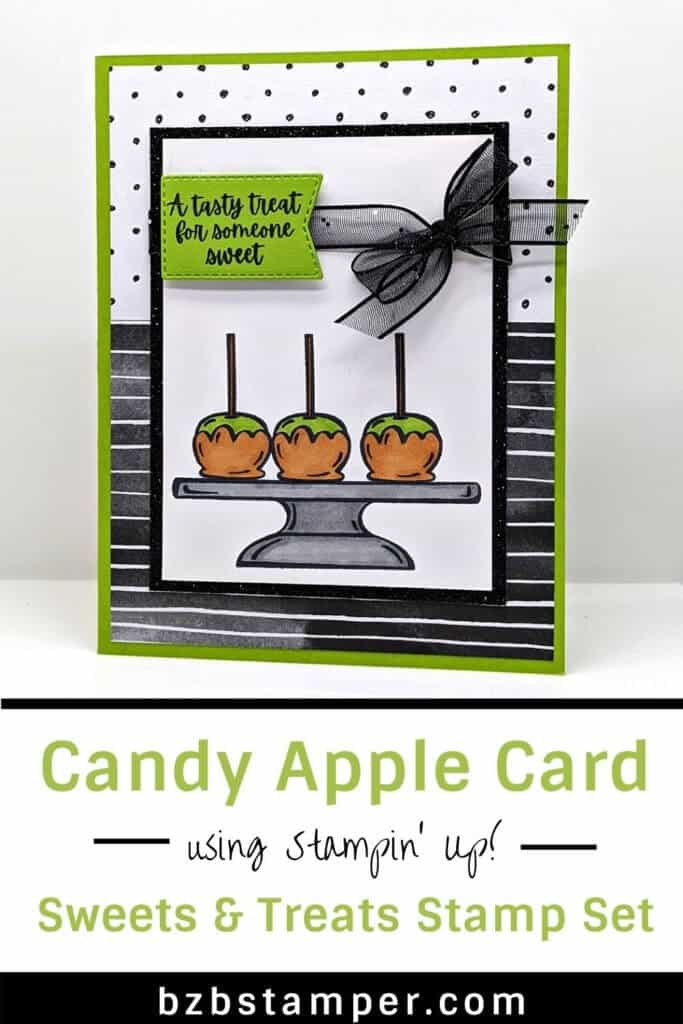
How cute is this easy Candy Apple card using the Sweets and Treats Stamp Set by Stampin’ Up? It looks difficult to make but thanks to some pretty paper and watercolor pencils, it comes together really quickly!
Crafting is even sweeter when you use the Sweets & Treats Stamp Set. The sentiments are perfect for using as tags on items such as bags & boxes, and of course it makes a great card as well!
For this quick Fall card, I decided to go with the Caramel Apples – they were so easy to color in using our Stampin’ Blends markers. If you’re not familiar with our Stampin’ Blends, they are alcohol markers that come in a package of 2 for an amazing color blending experience. By using both the Light & Dark color, you can create highlights and shadows for a 3D coloring effect.
I also love the color combination I used on this card:
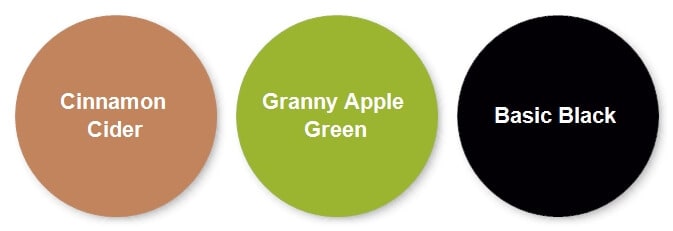
This would be a great combination to use on just about any Fall card, don’t ya think? If you’d like to re-create this card, don’t forget to download the Tutorial under the instructions – it has a picture of the project, supplies and measurements as well!
Supplies Used on this Project:
Project Measurements
- Granny Apple Green: 5-1/2” x 8-1/2” scored at 4-1/4” and 2” x 2” scrap for die-cutting
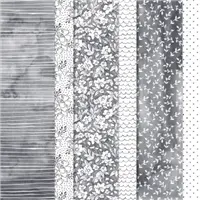
- Beautifully Penned Paper: 3” x 4” Striped Paper and 2-1/2” x 4” Dotted Paper
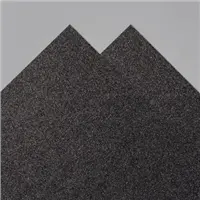
- Black Glitter Paper: 3-1/4” x 5-1/4”
- Basic White: 4” x 5-1/2” (inside base card) and 3” x 5”
Project Instructions
1. Fold the Granny Apple Green cardstock in half at the score line and burnish well with your Bone Folder.
2. Adhere the 4” x 5-1/4” Basic White cardstock inside your card.
3. Adhere the 2-1/2” x 4” Dotted Paper to the top of the base card, leaving a 1/8” border at top and on sides.
4. Adhere the 3” x 4” Striped Paper to the bottom of the base card, leaving a 1/8” border at the bottom and on sides.
5. Using the 3” x 5” Basic White cardstock, stamp the cake platter at the bottom of the cardstock using Black Memento ink. Stamp the candied apple onto the platform 3 times using the same ink.
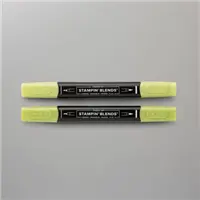
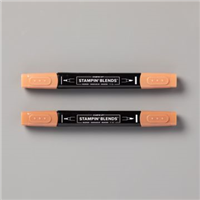
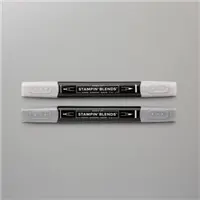
6. Color in the “apple” using the Dark Granny Apple Green Blend. Color in the “caramel” using the Light Cinnamon Cider Blend. Color in the stick using the Dark Cinnamon Cider Blend. Use the Dark Smoky Slate Blend to color in the cake platter.
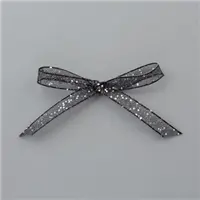
7. Adhere the White cardstock to the Black Glitter paper using Liquid Adhesive – carefully set it aside (the glue will “slip”) until set – about 1 minute. After the glue has set, wrap the Black Glittered Ribbon around the top of the cardstock and tie into a bow on the right side.
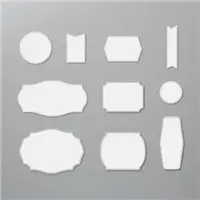
8. Using the scrap of Granny Apple Green cardstock, stamp the sentiment using Black Memento ink and cut out using the Cut & Emboss Machine and the small Tasteful Labels Die. Adhere the sentiment tag to the left side of the cardstock, covering the Ribbon, using Stampin’ Dimensionals.
9. Adhere to the card base to finish.

Pin It
Like this project? Be sure to pin it so you can easily find it again. It will take you right back here to all the details of the card.
- Get a Free Tutorial Every Week!
- Shop 24/7 in your PJ’s
- Queen Bee Rewards – Earn FREE Stamps!
- View the 2024-2025 Annual Catalog
- View NEW Online Products
- Monthly Crafting Kit
Thank you so much for stopping by and checking out this papercrafting tutorial. I hope you are inspired to create and send cards. I love sharing how to make cards here on the BZBStamper blog and I can’t thank you enough for all of your support!


