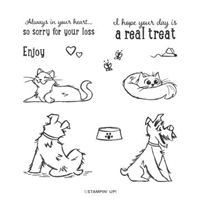
Make someone’s day with this cute Pampered Pets handmade greeting card. With that adorable puppy smile and die-cut paw prints, this card is sure to make your favorite pet owner smile!
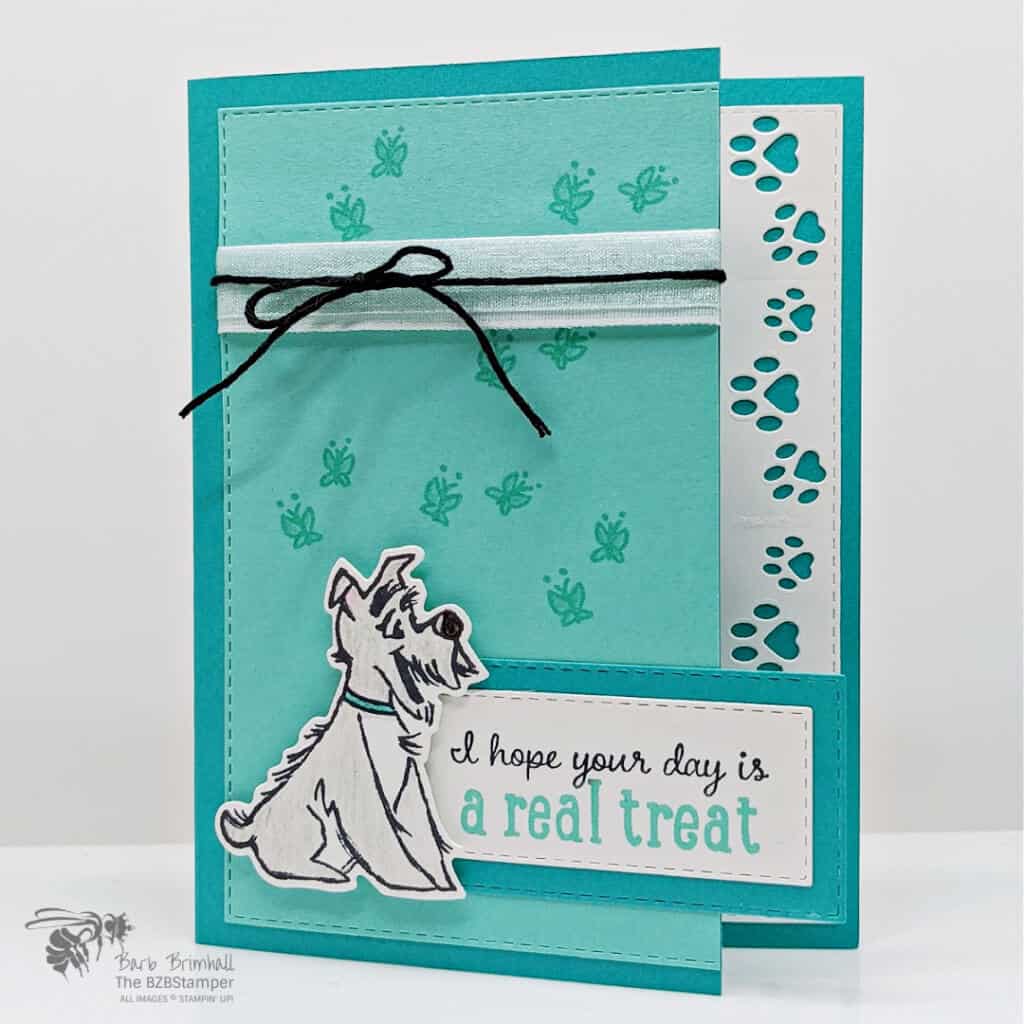
I’m in love with this stamp set. You can dress it up, or you can dress it down, but it’s always perfect for the pet lover in your life (and I have many!)
This is definitely not a simple card, but thanks to the Stampin’ Up! Cut & Emboss Machine, at least it’s not difficult. So while there’s a lot of cutting involved, I’m happy to say that almost all of it is die-cut.
If you want to give this card a try (and I really hope you do!), I recommend you print out the Tutorial via the link below. That way, you’ll have your easy reference guide of what you need to die-cut and what goes where. It’s a really fun card and I know whoever gets one of these cards from you will love it! Happy Creating!
Supplies Used on this Project
Project Measurements
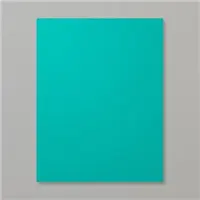
- Bermuda Bay Cardstock:
- 5-1/2” x 8-1/2, scored at 4-1/4”
- 2” x 4” for die-cutting
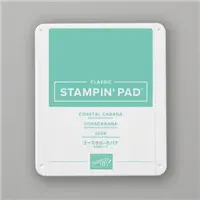
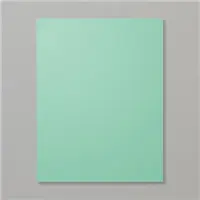
- Coastal Cabana Cardstock: 4-1/4” x 5-1/2” for die-cutting
- Basic White: 5-1/2” x 8-1/2” for die-cutting
Project Instructions
1. Fold the Bermuda Bay cardstock in half at the score line to create your base card.
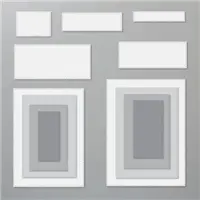
2. Using the Cut & Emboss Machine and the 3-3/4” x 5-1/8” Rectangle Stitched Die, cut out a stitched rectangle from the Coastal Cabana and Basic White cardstock.
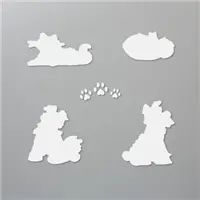
3. Using the Basic White Stitched Rectangle mat, run the Cut & Emboss Machine again, this time using the paws die from the Pets Dies to create a border on the right side of the cardstock. (tip: start in the middle and work out.) Adhere the white mat to the inside of the card base.
4. Line up the Coastal Cabana cardstock so that it’s centered on the left and top. (tip: use a small amount of glue on the right side to hold the card stocks together for the next step.) Using your Paper Trimmer, cut off 1” from the right side of the top of your base card. Carefully remove the Coastal Cabana cardstock if you glued it down.
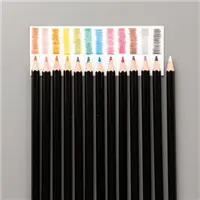
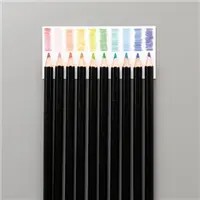
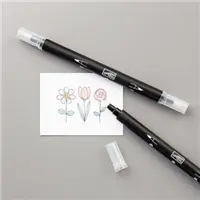
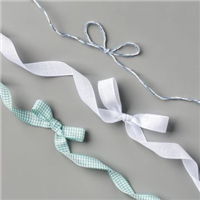
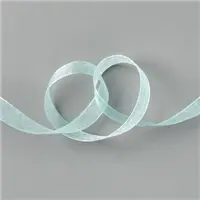
5. Stamp the butterflies at the top of the Coastal Cabana cardstock using Coastal Cabana ink. Color in using the Bermuda Bay Watercolor Pencil and blend using the Wink of Stella Glitter Brush. Wrap about 4” of the White Flowers for Every Season Ribbon around the Coastal Cabana cardstock, about 3/4” down from the top, and secure to back. Repeat with the Pool Party Ribbon, centering it onto the White Ribbon and securing to back. Finally, wrap about 10” of Black Baker’s Twine around the cardstock, centering over the other 2 ribbons, and tie into a bow.
6. Adhere the Coastal Cabana cardstock to the top of the base card, lining up on the right side.
7. Using the remaining scrap of Basic White Cardstock, stamp the puppy in Black ink. Color in the puppy using the Basic Gray Watercolor Pencil, the Black Watercolor Pencil on his nose and the Flirty Flamingo Watercolor Pencil on his ears. Blend using a Blender Pen. Color in dog collar using the Bermuda Bay Watercolor Pencil. Blend using the Wink of Stella Glitter Brush.
8. Stamp the sentiment onto the remaining Basic White cardstock scrap by inking the sentiment using Coastal Cabana ink & then carefully using the edge of the Black Memento ink pad to ink just the top part of the sentiment stamp. Huff on the stamp (your breath will re-moisten the ink) and stamp onto the scrap paper.
9. Cut out the puppy using the die from the Pets Dies and cut out the sentiment using the die from the Rectangle Stitched dies. Use the next size up die from the Rectangle Stitched Dies from the scrap of Bermuda Bay cardstock for a layer underneath the White sentiment rectangle.
10. Layer the White sentiment Stitched Rectangle onto the Bermuda Bay Stitched Rectangle and adhere to the base card using glue ONLY on the left side (you don’t want to glue your card shut!)
11. Adhere the Puppy to the base card, slightly overlapping the sentiment strip, using Stampin’ Dimensionals to finish.

Pin It
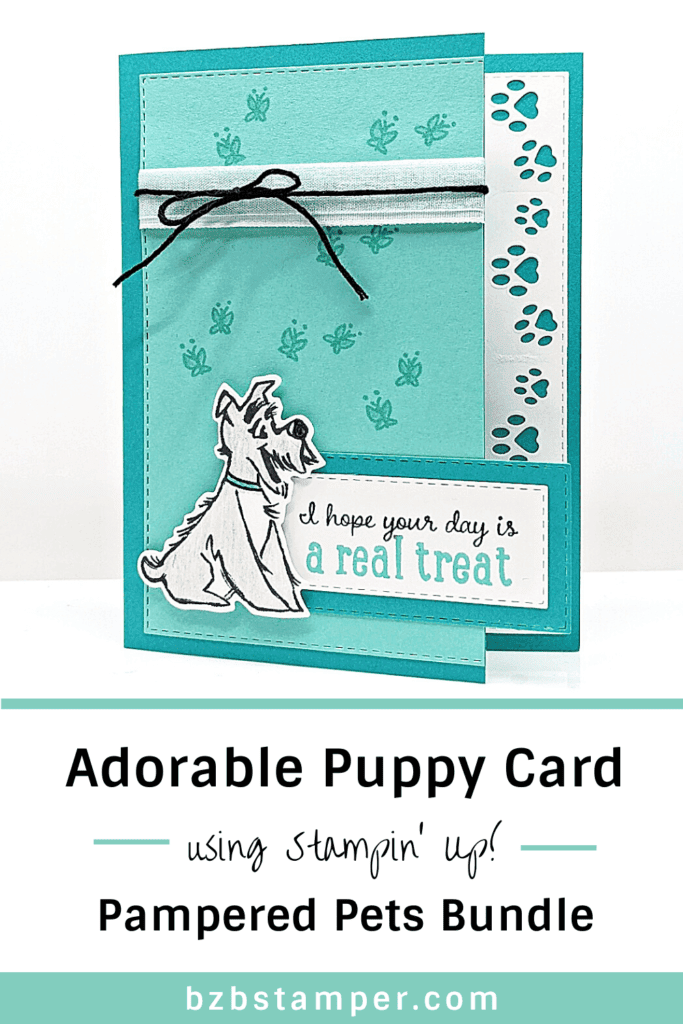
Here’s a handy pin for you to save to your board where you keep your quick and easy card ideas.
- Get a Free Tutorial Every Week!
- Shop 24/7 in your PJ’s
- Queen Bee Rewards – Earn FREE Stamps!
- View the 2024-2025 Annual Catalog
- View NEW Online Products
- Monthly Crafting Kit
Thanks for stopping by! I appreciate it every time you read a post, you share a project I have made,or you place an order – all of that helps support my small business and I appreciate you!


