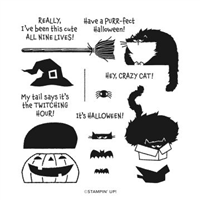
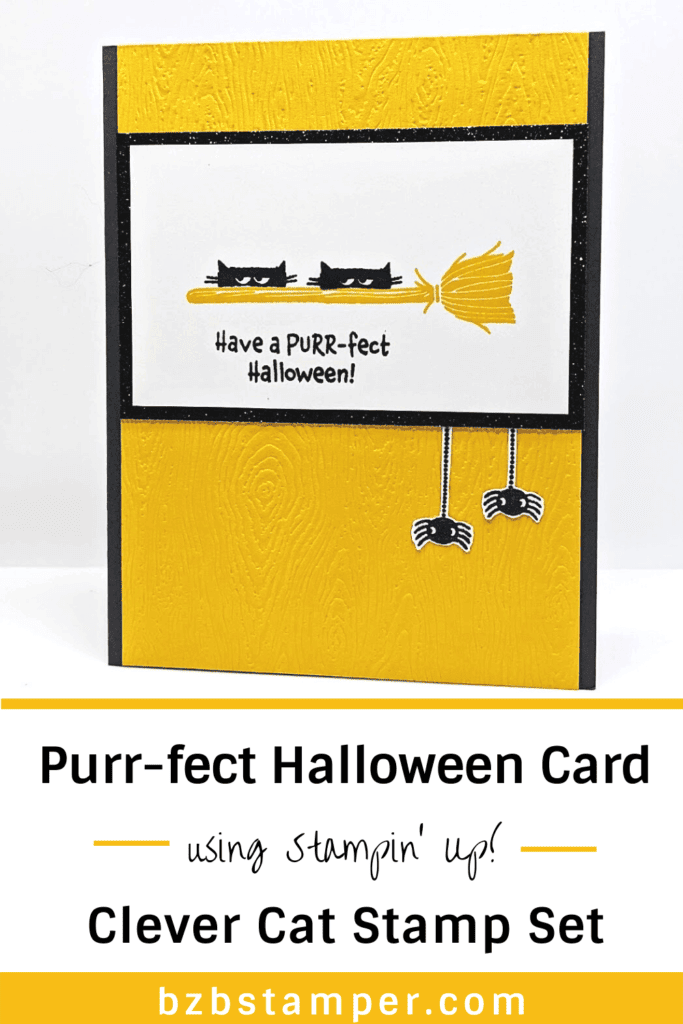
You’ll love how easy this cute Clever Cat card comes together. The Clever Cat stamp set from Stampin’ Up! is perfect for creating a fun Halloween scene that’s more cute than spooky!
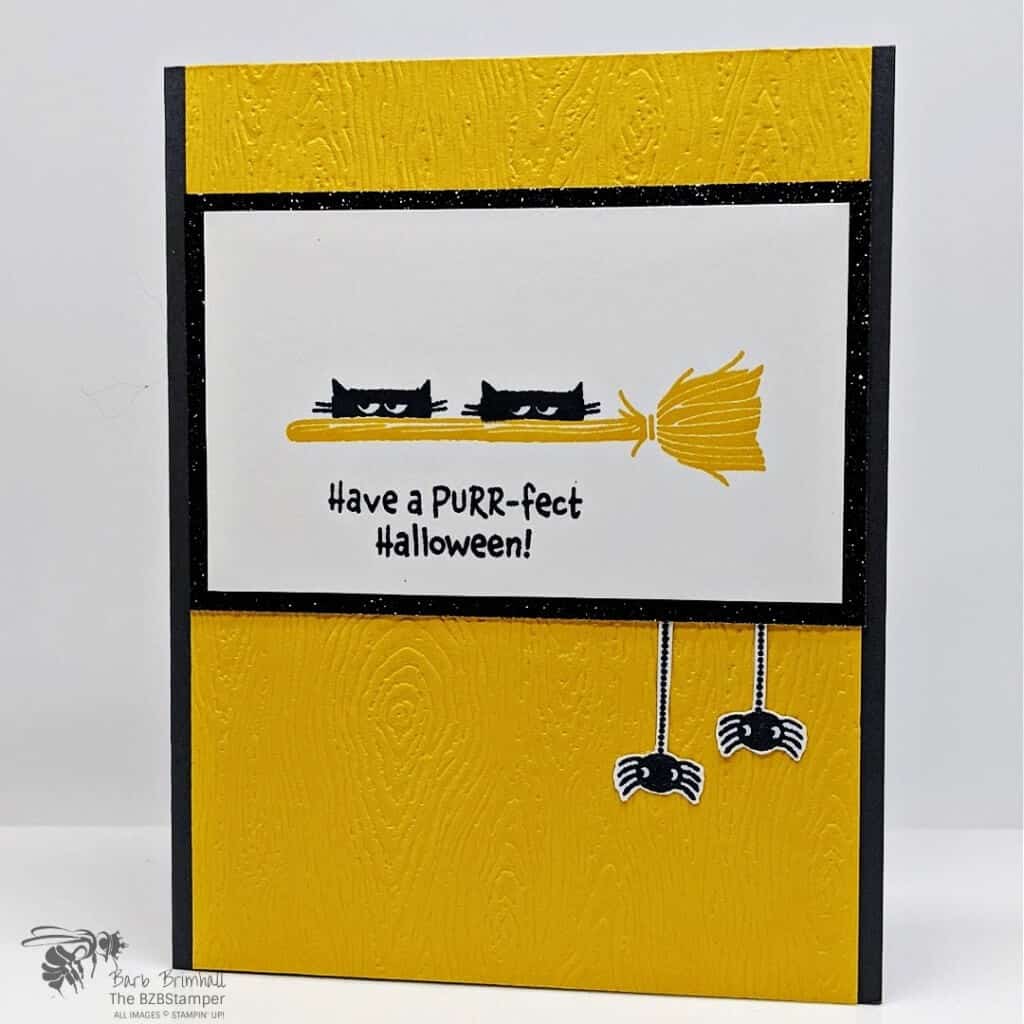
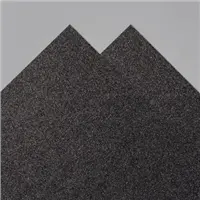
How cute is this Halloween card featuring the Clever Cats stamp set? To create this card in a hurry, I started out using Sketch #11 from my Card Sketch Library. Then, to step it up a bit, I used some Black Glitter paper behind the focal image to add a touch of sparkle and drama.
Other than cutting out the spiders, this is a super quick card that you can make in minutes! Give it a try!
Wanna see other cards made with this adorable stamp set? You can find them here.
Supplies Used on this Project
Project Measurements
- Basic Gray: 4-1/4” x 11”, scored at 5-1/2”
- Basic White: 4” x 5-1/4” and 2-1/4” x 2-3/4” and scrap for stamping spiders
- Crushed Curry: 4” x 5-1/2”
- Black Glitter Paper: 2-1/2” x 4”
Project Instructions
1. Fold the Basic Gray cardstock in half at the score line and burnish with Bone Folder for a good crease.
2. Adhere the 4” x 5-1/4” Basic White cardstock inside the card.
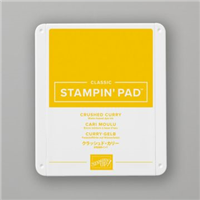
3. Using the 2-1/4” x 2-3/4” Basic White cardstock, stamp the broom in the center of the cardstock using Crushed Curry ink.
4. Stamp the “cat eye face” two times on the broom using Black Memento ink.
5. Stamp the sentiment below the broom using Black ink.
6. Adhere the White cardstock to the Black Glitter paper using Liquid Adhesive and set aside to dry. Tip: the white will “slide” on the Black Glitter Paper until it sets so handle carefully – ask me how I know! *Ü*
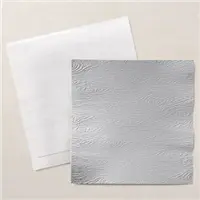
7. Using the Cut & Emboss Machine, run the Crushed Curry cardstock through the Machine using the Timber 3D Embossing Folder. Adhere to the center front of the card base.
8. Adhere the piece from Step #6 onto the base card.9. On the scrap of Basic White cardstock, stamp the spider with “string trail” two times. Highlight both spiders using your Wink of Stella Glitter Brush. Cut out the spiders using your Paper Snips scissors and adhere to the card using Multipurpose Liquid Glue so that they look like they’re hanging down from the Black Glitter Paper.

Pin It
Like this project? Be sure to pin it so you can easily find it again. It will take you right back here to all the details of the card.
- Get a Free Tutorial Every Week!
- Shop 24/7 in your PJ’s
- Queen Bee Rewards – Earn FREE Stamps!
- View the 2024-2025 Annual Catalog
- View NEW Online Products
- Monthly Crafting Kit
Thank you so much for stopping by today! I hope you are inspired to create and make your own Halloween cards. We are rapidly heading into Autumn and as you know, not only is it a fast moving time that goes by quickly, it’s also a crafter’s happy time of creating. Be sure to block off time to create a lot this Fall! See you soon with more projects.


