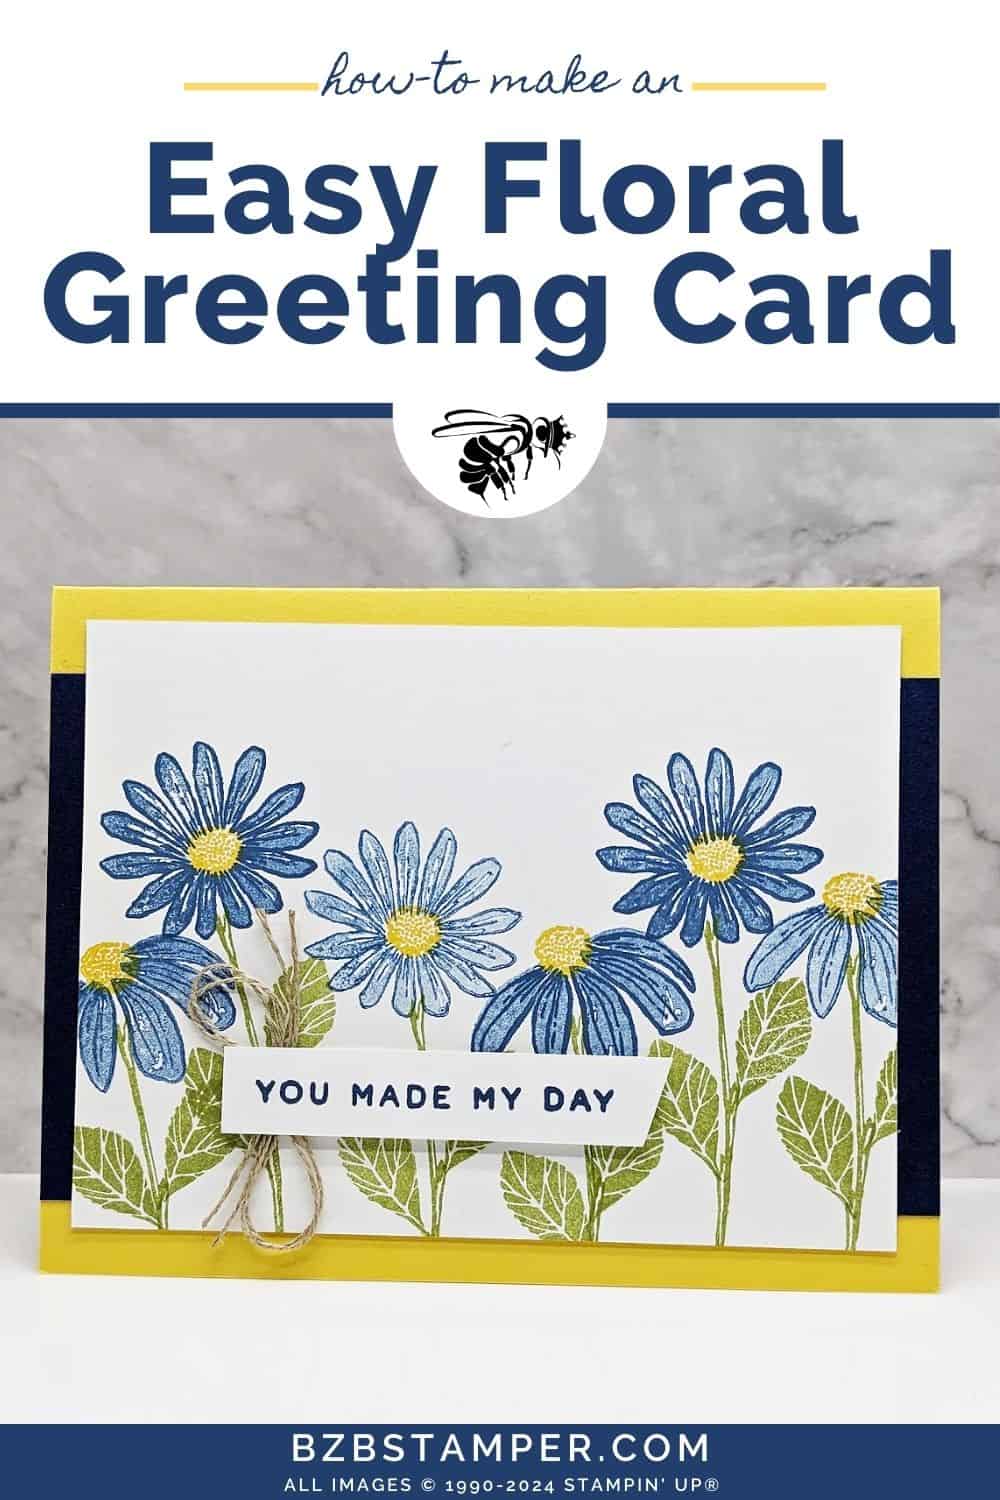
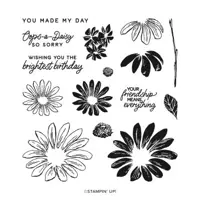
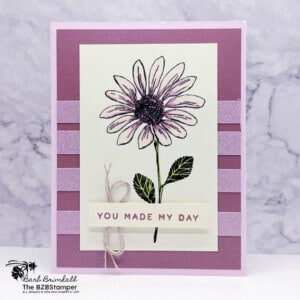
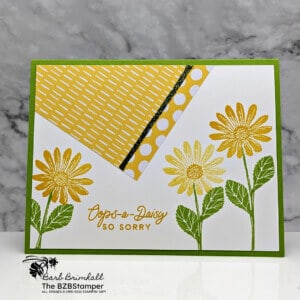
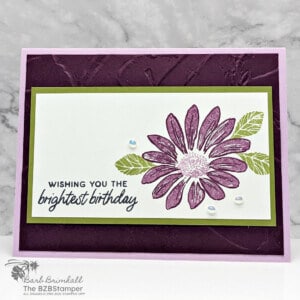
It’s easy to make this cheerful Daisies handmade card using the Cheerful Daisies Stamp Set by Stampin’ Up! Whether you stamp one daisy or an entire garden, you’ll love everything you can create with this set.
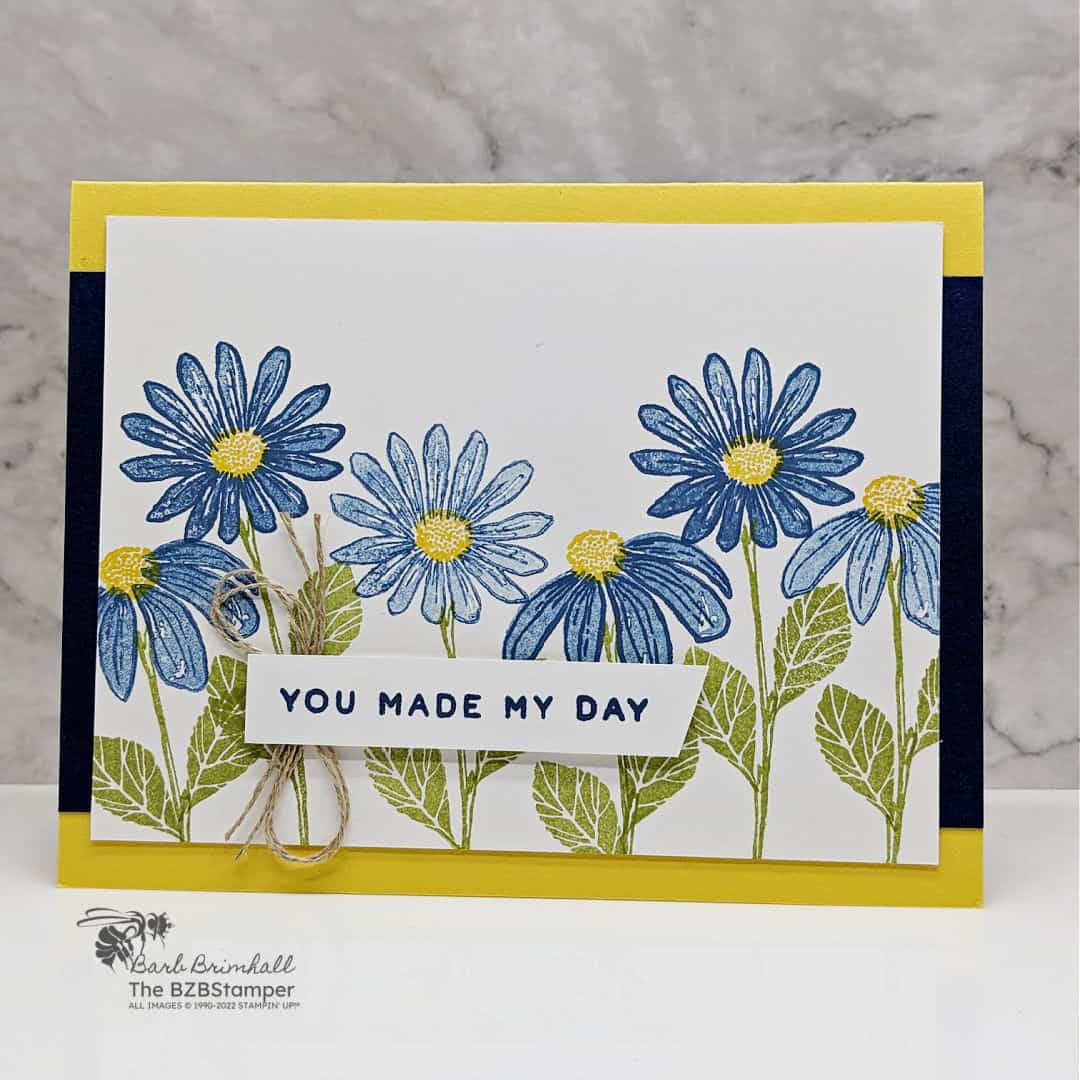
Do you like bold and simple stamping? Use the solid images, perfect for quick stamping in one color. Do you want to add detailed color? Use the open line-art images, perfect for watercoloring. Whichever you decide, this stamp set makes it simple to create.
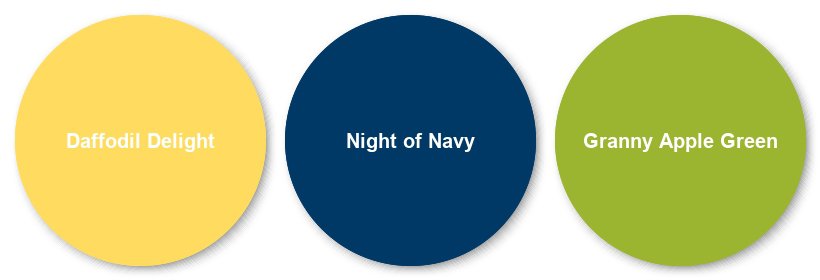
For this card, I went with a traditional color palette of Daffodil Delight, Granny Apple Green and Night of Navy. (If you prefer a softer color combination, make sure you check out my Color Combination Library.) This is a Two-Step Stamp Set, so the flowers, flower centers, leaves, and stems are all on separate stamps allowing you to create colorful flowers simply and easily.
Finally, finish off your design with any of the versatile sentiments included in the Stamp Set. Whether you need a Happy Birthday, Thanks, or Thinking of You, this set will provide variety of cards for many occasions. Let’s get stamping!
How To Make This Card
Project Skill Level: Busy Bee
Busy Bee projects are designed for the beginner or busy papercrafter. This is a basic cardmaking project that can be achieved by someone who has never made a handmade card before. You can view more Busy Bee cards here.
Cardstock Measurements:
- Daffodil Delight Cardstock: 5-1/2” x 8-1/2”, scored at 4-1/4”
- Basic White Cardstock: 4” x 5-1/4”
- Night of Navy Cardstock: 3-1/4” x 5-1/2”
- Basic White Cardstock: 3-3/4” x 5”
- Basic White Cardstock: 1/2” x 2-3/4”


Grab your Free copy
Get 5 Bee-utiful Exclusive
Card Sketches in Your Inbox
Join our newsletter and receive a honey of a package of five quick & simple cards guaranteed to make your creativity buzz! Sign up now and let the goodness flow straight to your inbox!
Step-by-Step Instructions:
- Fold the Daffodil Delight cardstock in half at the scoreline to create your base card. Adhere the 4” x 5-1/4” piece of Basic White cardstock inside your card.
- Adhere the Night of Navy cardstock onto the center of the Daffodil Delight Cardstock.
- Using the 3-3/4” x 5” piece of Basic White cardstock, stamp the outline of the half-daisy on the left side of the cardstock using Night of Navy ink. Stamp the full daisy above and to the right of this image using the same ink. Repeat as desired, using the card sample as a guide.
- Ink up the bold half-daisy image using Night of Navy ink. Stamp off on your scratch paper, then stamp inside the half-daisy outline image. Repeat until all daisy images are stamped with the bold stamp.
- Stamp the stems and leaves using Granny Apple Green ink.
- Stamp the circle/pistil inside each daisy using Daffodil Delight ink.
- Adhere the White cardstock onto the center of the card front.
- Using the 1/2” strip of Basic White cardstock, stamp the sentiment using Night of Navy ink. Cut the right side at an angle using scissors.
- Using the Linen Thread, tie into a large bow and adhere to the left side of the card. Adhere the sentiment strip over the center of bow using Stampin’ Dimensionals to finish.
A Tip from Barb
This is a great card sketch when you have stamps that create quick and easy focal point images when you stamp them in a repetitive pattern (in this case, the daisy flowers.) Bring in 2 to 3 colors, coordinate with your cardstock, and you’re ready to go! Not only is this a super simple card design, but it’s perfect when you need to create a lot of cards in a hurry! Happy Creating!
Thank you so much for stopping by! I hope you are inspired to make simple handmade cards for friends this week! If you’d like more detailed directions on how to make this card, feel free to email me. Give this papercrafting tutorial a try 🙂 Check back soon for more card making ideas!

Don’t forget to pin this for later!
