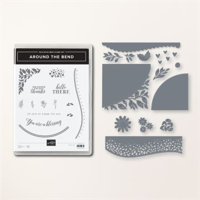
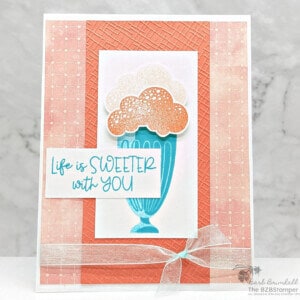
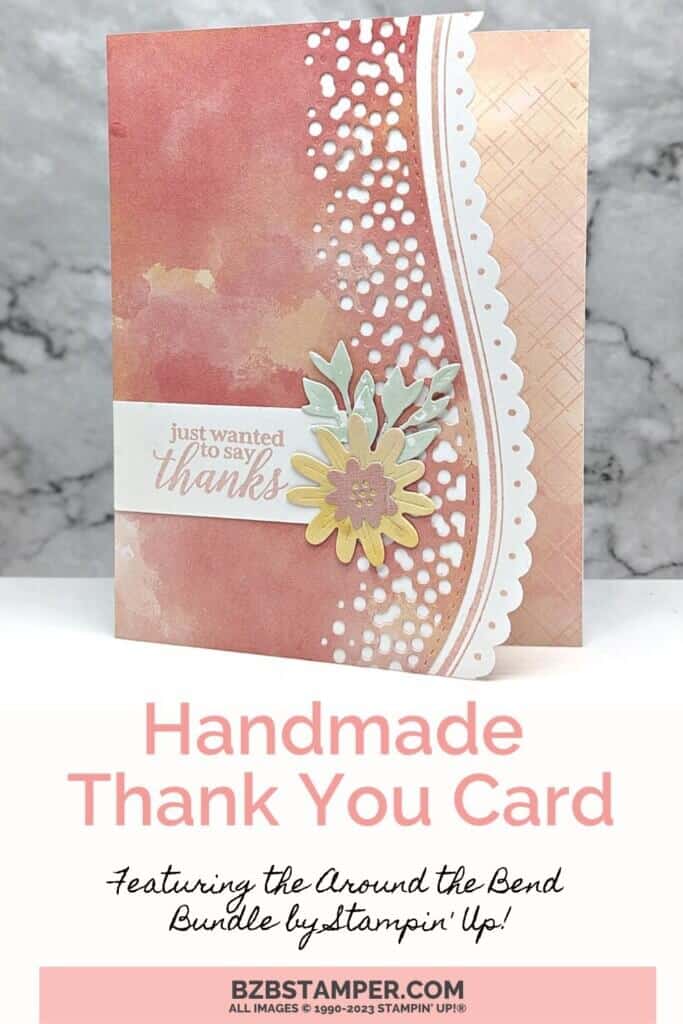
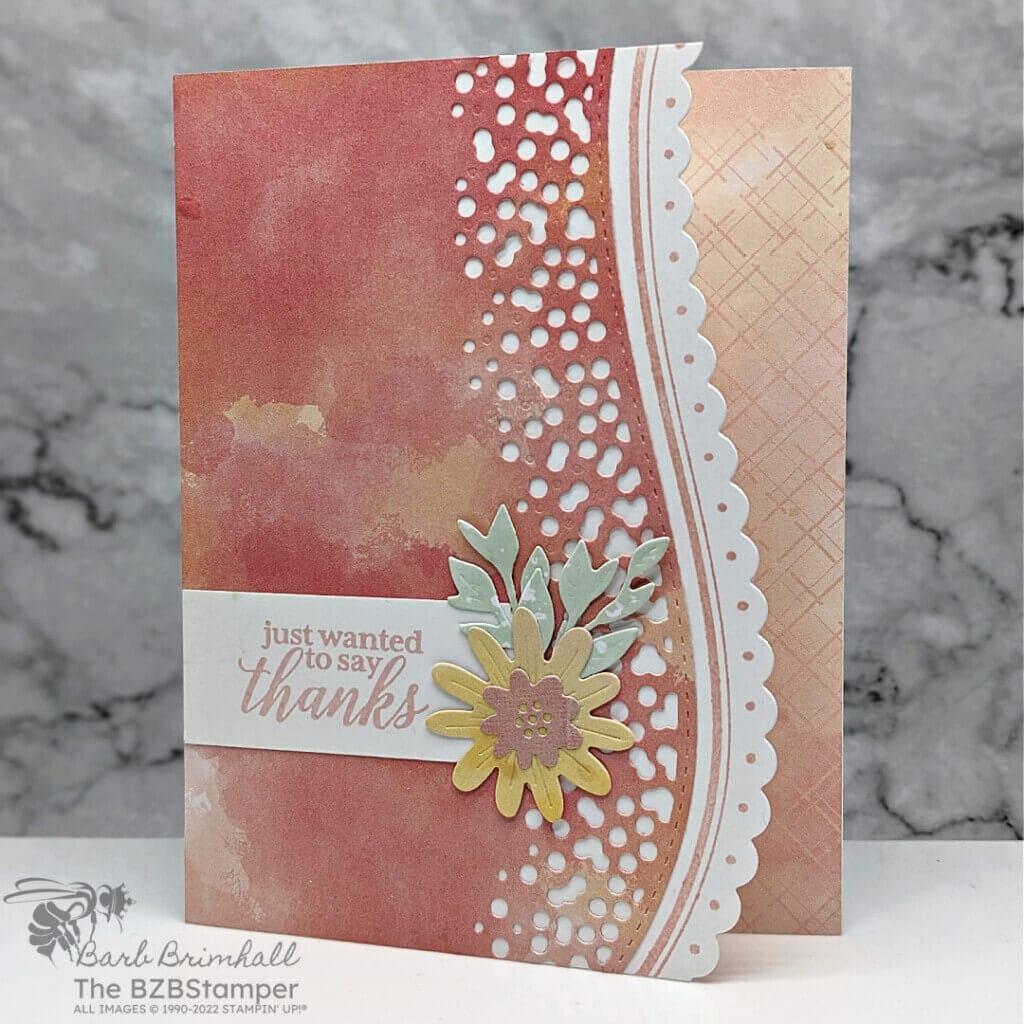
Show your appreciation with a heartfelt thank you card created using the versatile Around the Bend Bundle by Stampin’ Up! I’ve got step-by-step instructions for you on how to create this beautiful handmade card that’s perfect for expressing gratitude. Handmade thank you cards are a thoughtful way to convey your gratitude, and with the Around the Bend Bundle, you can create a card that’s truly memorable.
View more stamped samples & inspiration here
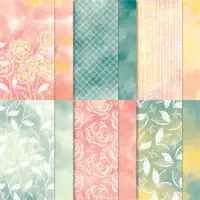
This card looks difficult to make, but is actually quite easy thanks to some gorgeous Designer Paper and the Stampin’ Up! Cut & Emboss Machine. The Around the Bend Dies that are part of this Bundle, make it easy to cut the edge of the card front into an elegant border, plus there are standalone dies you can use to cut out the accent pieces used on this card. And best of all? You can save 10% when you order the Around the Bend stamp set and dies together in the Bundle! It’s a win/win!
Project Measurements
- Thick White Cardstock: 5-1/2″ x 8-1/2″, scored at 4-1/4″
- Hello, Irresistible paper (lined design): 1-1/2″ x 5-1/2″
- Hello, Irresistible paper: 4″ x 5-1/2″
- Thick White Cardstock: 1″ x 2-1/2″
- Scraps of So Saffron, Blushing Bride and Soft Sea Foam for die-cutting
Instructions
- Fold the Thick White Cardstock in half at the score line and burnish well with your Bone Folder.
- Open the card and using the die from the Around the Bend dies, cut off the right side of the front of the card.
- Using the curved die from the stamp set, ink the stamp with Blushing Bride ink and stamp the image so that it lines up with the die-cut front of the card.
- Using the 4″ x 5-1/2″ piece of Hello, Irresistible paper, cut off the right side using the die from the Bundle. Adhere to the card front, lining up with the left fold line.
- Using the Blushing Bride ink pad, stamp the sentiment onto the 1″ strip of White cardstock. Adhere to front of the card.
- Using the scraps of So Saffron, Blushing Bride and Soft Sea Foam cardstock, die-cut the large flower, small flower and several of the leaf dies. Adhere to the card so that it covers the right side of the sentiment strip, as shown in the sample.
Supplies Used in this Project
Pin It!
Like this project? Be sure to pin it so you can easily find it again. It will take you right back here to all the details of the card.
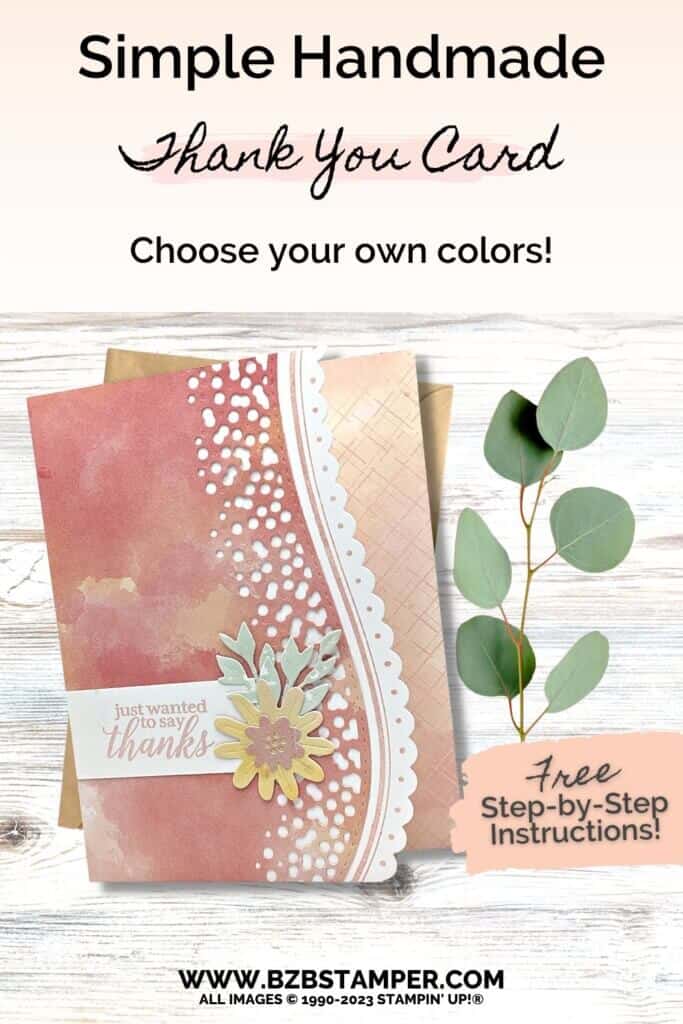
Thanks so much for stopping by today! If you’d like more detailed directions on how to make this card, feel free to email me. Be sure to give this card sketch idea a try and mail it to a friend who is celebrating something! It’s so fun to make a card, but it’s even more fun to send! #makeacardsendacard


