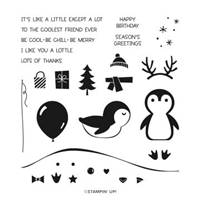
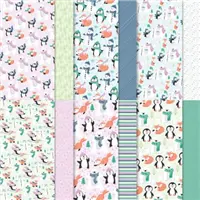
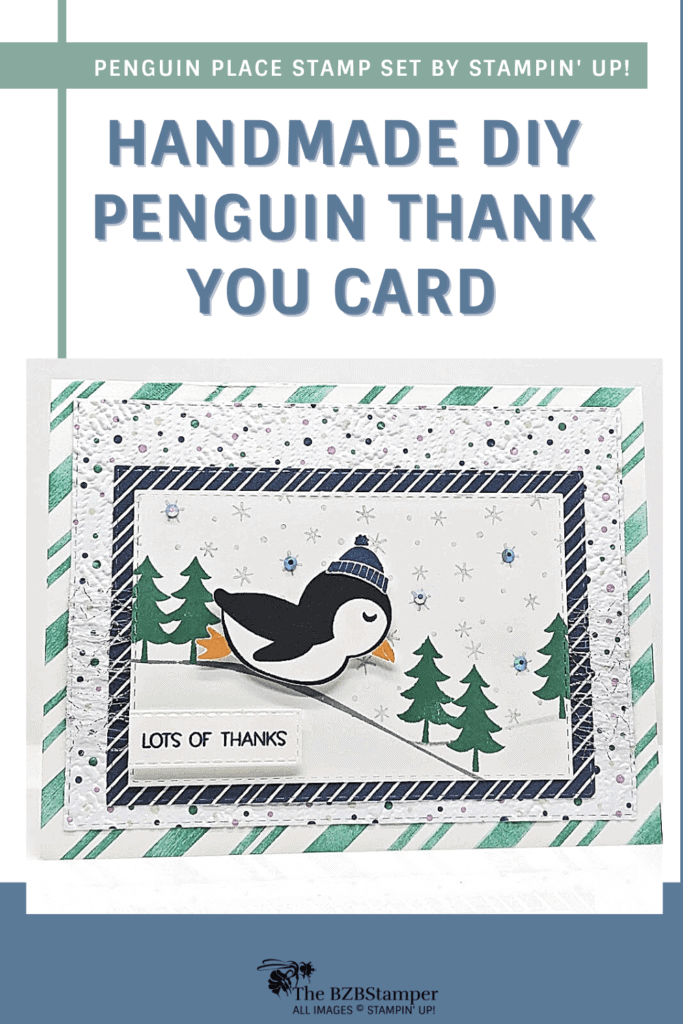
This Penguin Place Thank You Card is so adorable – and easy to make thanks to the free Penguin Playmates Sale-A-Bration Paper! And the background on this card is a special surprise – let’s get started!
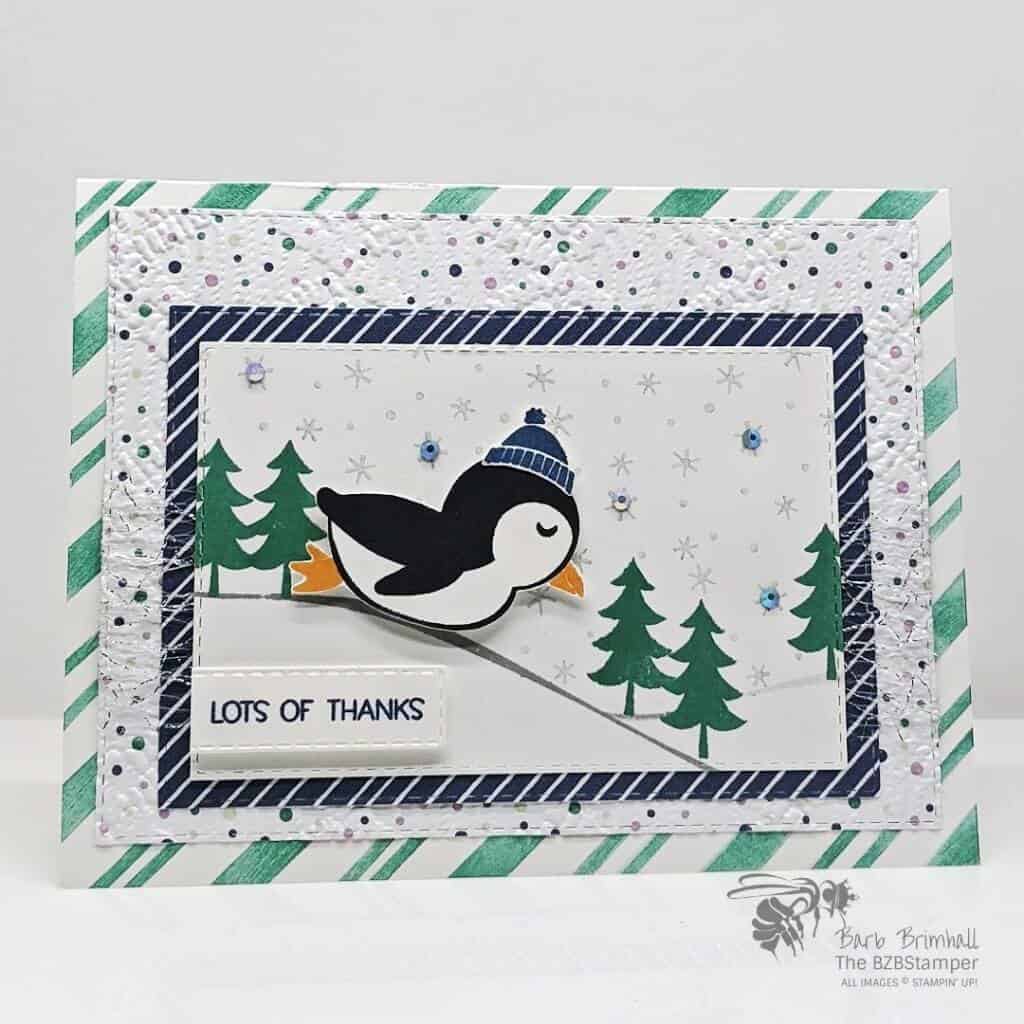
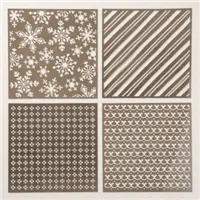
I think this card is so adorable – and my favorite thing is the background! To create the striped background, I used the Adorning Designs Decorative Mask. These masks are so easy to use! Just plunk the mask down onto your cardstock, hold firmly (or secure with some Washi or Removable tape) and start sponging!
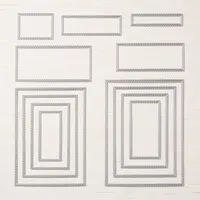
To make quick work of the rectangle layers, I used the Stitched Rectangle Dies with the Stampin’ Up! Cut & Emboss Machine, but if you don’t have these dies, you can simply cut the cardstock with your Paper Trimmer. And I absolutely love the color combination for this card, which was inspired by the Penguin Playmates Paper:
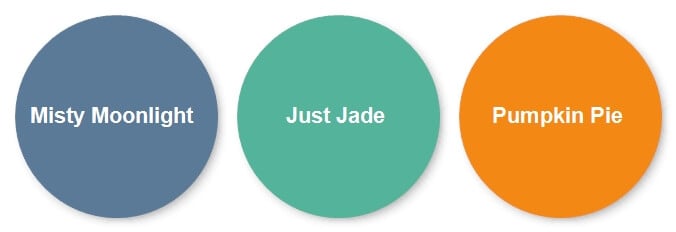
Here’s how I made this card – don’t forget you can download a written tutorial after the Instructions Section. 😃
Supplies Used on this Project
Project Measurements
- Thick Basic White : 5-1/2” x 8-1/2” scored at 4-1/4”
- Penguin Playmates DSP: 4” x 6” (polka dots) & 3-1/4” x 4-1/2” (stripes) for die-cutting
- Basic White: 4-1/4” x 5-1/2” for die-cutting
Project Instructions
1. Fold the Thick Basic White cardstock in half at the score line and burnish well with your Bone Folder.
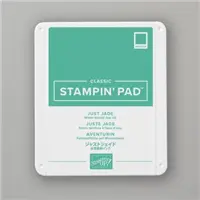
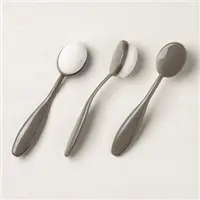
2. Using the striped Adorning Mask, lay on top of your folded card and hold down firmly (or use Masking/Washi Tape to hold it down.) Using the Just Jade ink pad, lightly sponge the front of your card using a Blending Brush until the striped design covers the front of your card. Remove the mask, clean it, and set the folded base card aside to dry.
3. Using the Cut & Emboss Machine and the Stitched Rectangle Dies, cut out the larger Rectangle Die using the polka dot Penguin Playmates paper, the smaller Stitched Rectangle die using the striped paper. Set aside.
4. Using the quarter sheet of White Cardstock, cut out the smallest rectangle die for your sentiment and the larger (2-1/2” x 4”) die for stamping. Set aside.
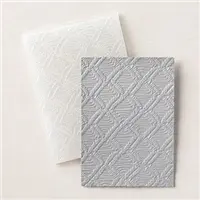
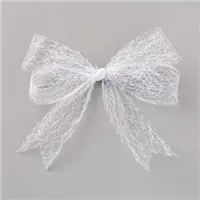
5. Using the Macrame 3D Embossing Folder, run the die-cut polka dot paper through the Cut & Emboss Machine to emboss. Wrap 6” of Metallic Mesh ribbon around center of paper and secure with adhesive or tape. Adhere the paper to the base card.
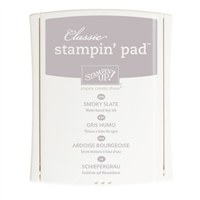
6. On the 2-1/2” x 4” White rectangle, stamp the “hill” using Smoky Slate ink. Stamp the snowflakes to right of “hill” using the Smoky Slate ink pad and stamping off once or twice to get a light inking. If desired, add another hill to the right of the first hill, stamping off the Smoky Slate ink once before stamping onto cardstock.
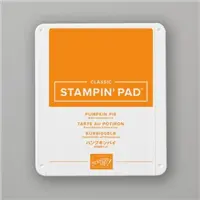
7. On the scrap of White cardstock left from Step #4, stamp the penguin using Black ink. Stamp their nose & feet using Pumpkin Pie ink. Cut out using your Paper Snips.
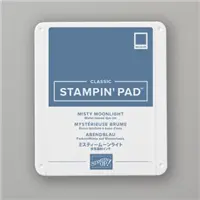
8. Stamp the hat on the remaining White Cardstock using Misty Moonlight ink and cut out using your Paper Snips. Glue to the top of the Penguins head and set aside.
9. Using the Just Jade ink pad, stamp the trees so that they’re on the “hill” as shown in the sample. Adhere the White cardstock to the striped paper and adhere to base card.
10. Add the penguin using Stampin’ Dimensionals.
11. Stamp the sentiment using Misty Moonlight ink onto the smallest Stitched Rectangle and adhere to base card using Stampin’ Dimensionals.
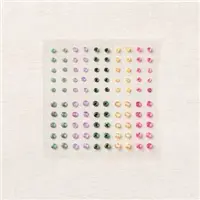
12. To finish, add 5 In Color Jewels onto the card in the center of the larger snowflakes or as desired.

Like It? Pin It!
Be sure to pin this project to your card making boards on Pinterest if you like this project
- Get a Free Tutorial Every Week!
- Shop 24/7 in your PJ’s
- Queen Bee Rewards – Earn FREE Stamps!
- View the 2024-2025 Annual Catalog
- View NEW Online Products
- Monthly Crafting Kit
Thank you so much for stopping by today. I hope you are inspired to create today, whether it is this simple and cute handmade card or another cardmaking project. My goal is to help you enjoy some creative joy! Keep checking back for more projects.


